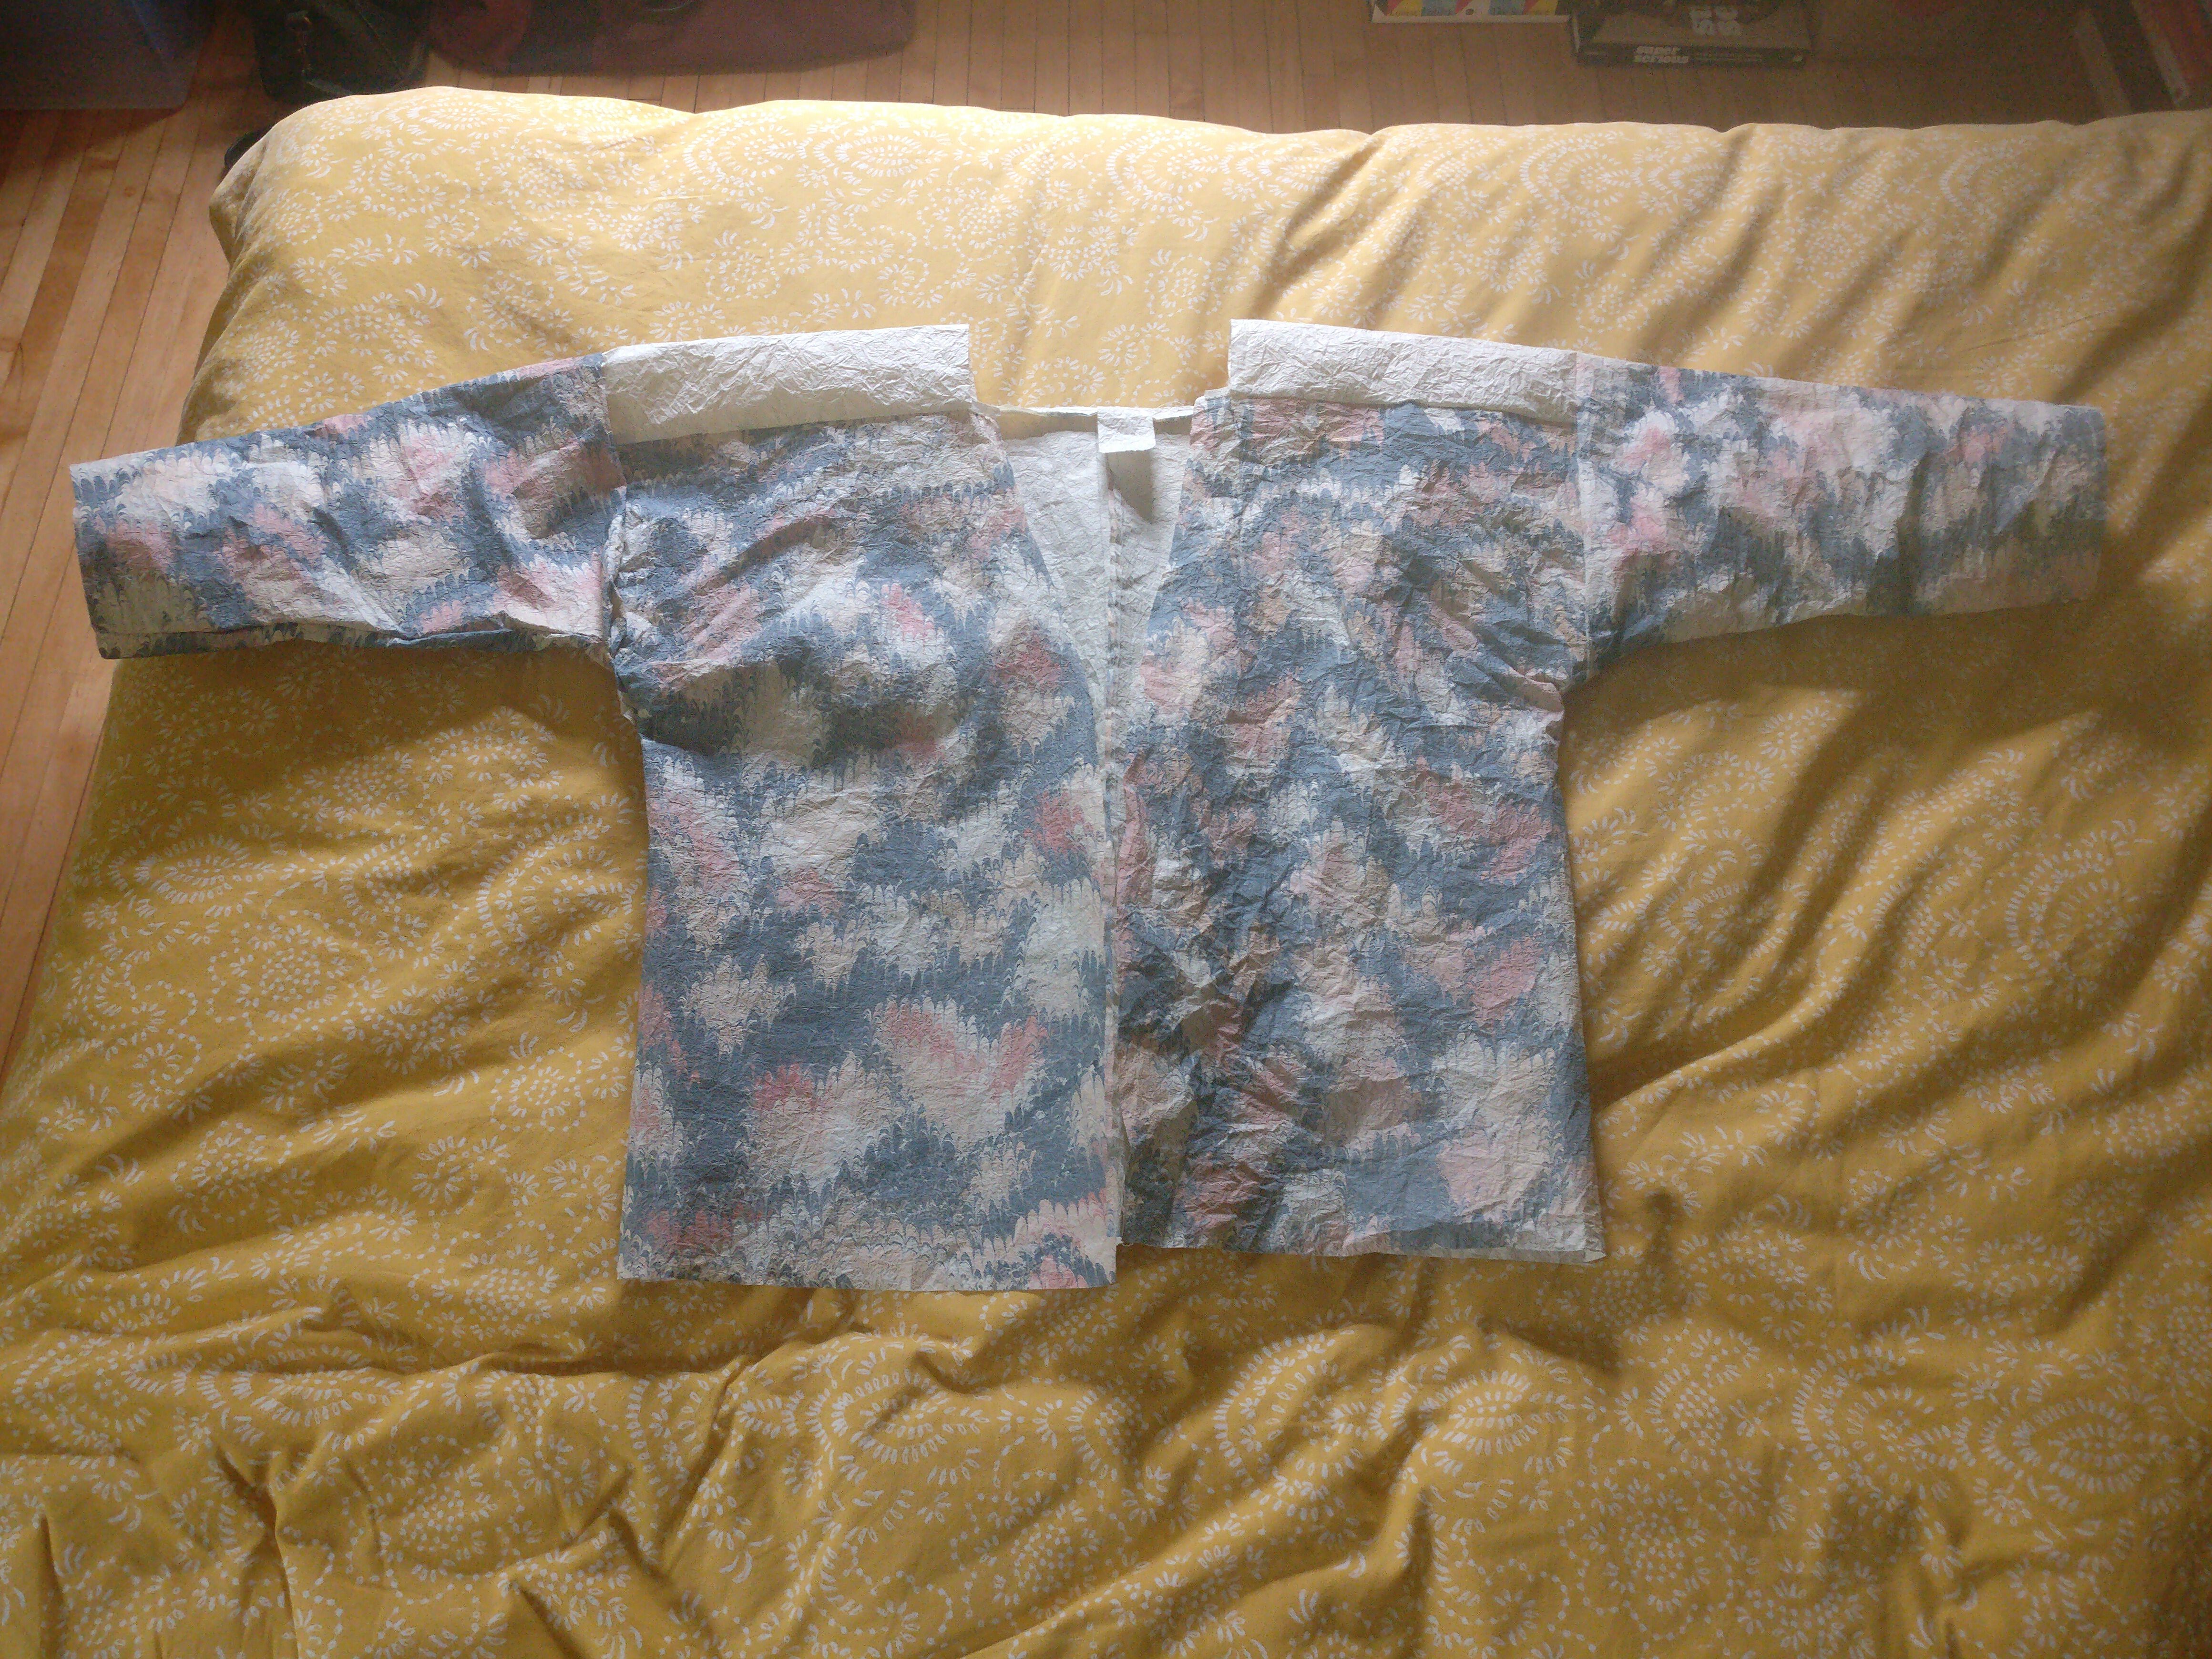
this is a write up – of sorts – of making a marbled momigami jacket, first attempted in 2022. what do i mean by these terms? first, it's important to establish that this is not a cotton or leather jacket. rather, it is a jacket made of paper. with that in mind:
- marbled: the paper used has been colored by myself by marbling each sheet of paper.
- momigami: to strengthen the paper, each sheet was coated in konnyaku 4 times and crumbled to soften and make the paper fall like fabric.
- jacket: i copied a jacket i already had and made some modifications to account for my incredibly poor hand-sewing skills.
the first jacket i made was in spring of 2022 to wear at a friend's wedding.
if you're attempting to follow along at home make sure you have a home marbling setup. feel free to send me an email if you have questions.
① preparing paper
as this is a paper jacket, the paper is of the utmost importance. however, so is cost – quality washi is not cheap. the jacket in the above pictures was made with kyoseishi from hiromi paper, which is partially wood pulp and thus less strong than a 100% kozo paper. a similar paper (perhaps the same) is sold in canada under the same generic name. kyoseishi is a type of strengthened paper that is well suited to making clothing due to its increased tear and water resistance.
in addition to the 2 original coats, i did an additional 4. the paper was 24" x 36", so i had to cut it in half in order to fit on my workbench and in the tray i used comfortably. i'd recommend making 2 to 4 more sheets than you think you need, in case there are any defects in the marbling section.
- cut kyoseishi in half
- add additional coats per sheet until each sheet has received 4 coats (~ 15min per coat x 4 coats x 8 sheets ⇒ 8hrs of prep)
- soften paper (i.e. make more fabric-like) by crumpling it (~ 1hr per sheet – this could be both less and more). i did most of this crumpling while out on walks.
- check for holes and repair with tengucho (this appears to be a result of using base paper that has wood pulp. it's likely pure kozo would not produce visible holes)
this must be done before marbling, otherwise the wet konnyaku is likely to remove the applied paint from the sheet of paper.
② marble paper
one of the hardest parts of making this jacket was coming up with a marbled pattern that would look OK when i invariably goof up the sewing. this ruled out a lot of traditional rake-based pattern, which had the potential to clash if the directions looked weird.
a pattern like italian veins or some such probably could have worked, but i still wanted something that had a rake in it. to that end, i did a pattern i call "4 corners": ꙮ;→¼;↓¼;←¼;↑¼. this had the benefit of showing some clear rake usage, but also being conducive to mixing and matching marbled sheets since the pattern was quite "loose" (compared to, say, a normal nonpareil pattern).
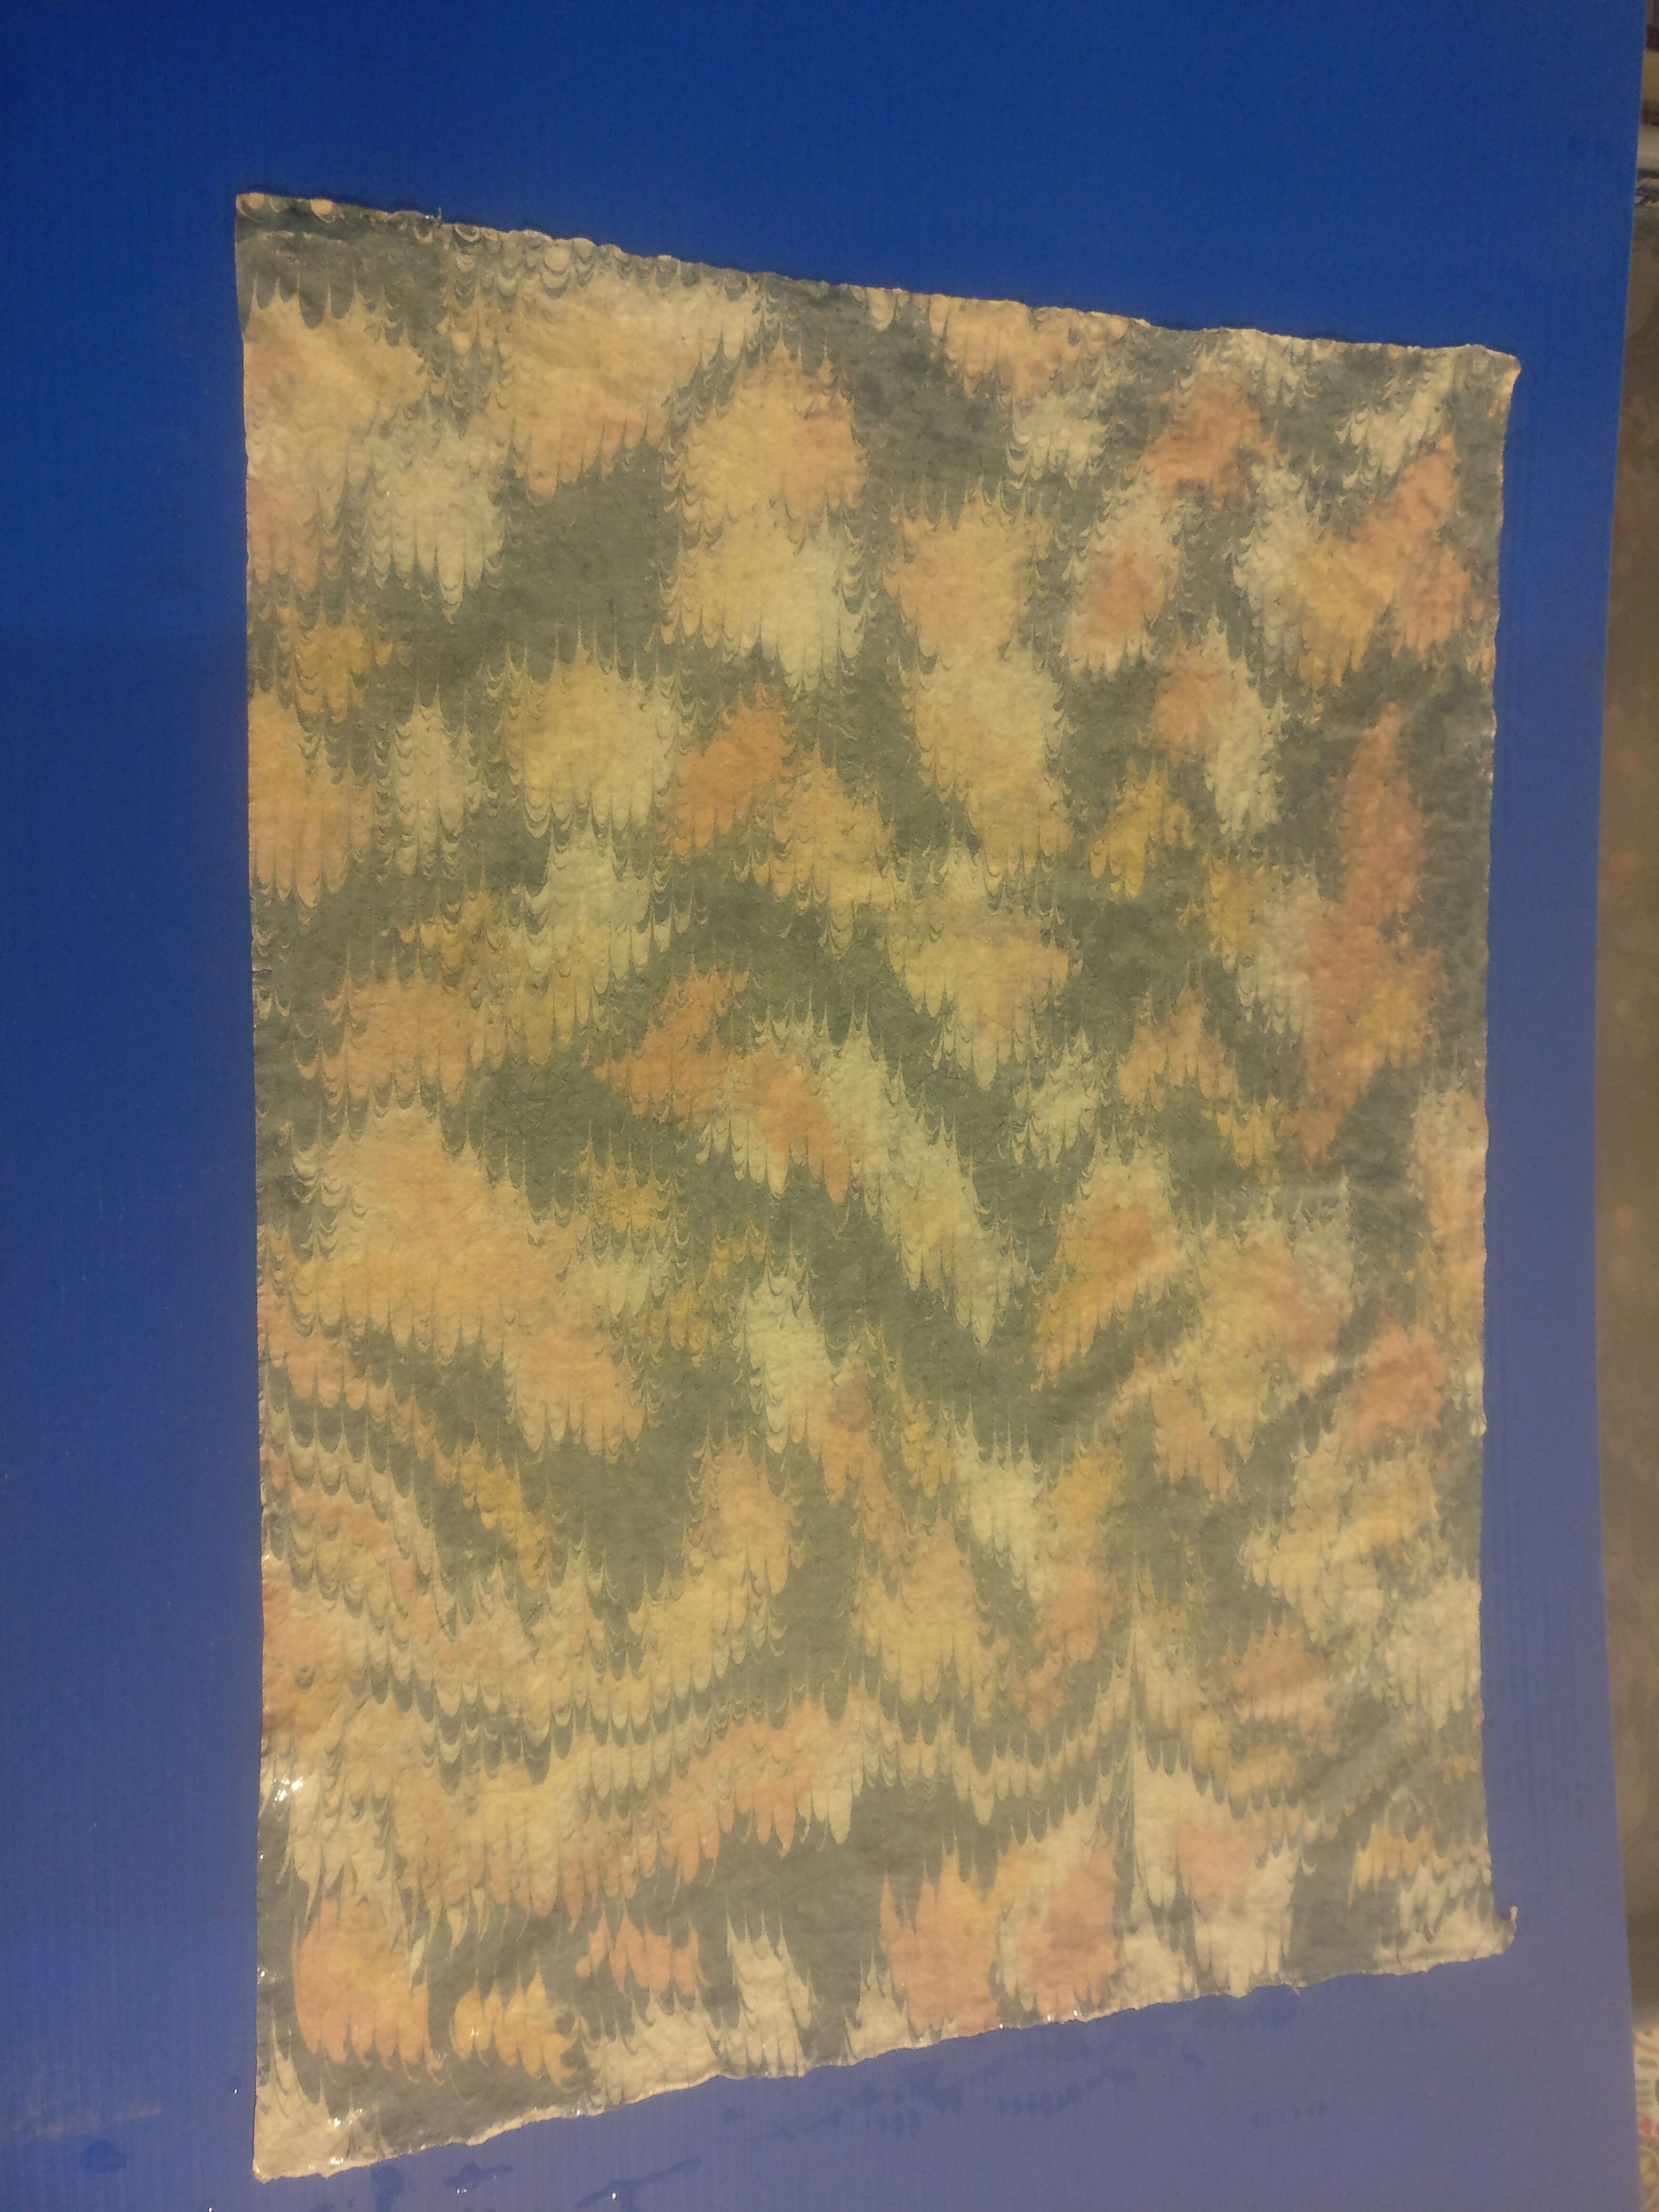
the colors i used were: prussian blue with a bit of black (5 drops), pearl, pearl + red mica powder, pearl + gold mica + a little red mica (for a "rose gold" type color). the tank was flooded with prussian blue and the pearl + powder combinations were added as stones around the tank. i think it gives kind of a clouds-at-sunset sort of vibe.
applying the pattern
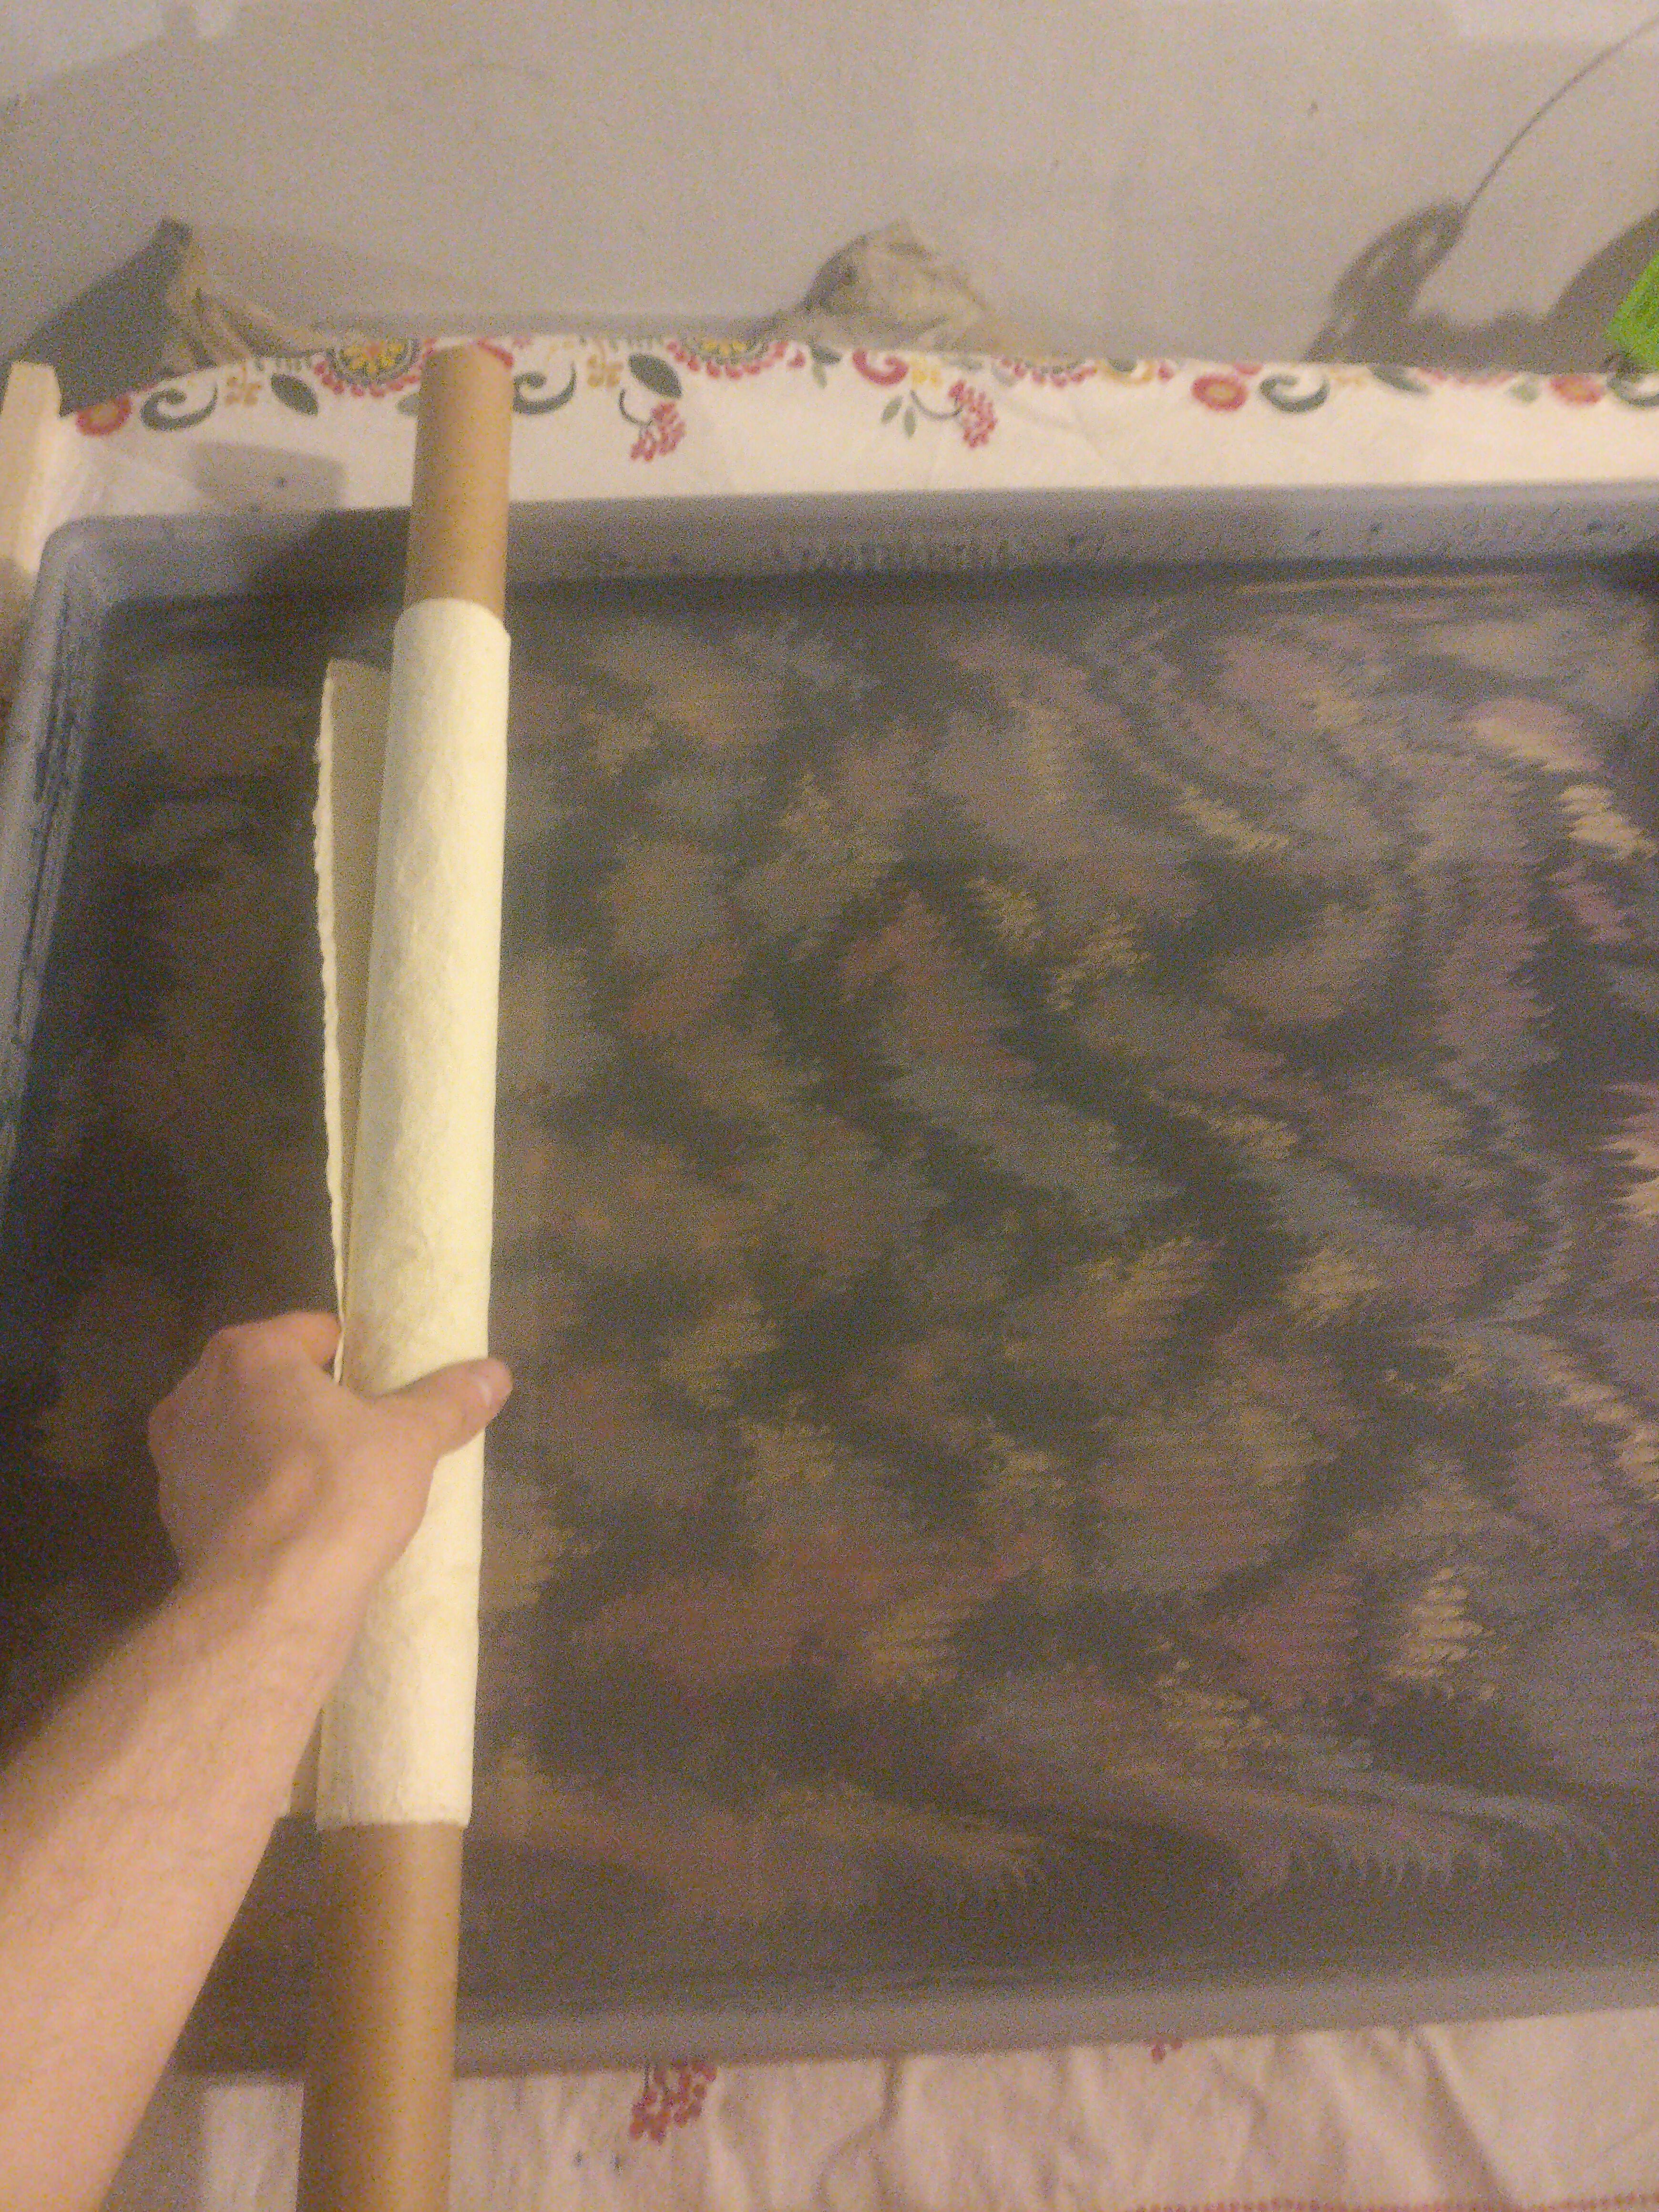
since the paper we're using has been softened, it'll act more like fabric than paper. as such, it's best to roll the paper around a tube of some sort and then roll the tube over the tank, letting the paper slowly fall off and into the tank
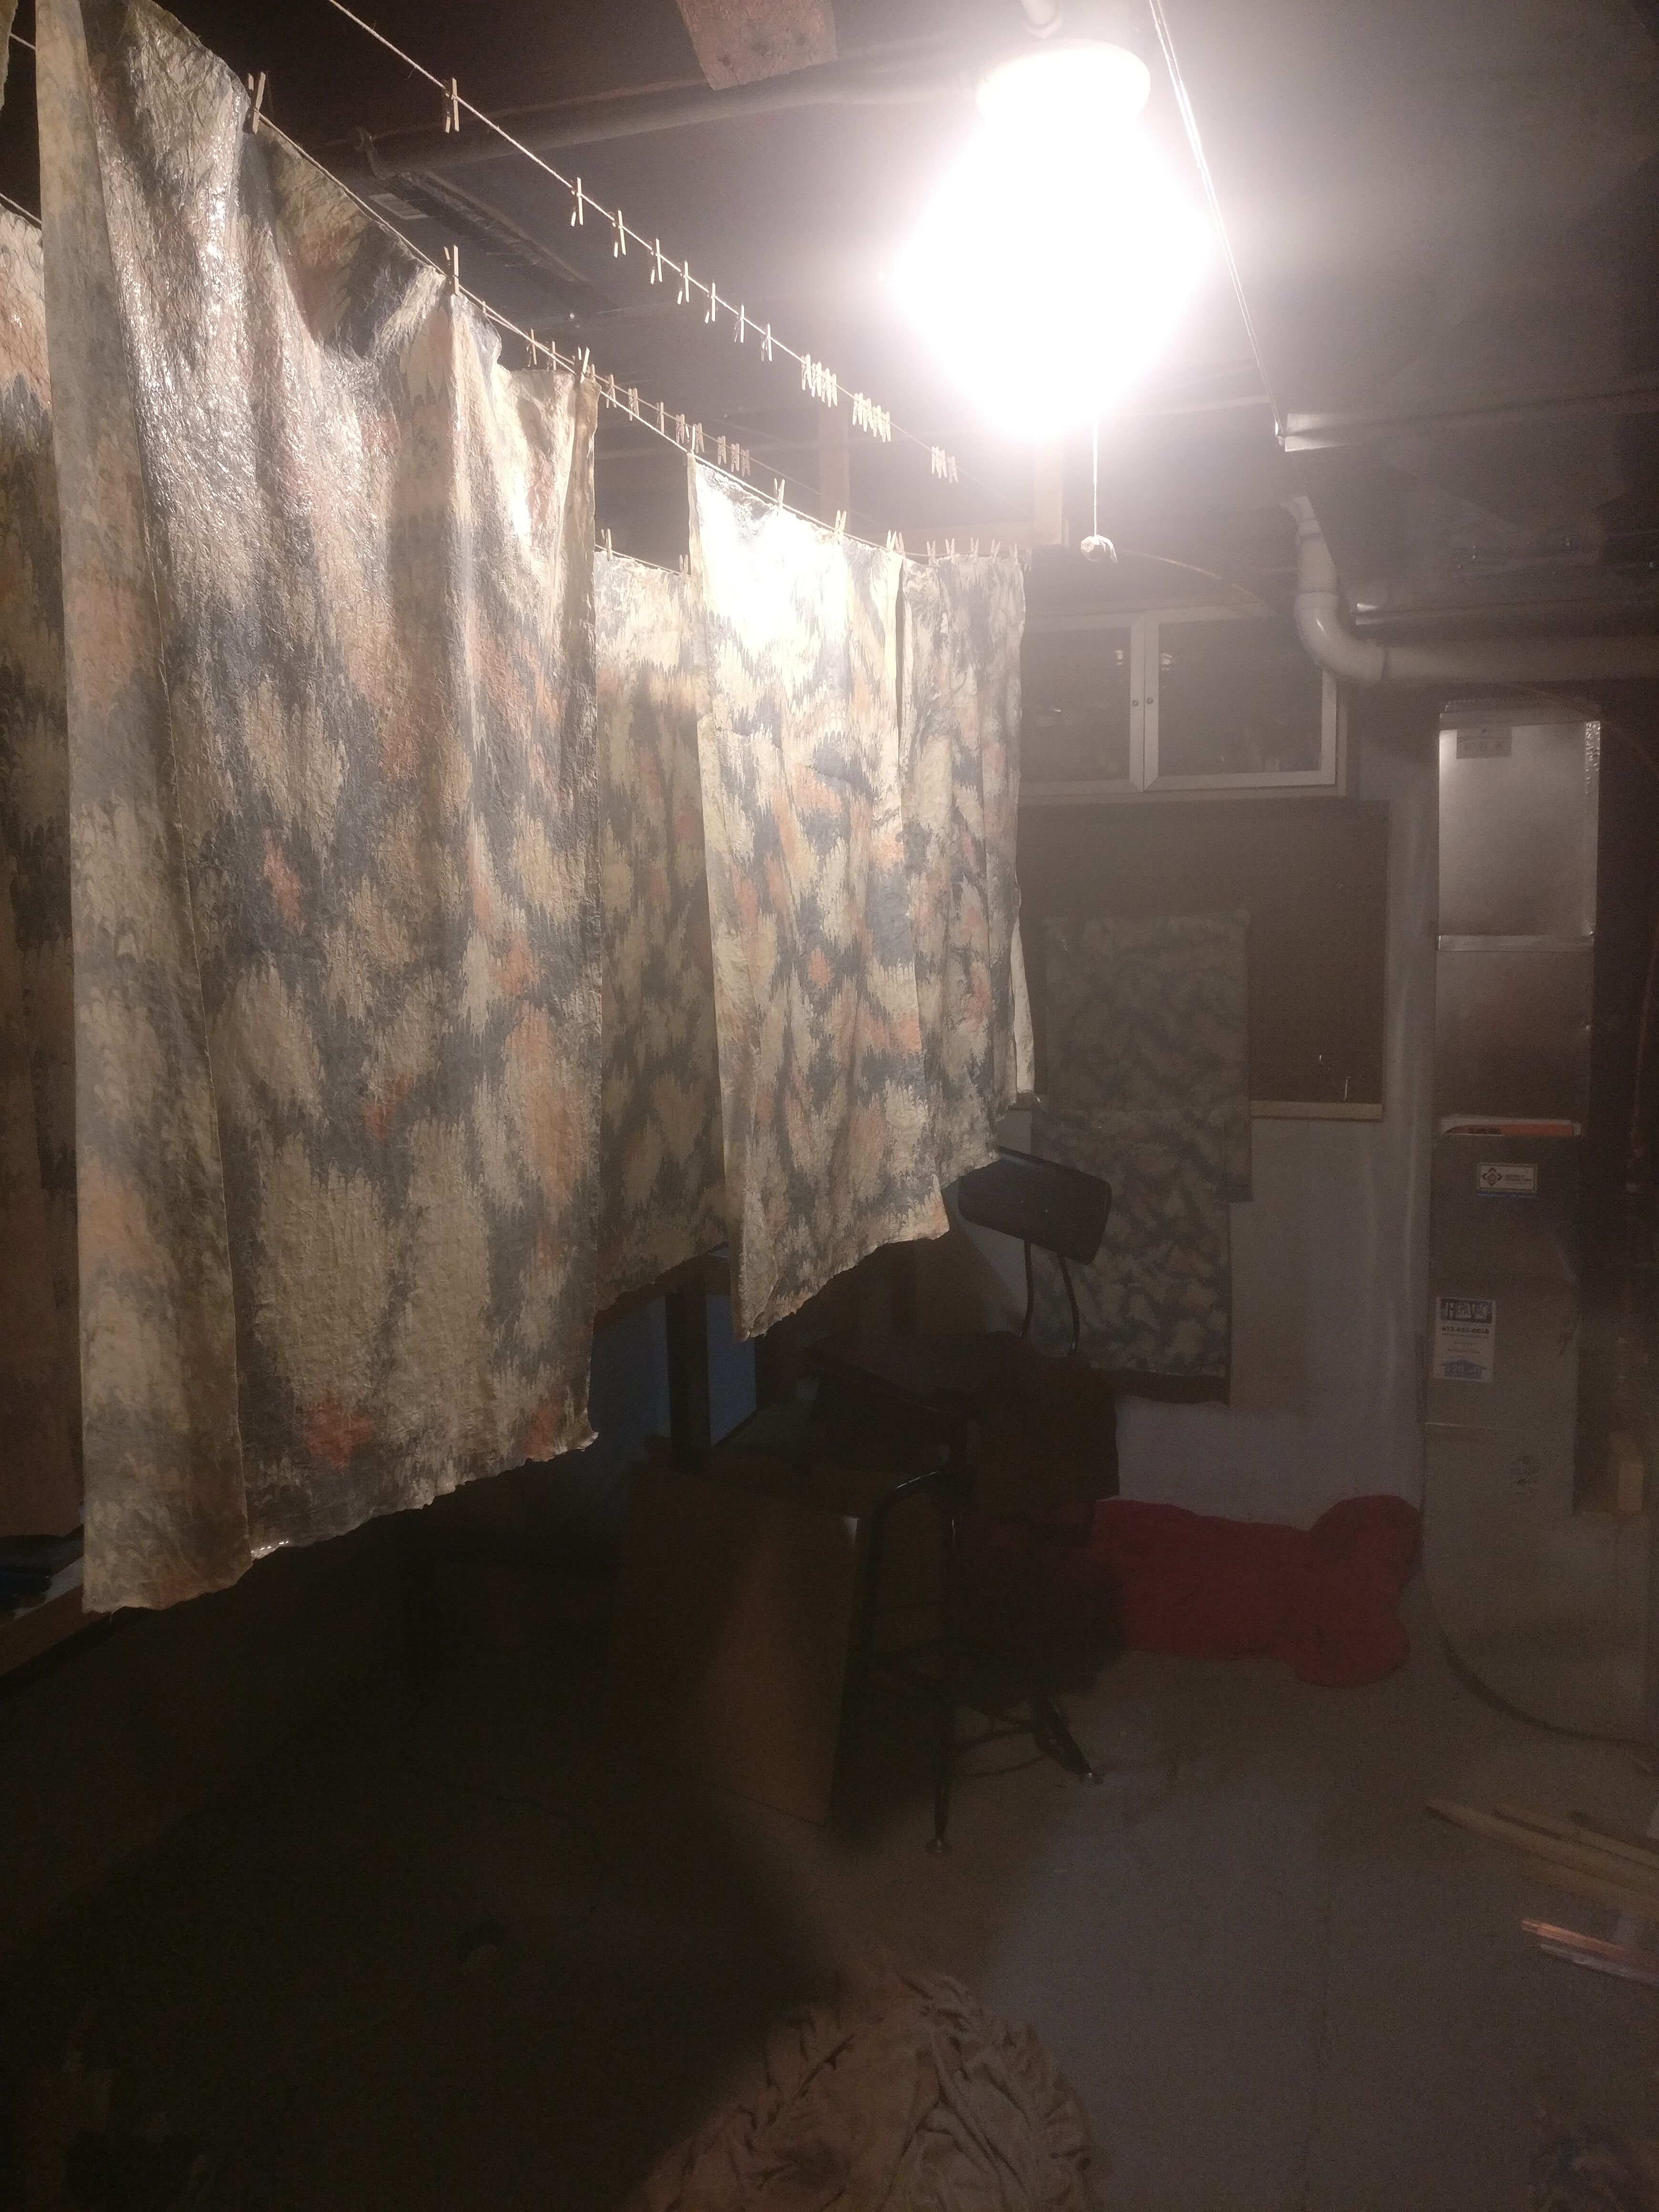
wash off the excess carrageenan from the sheet and let dry. once dry you'll need to crumple the paper again to resoften it enough to sew with. maybe 5-15 minutes per sheet. an alternative, as discussed below, which i have not yet tried is to keep the kyoseishi stiff and then do the softening after marbling. i've crumpled an extra marbled sheet from this project for over an hour with no loss of color, so this might overall be a more efficient path.
③ making the jacket
i'm definitely not a tailor of any sort, so if you are, i apologize in advance.
i started by tracing out a jacket i had (which i have been informed is... likely to get you a 2D clothing item for your 3D body. which is sort of what happened here). in particular, it was a kendogi, which is a pretty simple short sleeve jacket. once traced and the sections of the jacket determined (e.g. sleeves, front and back pieces, etc.), i overlaid those parts on to my sheets to help determine the best way to divide up the kyoseishi i had.
luckily, at the local art store's sidewalk sale they had really cheap thai-kozo based kyoseishi. very light, easily ripped, but had the same textile-like flop of the kyoseishi. this made for a fantastic paper to use for a test run of my design.
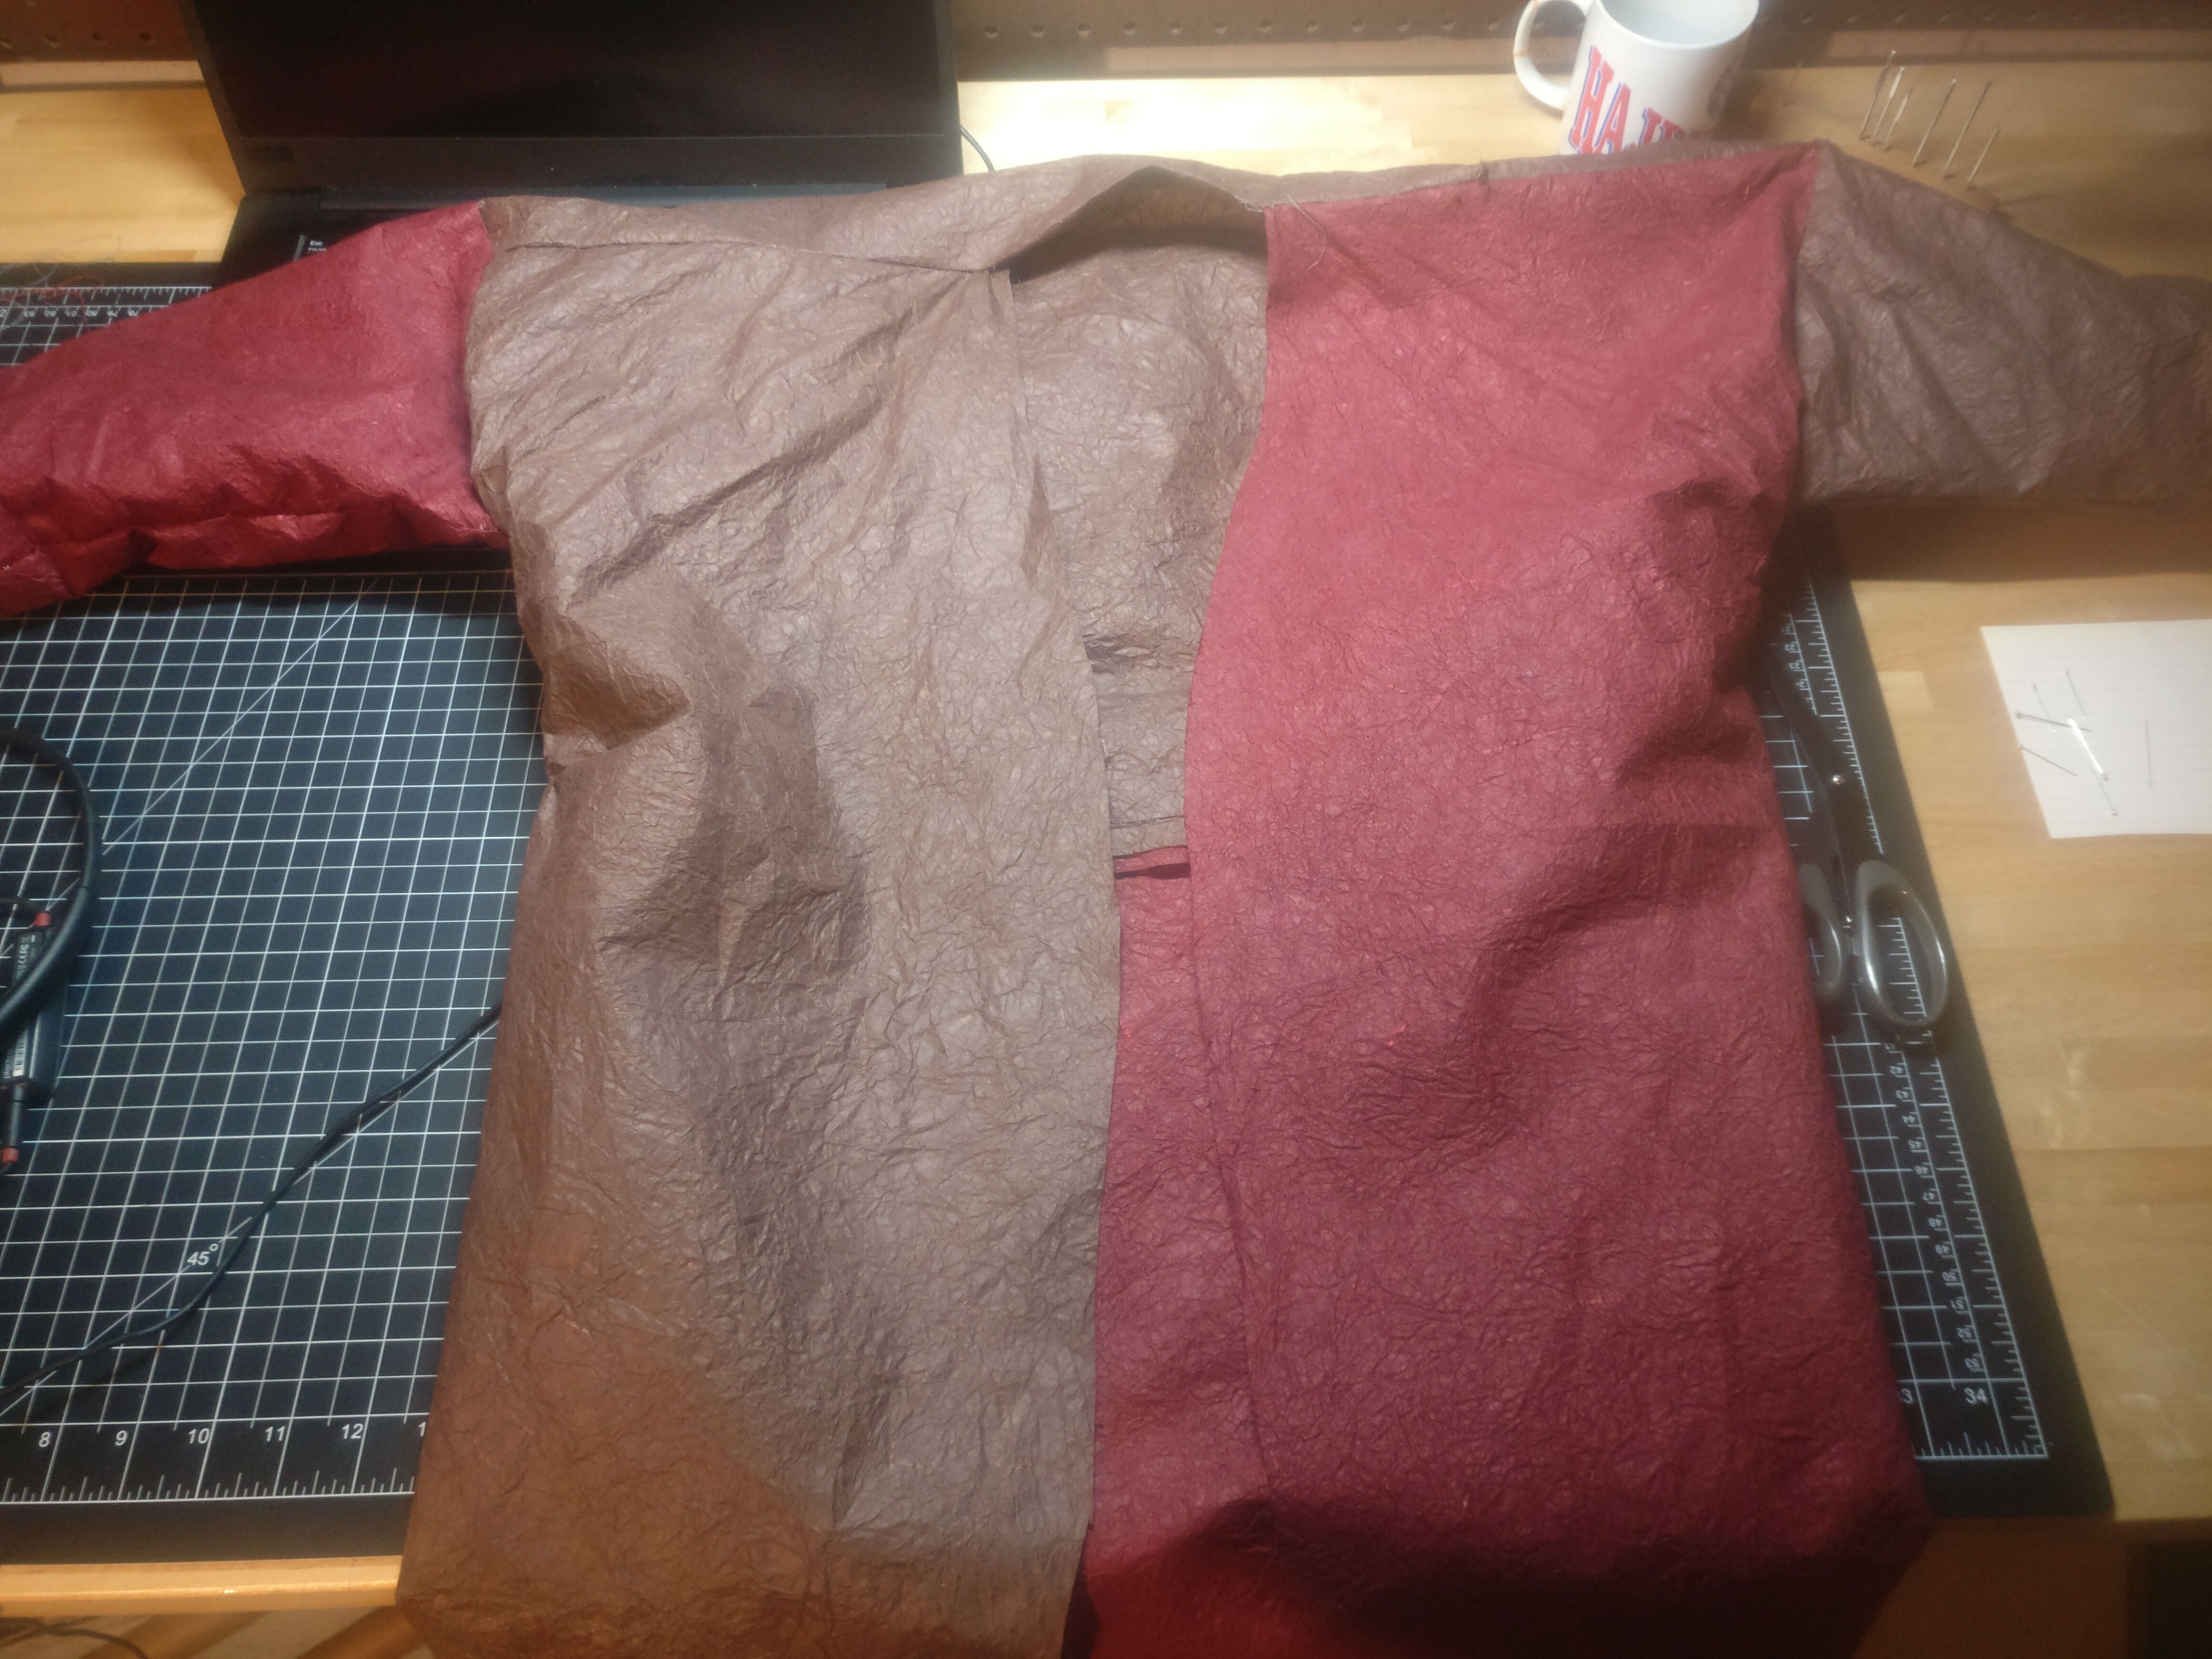
my wife helped make some tweaks to the cut and design and i was back downstairs to sew with the actual kyoseishi. as you can tell in the picture at the top, i used some raw kyoseishi (that is, no additional treatment from me) for accent on the shoulders. unfortunately, this was also the weakest area – there's currently a 6" rip in one shoulder where the untreated kyoseishi ripped at the seam.
all told, i think it took maybe 4 hours for me to hand sew each jacket? if/when i do this again, i am definitely investing in a sewing machine.
last updated: 2025-09-03 20:45:00