if you'd like more pictures or specific measurements, let me know! each press is different and so this is less of a "how to" and more of a "you can do it!" type of post. but, of course, will happily help you in whatever way i can.
background
reliance presses (20th Century or otherwise) appear to have never come with a typman and frisket attached. this is presumably because of their intended use for proofing large etchings (think full-sized newspaper advertisements), which didn't need the mechanical apparatuses necessary for book work. and so, when i took stewardship of my Schniedewend 20th Century Reliance, it didn't have a tympan and frisket assembly. the previous owner, Bill Myers, mostly did wood engravings and had a system of registration that didn't require anything but careful laying of the paper on the block. this method applies equally well to type, and i used it with some success for my first two runs on the press. however, i want to do bookwork and i want it to look as good as i can make it, which necessitates more control over each impression: and thus, the need for a tympan and frisket.
depending on your background, you're asking yourself at this point: what the heck is a tympan and frisket?
both the typman and frisket are large rectangles the size of pressbed. they are "hollow" in the middle so the platen of the press can descend "through" them. "through" is in quotations because in both cases there is a membrane that prevents the platen from actually coming into contact with anything on the pressbed. the typman is the furthest from the type. this is where the paper and makeready live. the frisket is located between the tympan and the type. this is because the frisket is used to keep the paper from touching the type/pressbed where it shouldn't. in most cases, the frisket will be covered with paper with holes cut out so only very specific parts of the paper will be printed on. as you will see in the pictures below, i use elastic bands (as it was less tedious to cover and i could be more flexible with them).
the first build (dec '24 - feb '25)
the first build took a bit of time, in part because i started it in the middle of the holidays. not confident i could do it myself (and certainly not the metal work), i reached out to TC Makers and got in touch with their blacksmith shop lead, Micah. he did commission work, so i sent him specs (extrapolated from the Resurrection of a Reliance, below). and he uh, sort of did what the specs asked.
needless to say, there was a decent amount of grinding that needed to be done in order to get the metalwork to fit and even then, the far hinge is slightly raised compared to the near side. but that's hand-work for you, especially with no physical model to go on.
then comes the woodwork, to make the tympan frame. i found a local (as in a few blocks away!) cabinet maker who had time between jobs to make a frame for me. it was originally made of basswood and through no fault of the woodworker, was not designed in such a way as to withstand the pressure of the platen. due to a design flaw, it quickly cracked.

the flaw here was that the hinge on the frisket was on the inside, meaning there was basically no wood connecting the top rail to the stiles, as can be seen in this image.
all was not lost though: besides getting the metal parts mostly worked out, i also had a model upon which to think about making design changes. and indeed, while the tympan was mostly wrecked, it still served as a surface upon which to "practice" Gabriel Rummonds' makeready process. and also getting used to Koverall as a covering material (recommended from Bob Oldham). it's... fine – cheap, easy to cover with, but it's damned hard to find an adhesive that sticks well to it. i currently (July '25) use 592CL-2-72 from Tape Case. i'd give it a 3/5 – has a so-so sticking time, but is very curly.
the second build (march '25)
at this point, i have an idea of what needs to be changed:
- frisket hinge needs to move to the outside of the frame
- the top rail of the tympan frame needs to be metal, not wood, to avoid cracking
- not to mention an entirely new tympan frame
and luckily, a sabbatical from work, too. without that dedicated time, honestly, i probably would still be working on getting this done in between the requirements of life and work.
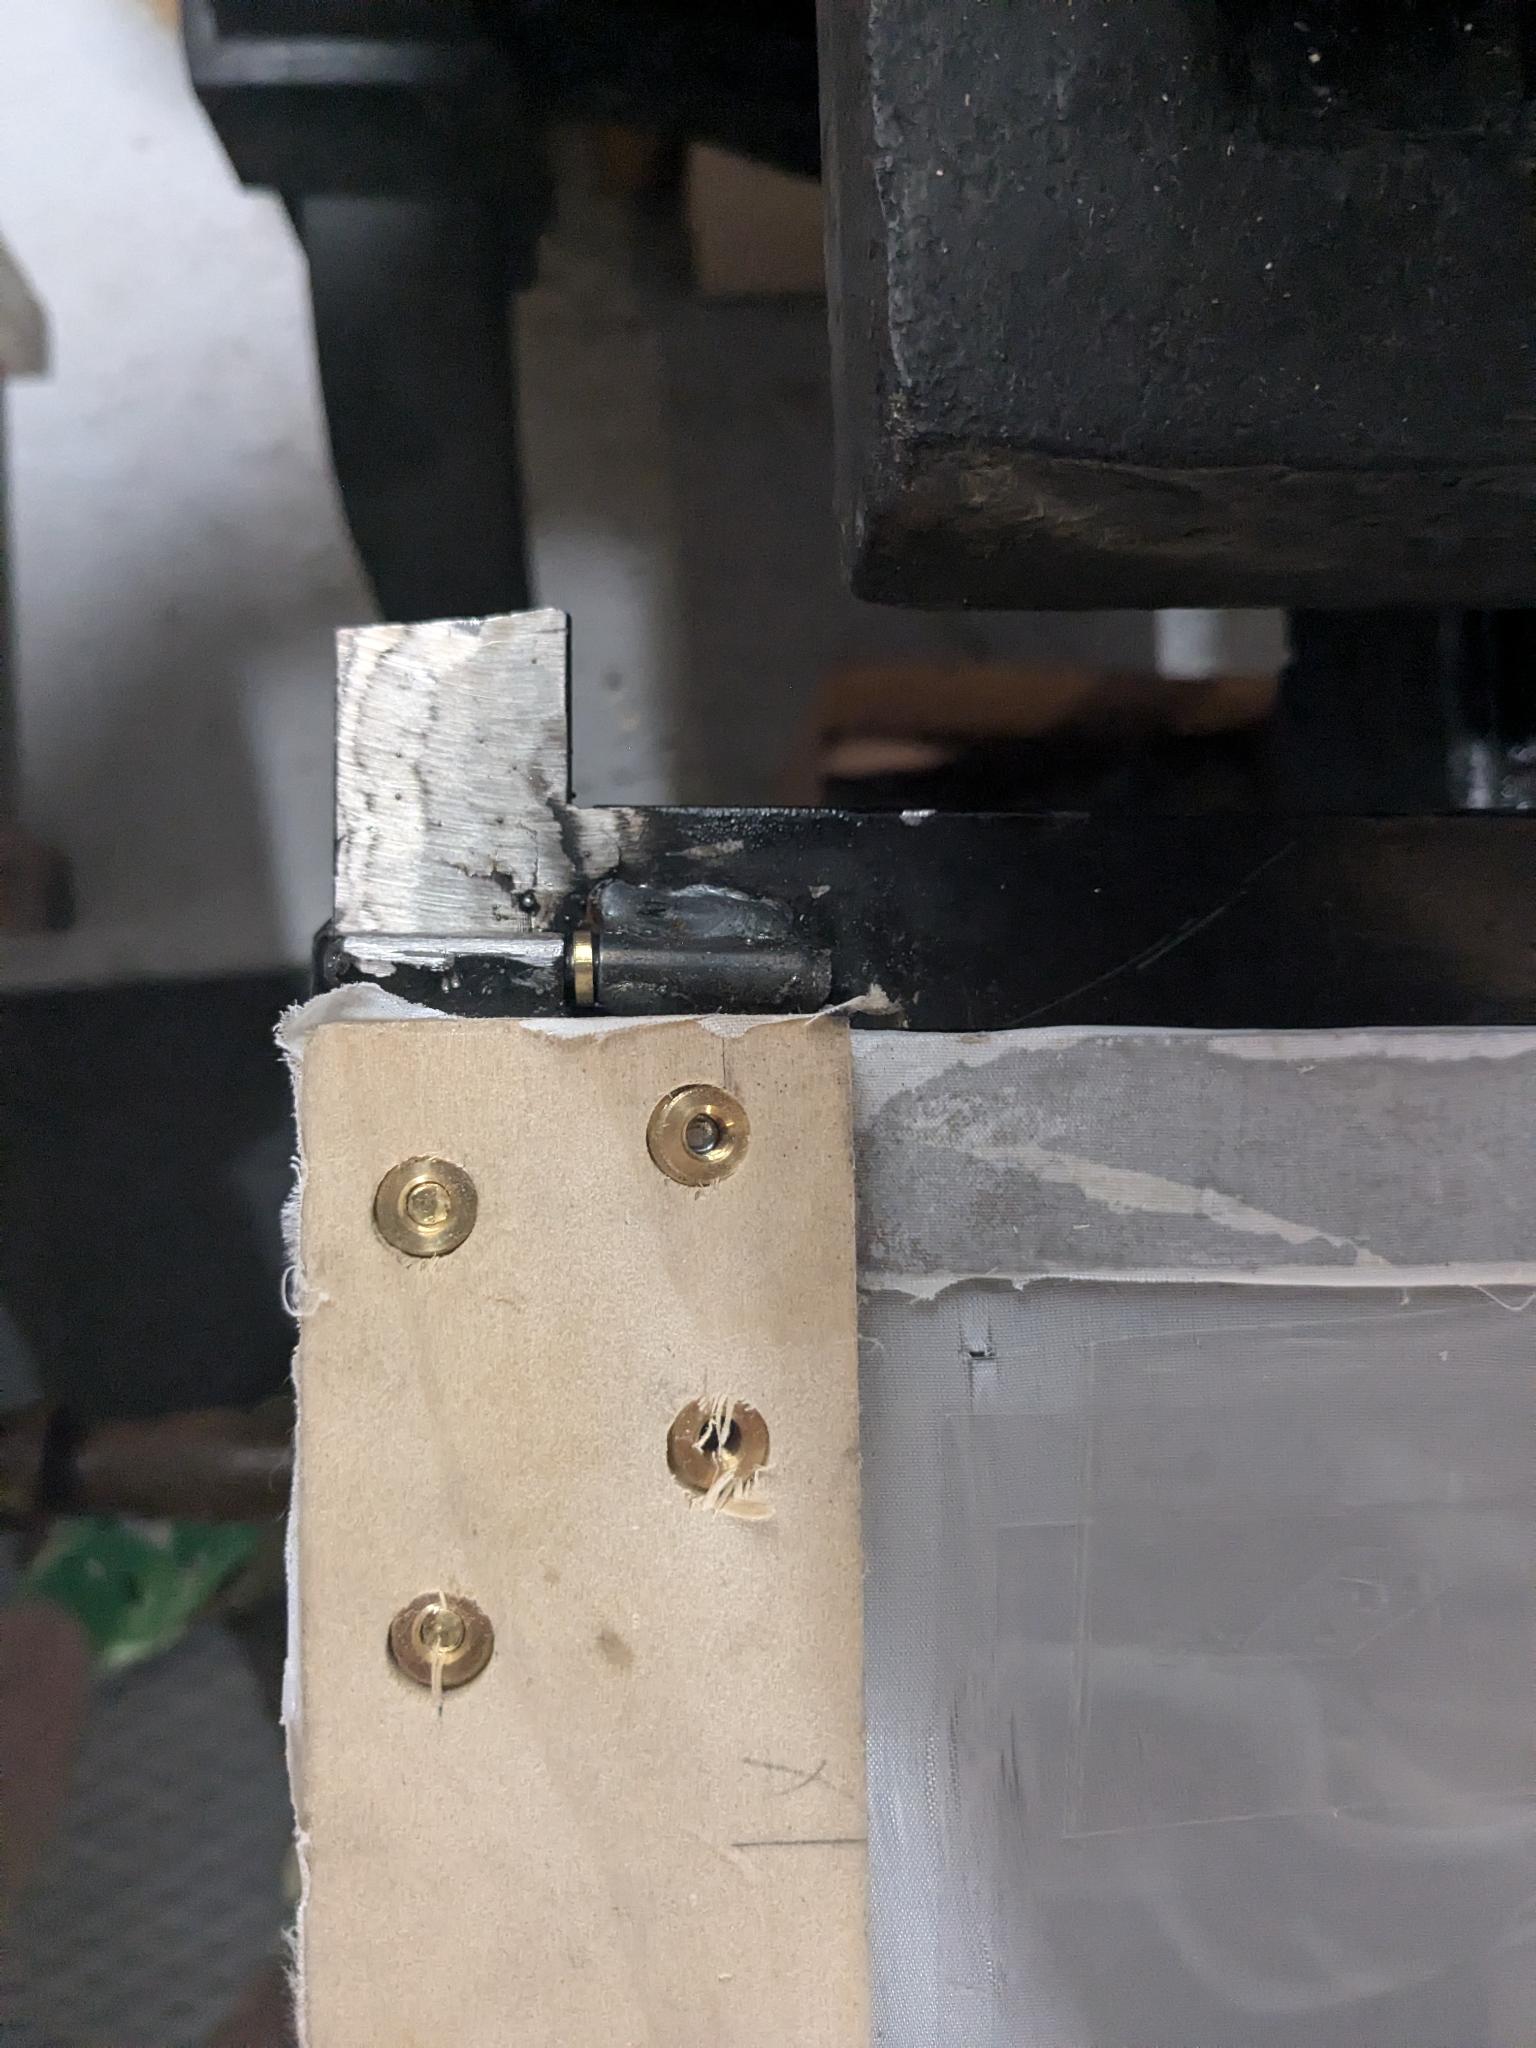
luckily, Micah quickly changed the hinge location so now the part that attaches to the tympan frame is on the outside, allowing the top rail to fully attach to the stiles. the cabinetmaker didn't have time to remake the frame, so with a brief diversion trying to use old oak from a rennovation project (too difficult with the handtools i have), i used some leftover poplar from a different project and got help making the necessary cuts at the TC Tool Library.
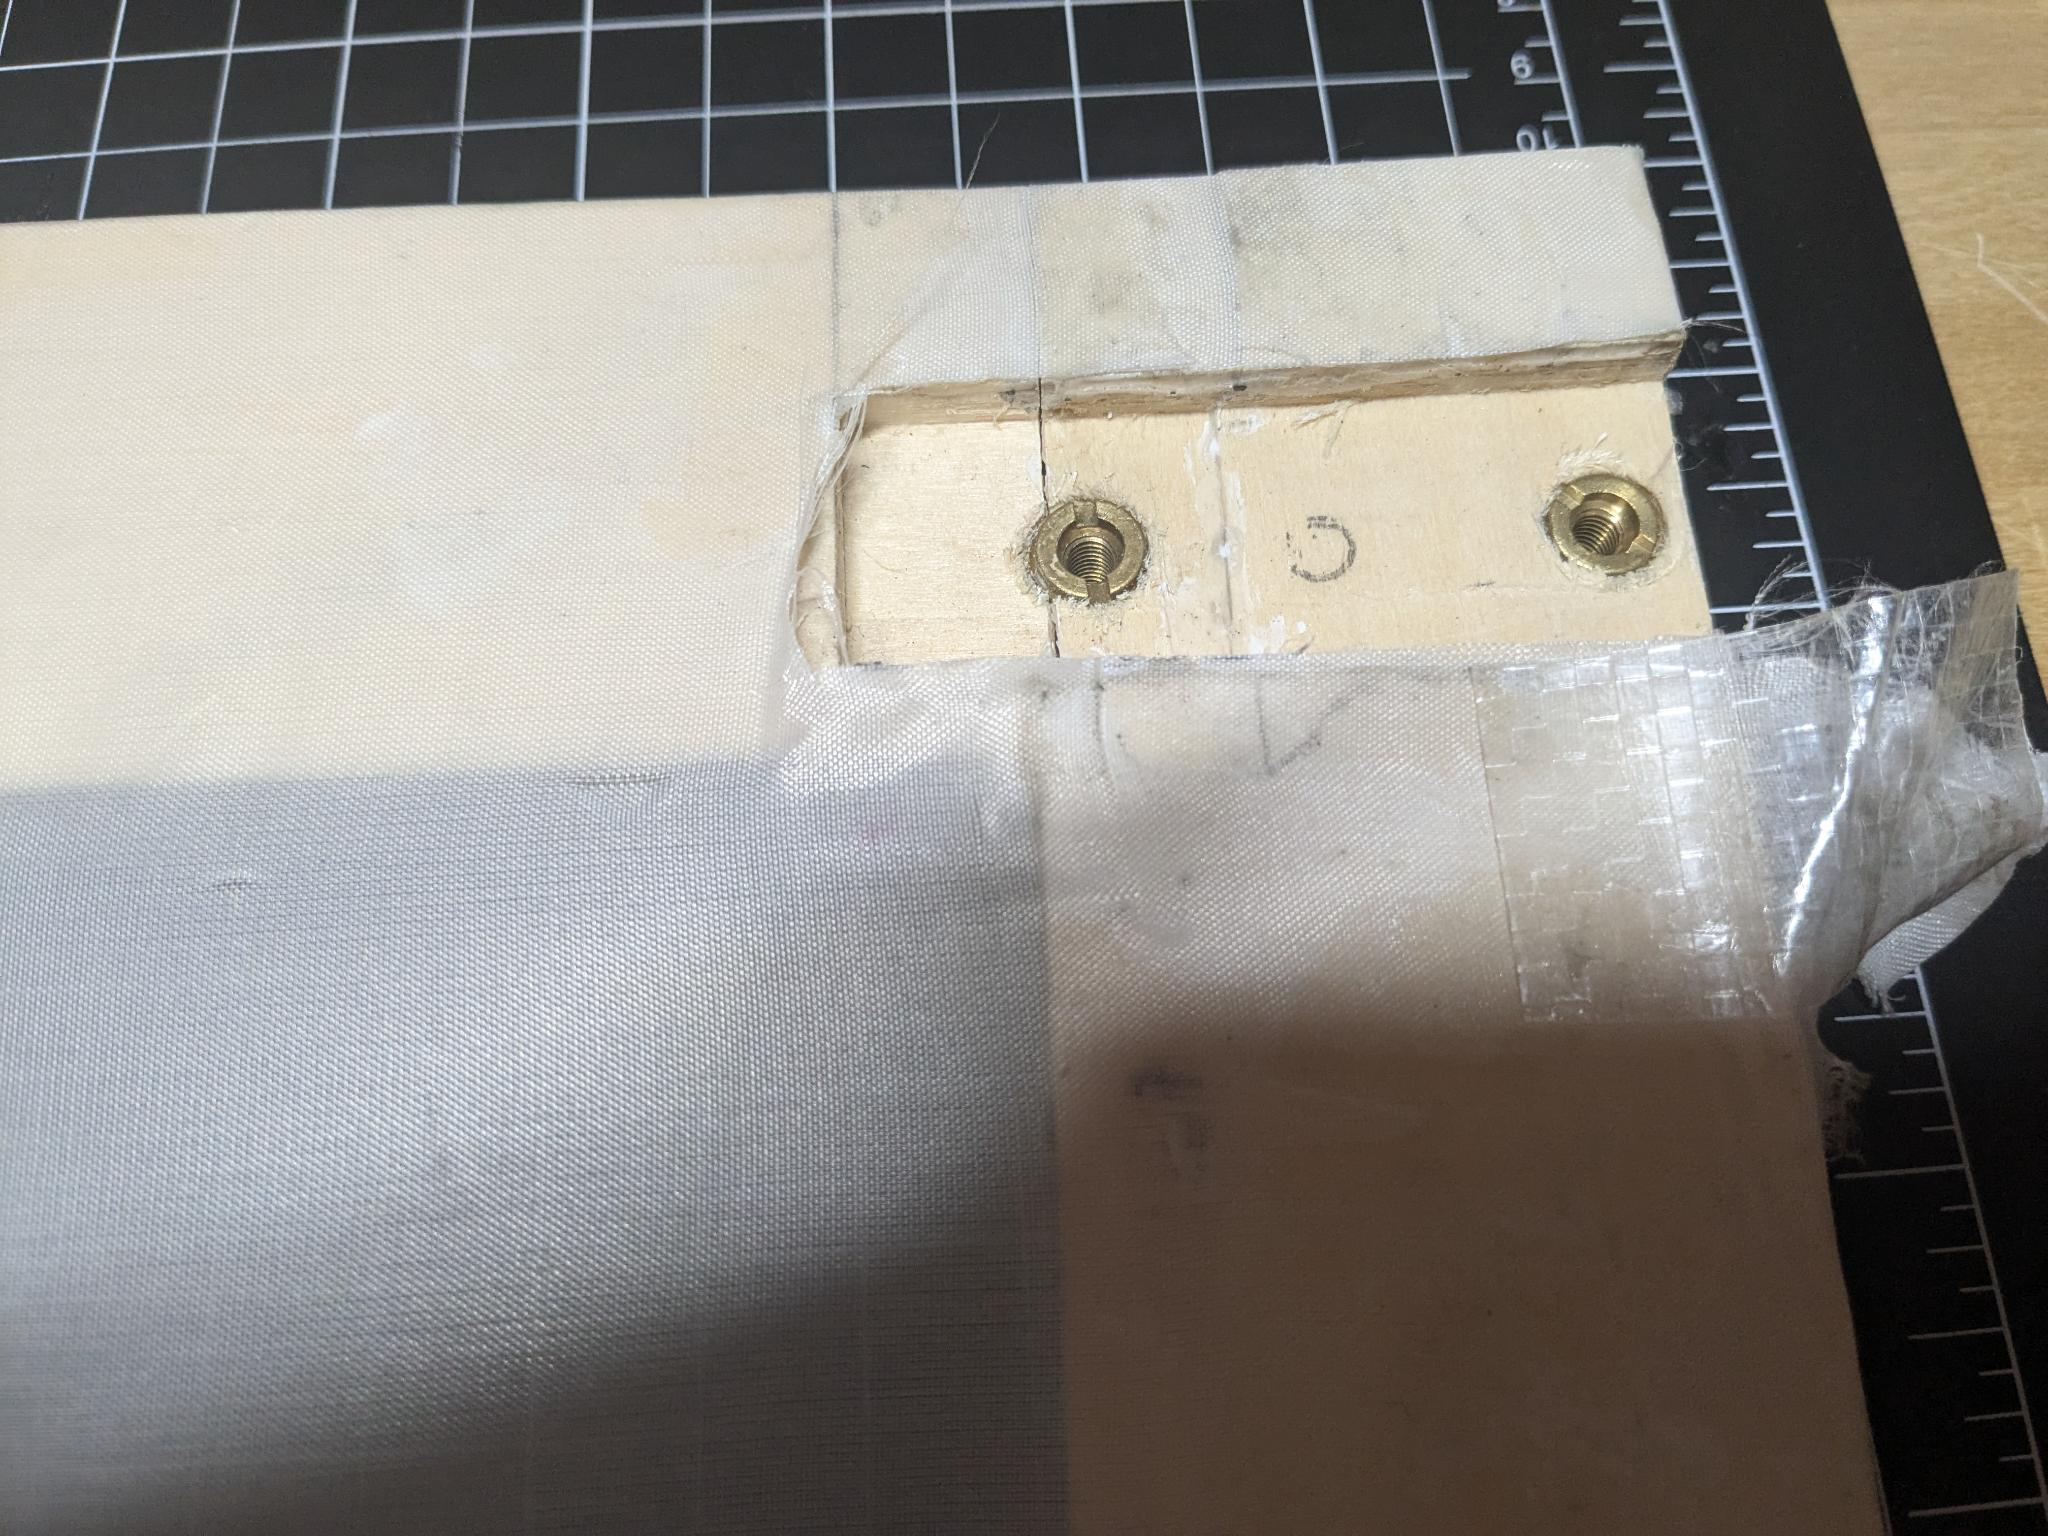
rather than screwing everything directly into the wood, i opted to use wood inserts so i could bolt things in and also be able to unbolt them as needed (such as to recover the tympan). definitely messed that up once or twice, so i recommend having a screw remover just in case (not to mention, i think that the insert drill bit aid is useful enough that it warrants the $9 or whatever it costs, versus trying all the free hacks on youtube).
after a bit of measure-once-cut-once, i got the top rail to be the right thickness (the front rail needs to be thinner than the bottom rail, so it can pass under the platen) and a large amount of rasping to get the tympan frame to fit in the slightly-wonky hinge brackets, the typman and frisket was complete!
here are some pictures of the new hinge design:
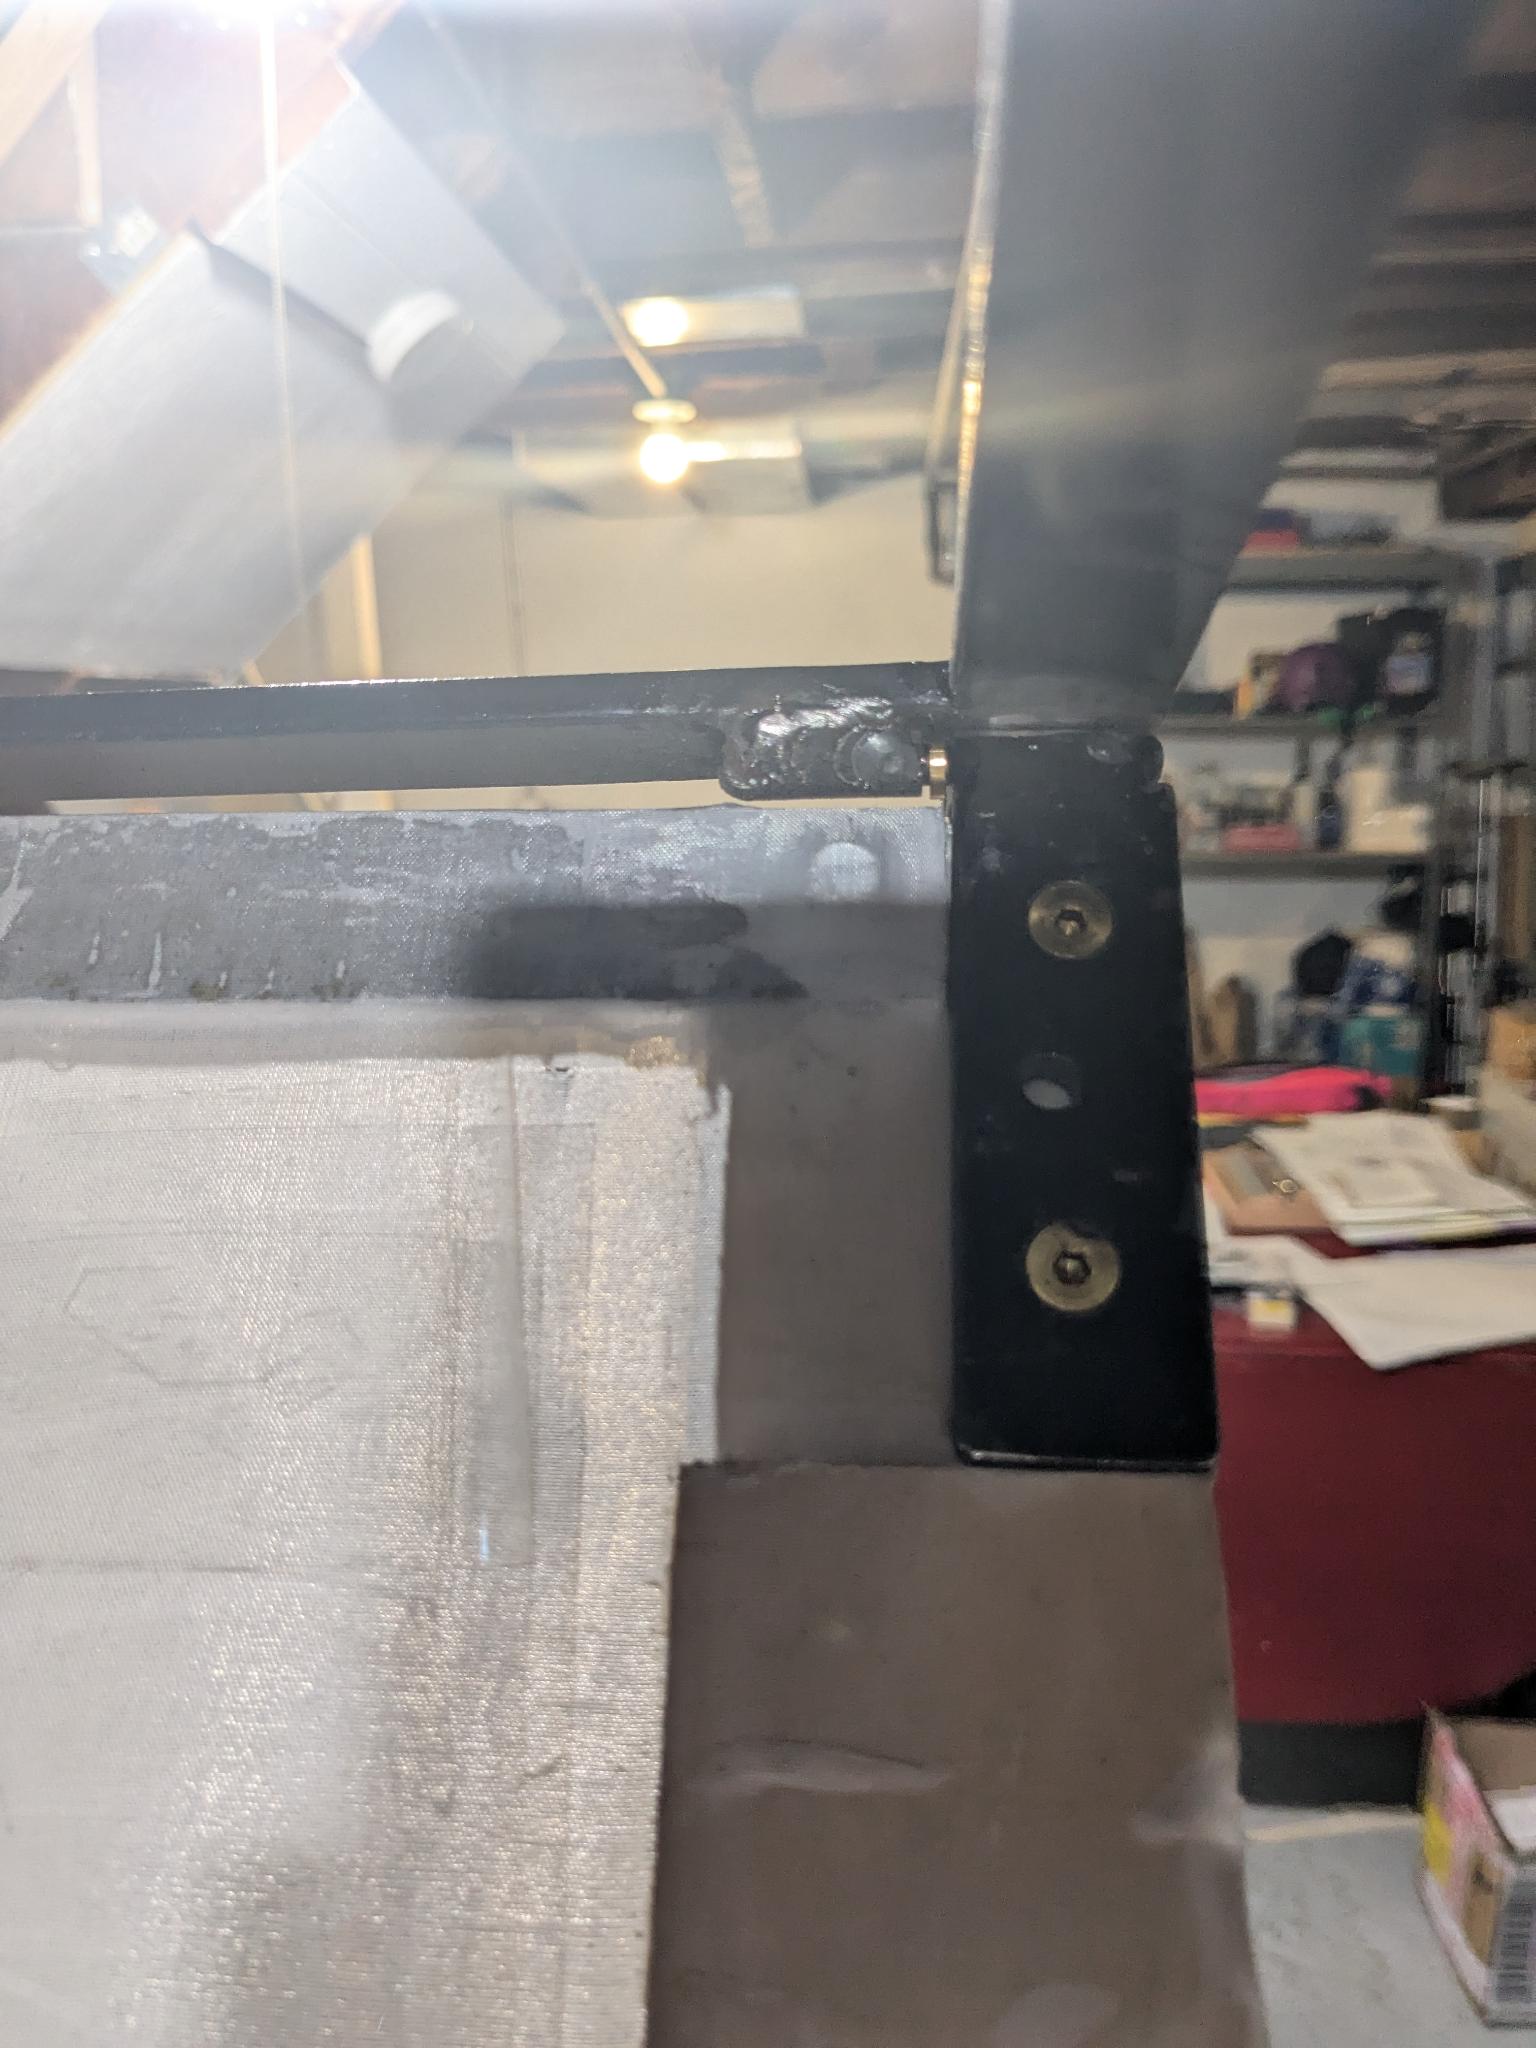
the frisket hung from a hook hanging from the ceiling joists, where you can see the elastic bands. don't forget to put adhesive foam on the bands, otherwise the frisket will not serve its purpose! (h/t Rollin Milroy for reminding me of that).

and a view of the hinge from the top. you might be asking about the weird hook on the far left. it was itended to be a tympan "stop", so it doesn't fall back that far. however, it does not curve enough and so doesn't actually do anything – the lack of plumb-ness of the hinge actually tightens the whole hinging mechanism enough that it stops at a reasonable location.

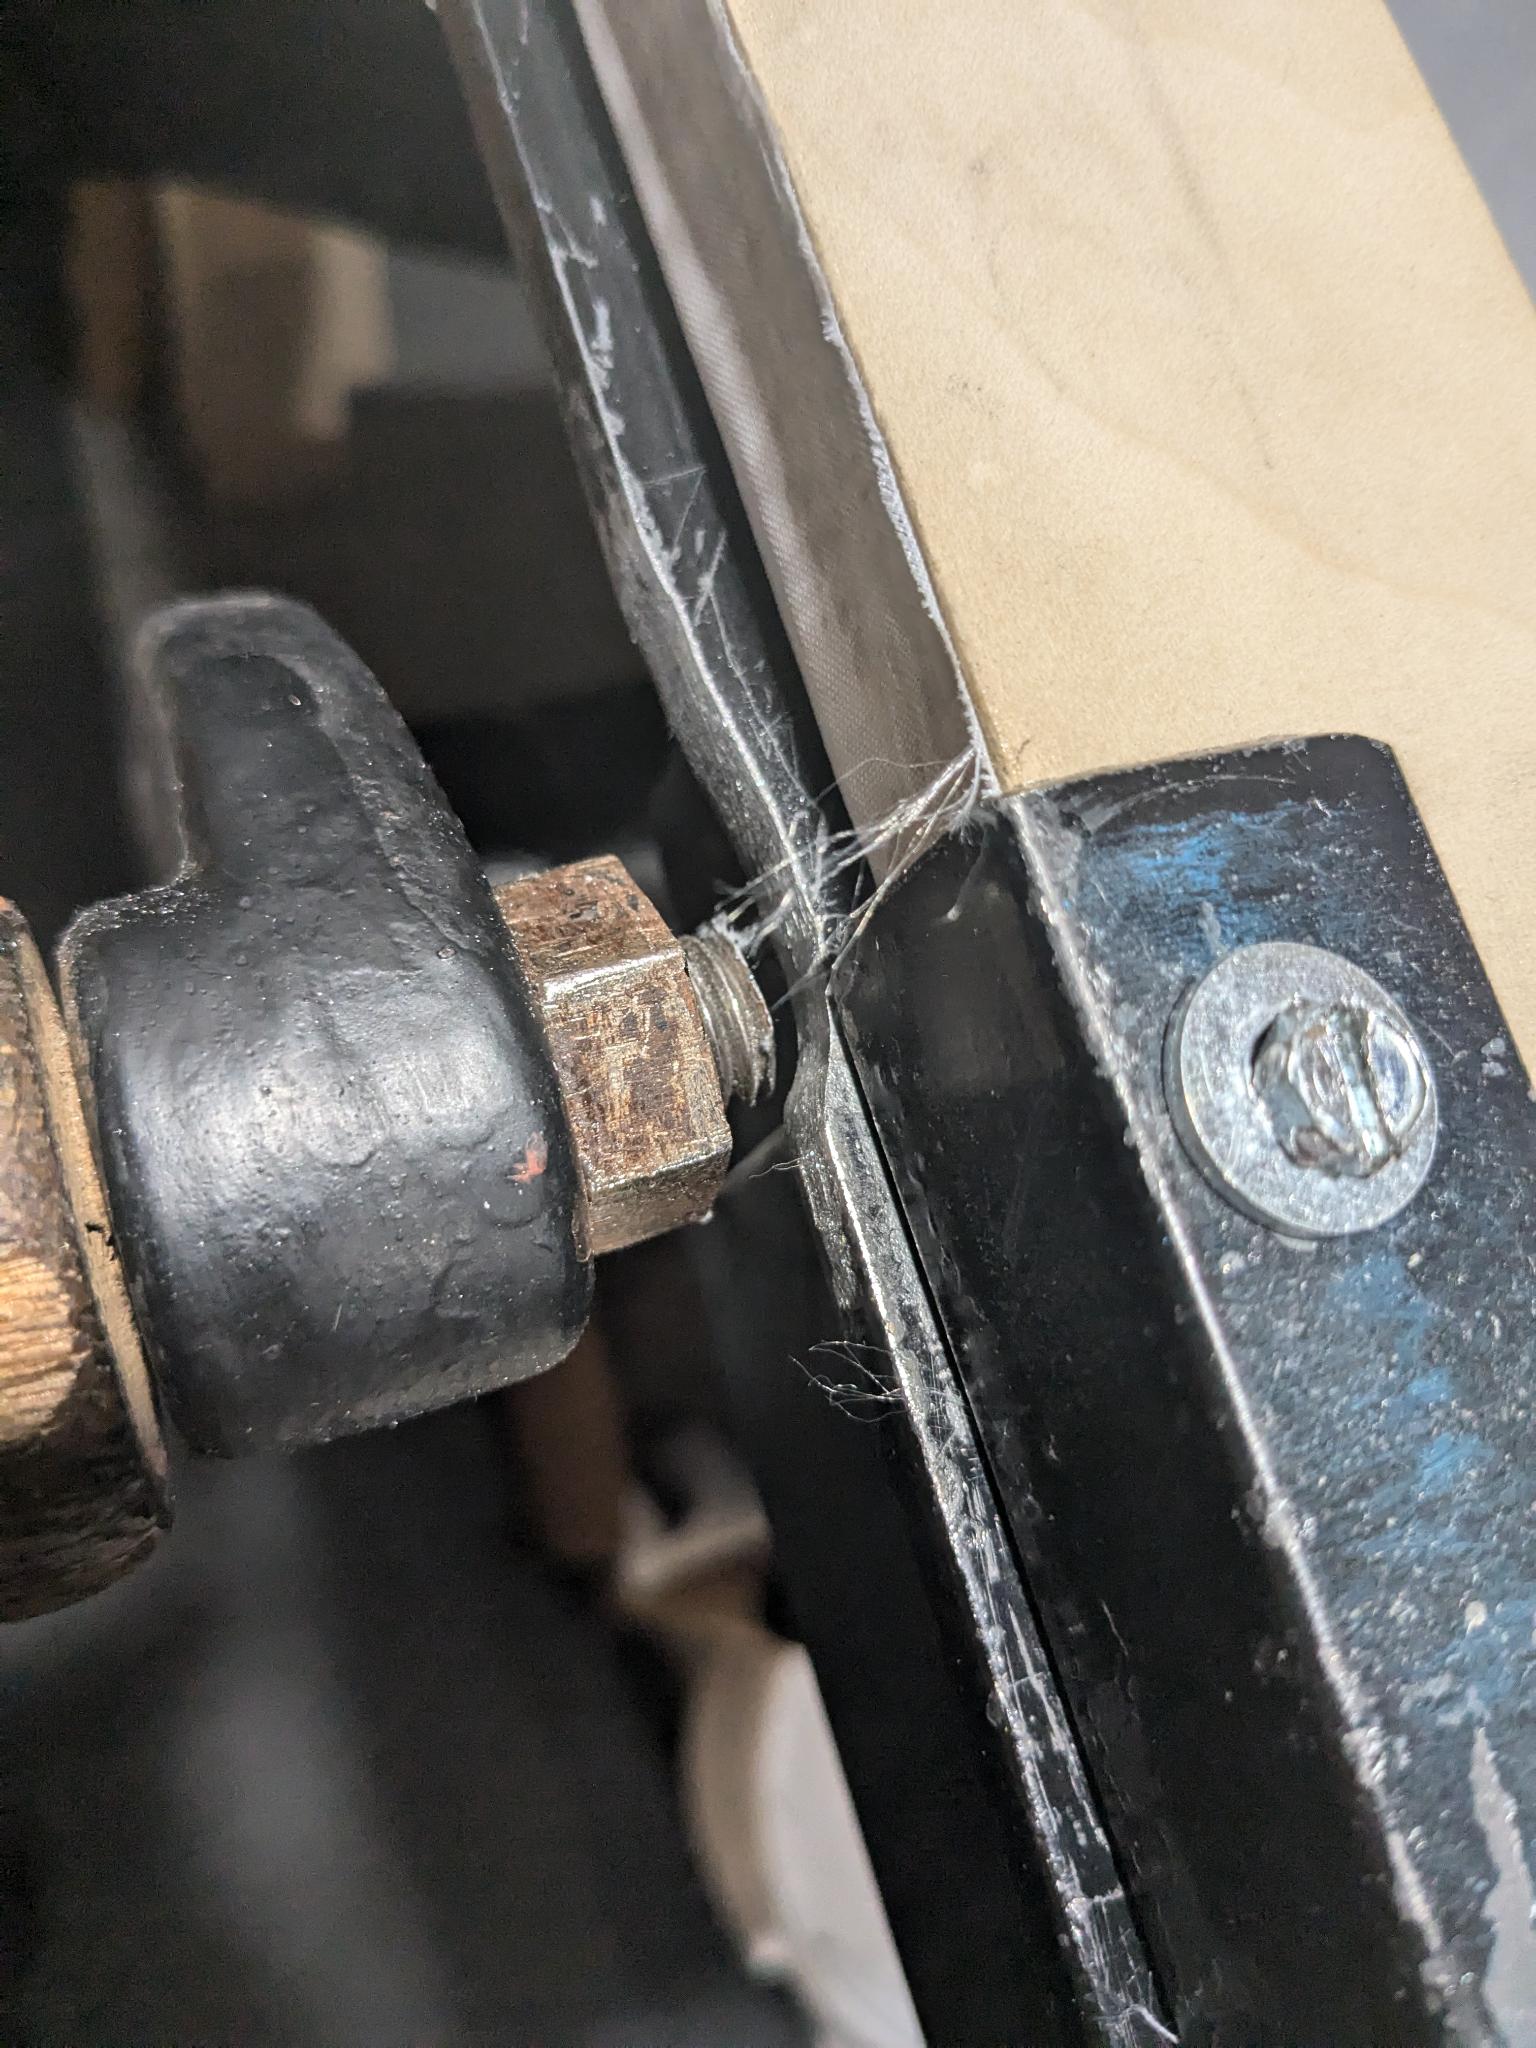
one final fun part. after recreating the tympan and adjusting the frisket location, i couldn't actually move it because the bolt of the rounce kept hitting the frisket! obviously not good, cause if the frisket moves, you might move your paper, and get slurring. took a while with a dremel tool + grinding attachment, and a bit of sawing of the bolt, but there's now a "perfectly" positioned cut out of the firsket to support the rounce turning.
what would i do differently?
as seen in Resurrection of a Reliance below, there is some fancy hinge work to make taking the frisket off easier. i would like to do that eventually so that i could cover the frisket or tympan easier, if needed.
Bill dug up some old "true" tympan paper, which may be worth trying at some point, though the koverall has been working ok (minus the adhesion of the tape, as mentioned above). as long as i keep my eye on the tape adhesion from the makeready and the back-packing, it works ok. the biggest risk is the back-packing falling off during a run (which may or may not have happened...).
appendix
- Juliet Shen's short pamphlet Resurrection of a Reliance
- Draft schematics from above pamphlet
last updated: 2025-09-03 20:45:00