what is a microcomb? generally speaking, any comb with more than 4 tines per inch is considered a microcomb. thus, 5-dent or higher. the most common sizes in the microcomb family are 1/8" and 1/16". indeed, 1/16" (16-dent) combs have been available throughout most of the history of marbling, as they used to be readily available as modified weaver's reeds. weaver's reeds are significantly less common and available today, so alternative approaches are needed.
making a microcomb at home
while ideally i'd like an option that is a single set of tines, the most useful comb i've created that achieves a 1/16" pattern is with two sets of 1/8" tines. Dan St. John of the Chena River Marblers has a method for making single-row high-dent combs (i've used up to his 10-dent comb), using .015 diameter wire, which i've adapted for a sparsely equipped studio.
this method is significantly less professional than Dan St. John's method, but can be done at home with minimal tools. why is it less professional? simply because i'm not a cabinet maker :) there is, however, one piece of equipment that requires professional assistance, which i will elaborate on below.
materials:
- 16-dent spacing jig
- 0.015" wire, cut to length
- JB Weld plastic bonder
- 2x basswood strips
- a lot of hand clamps
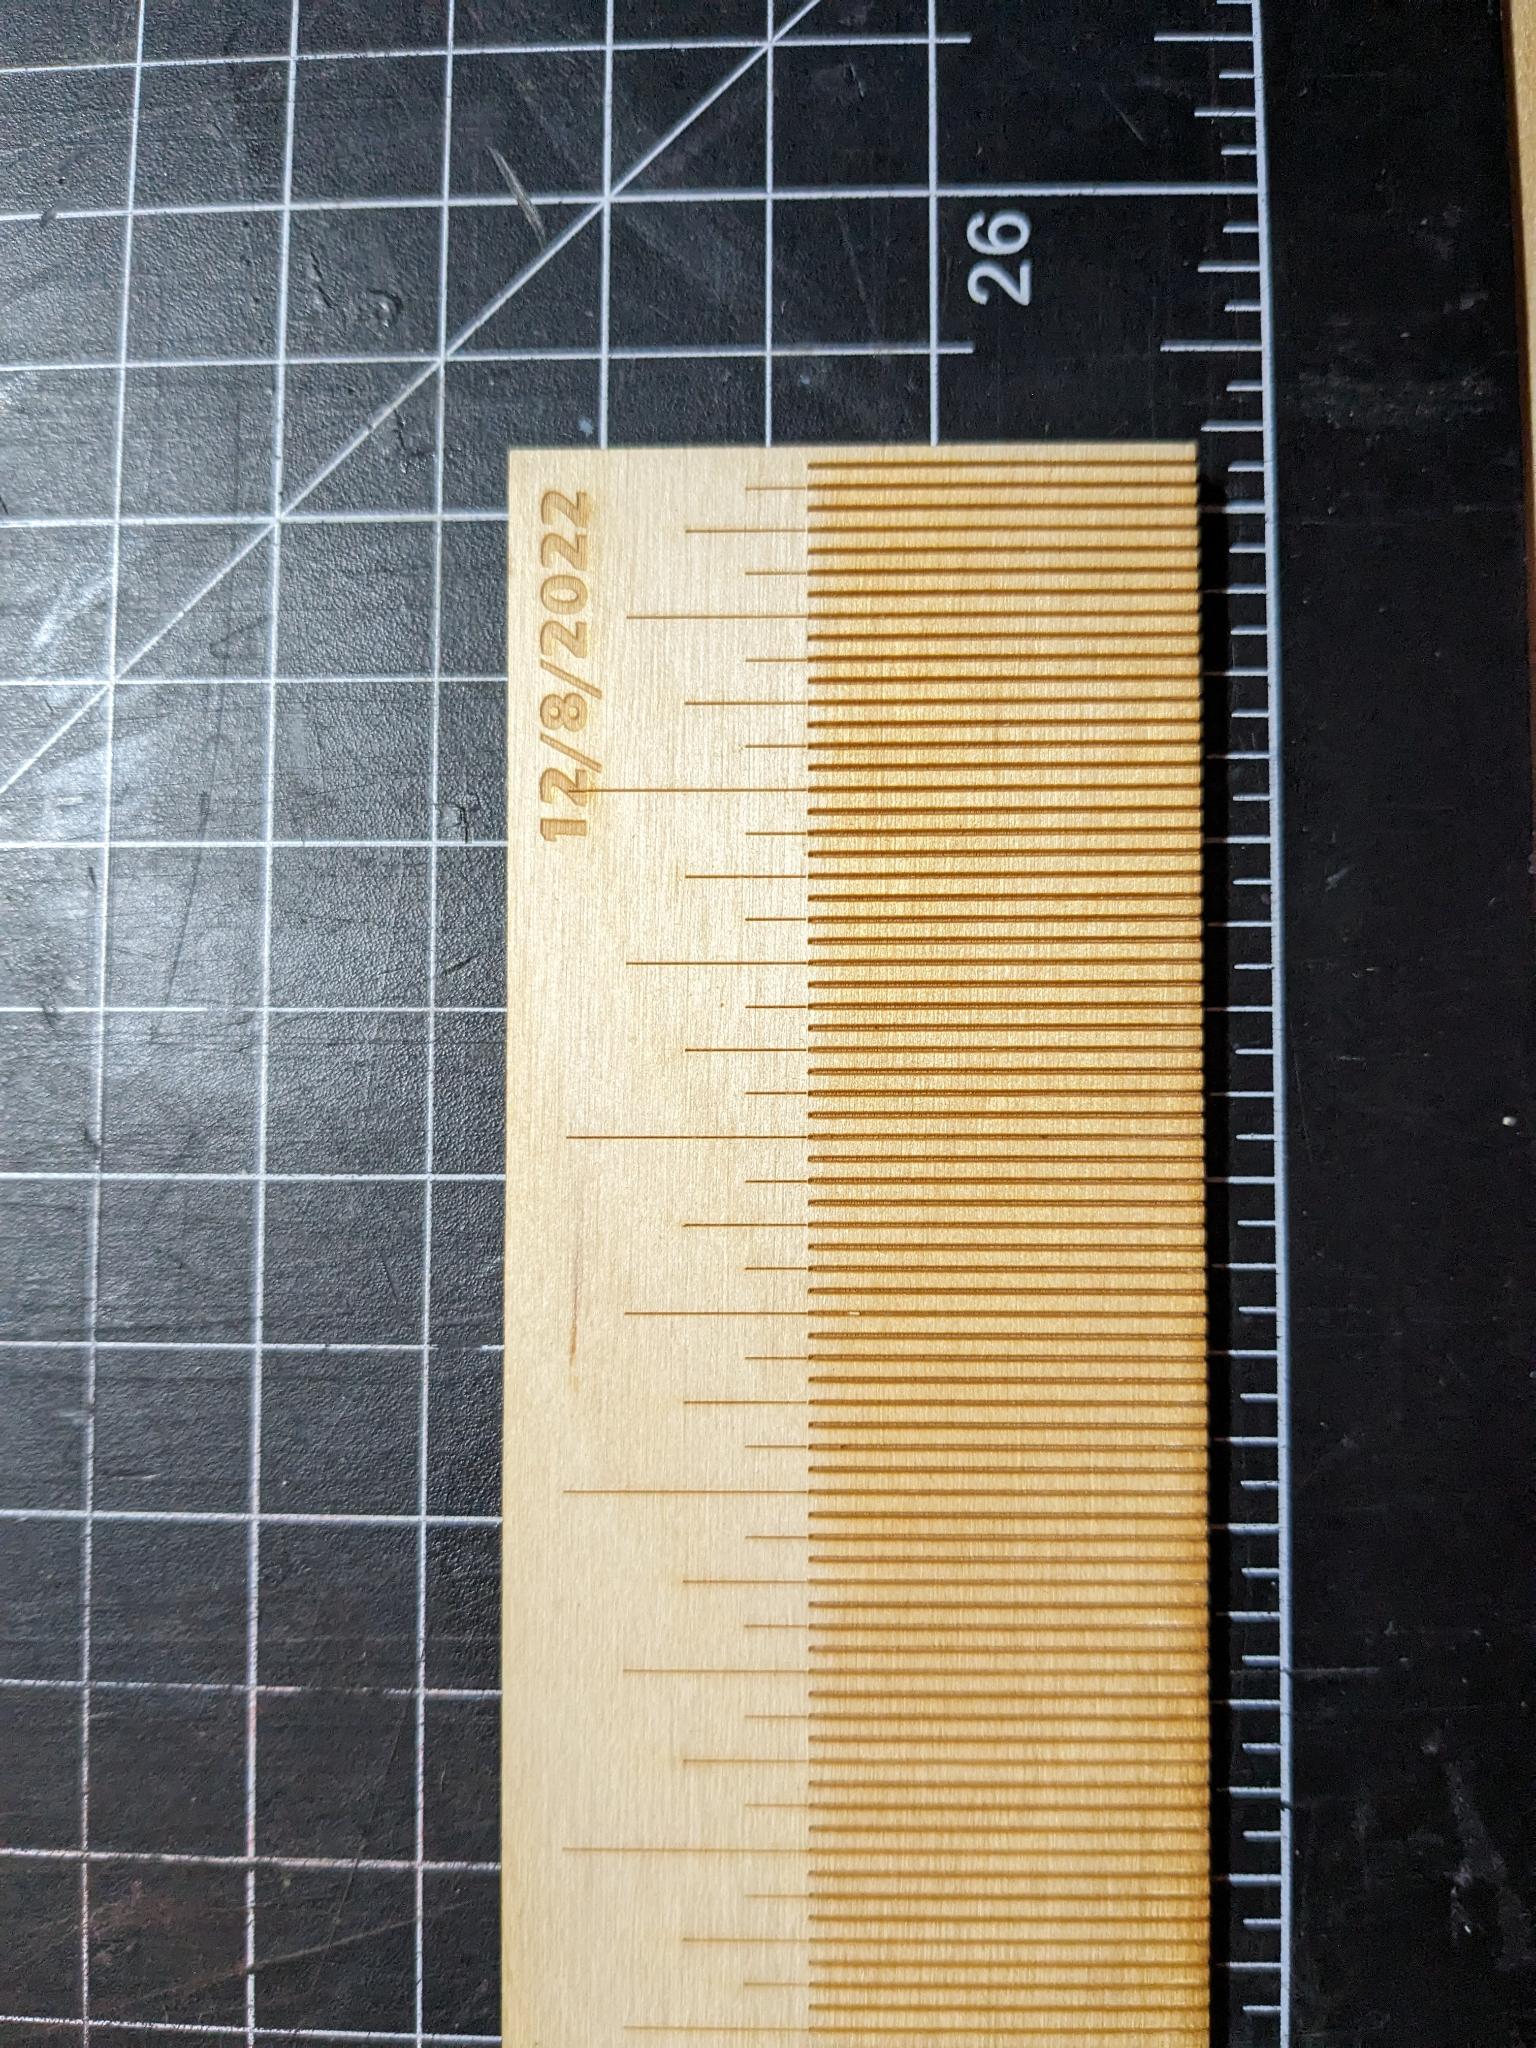
the jig is the most difficult to come by: it is laser cut out of two pieces of wood that form together to make a 0.015" cylinder for you to place the wires into. each half-cylinder is spaced 1/16" apart. from what Dan says, it took a number of tries to get the depth, spacing, and alignment correct. if you are interested in acquiring one, please let me know.
here is the inside of one half.
and here is what it looks like in a press with some pins in it – you can use any sort of clamping device you have, but a press is very easy to unclamp and usually quite stable.
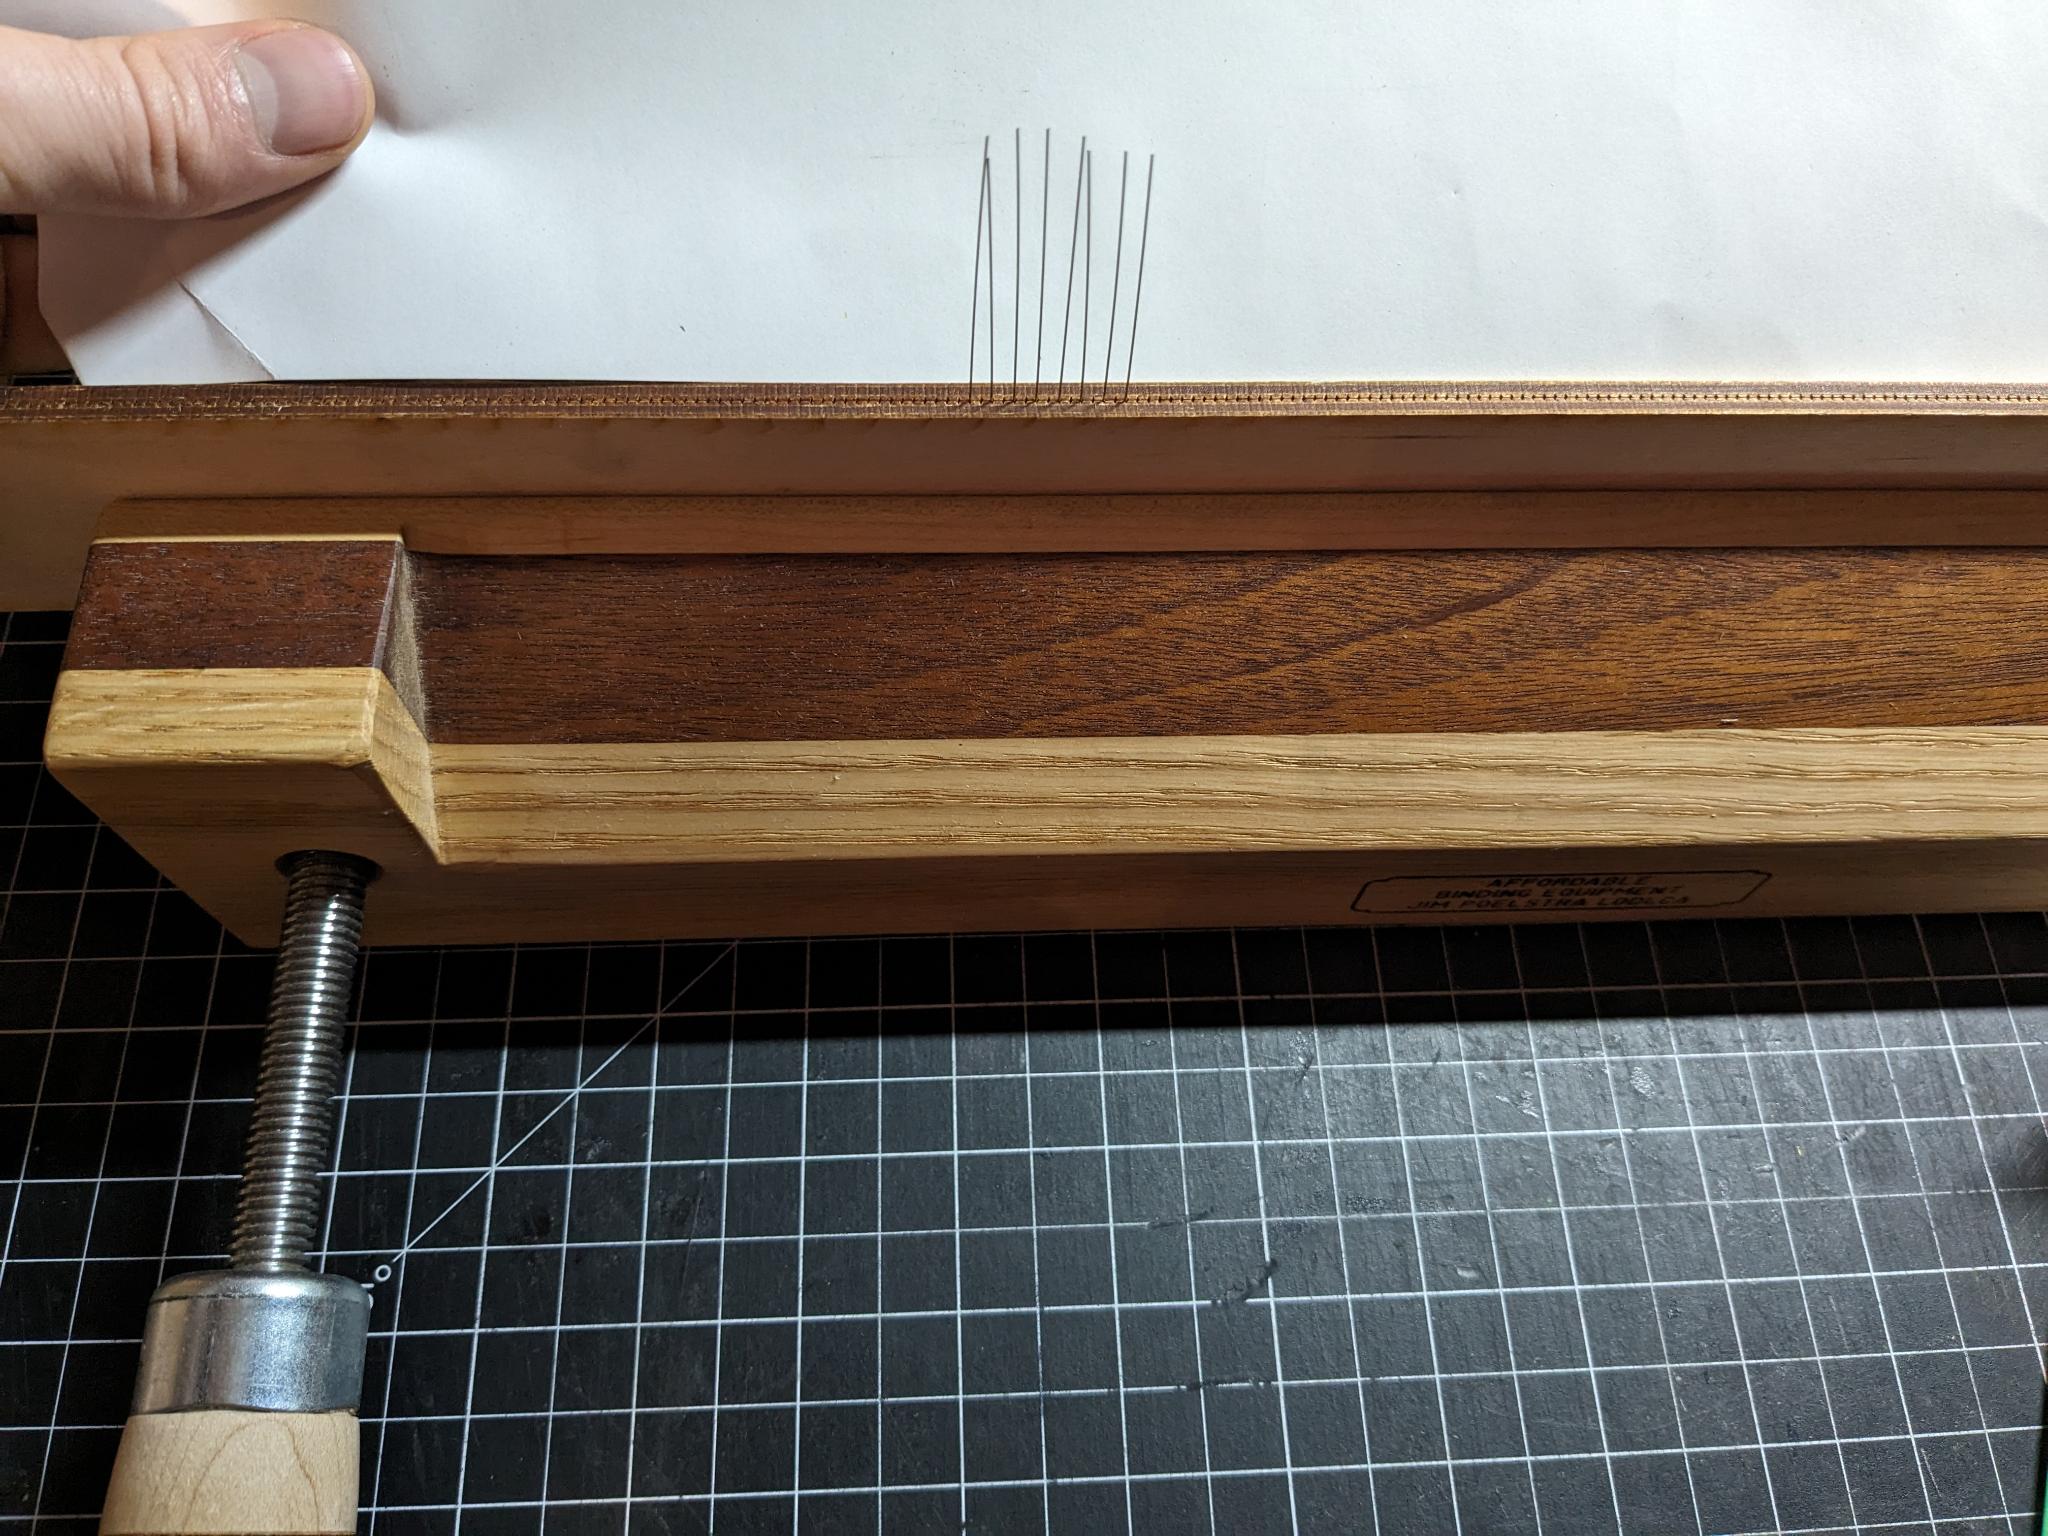
wire can be acquired from Stainless Wires or Malin Co. the minimum order is about 2lbs or 10,000 wires. please please please let me know if you would like any wires – i have more than enough for you and all of your friends.
the plastic bonder is used to rapidly join the basswood boards that make your final comb together. i have tried a variety of different adhesives (wood glue, gorilla glue, quick tack wood glue, PVA) and the JB Weld just seems to work the best.
the steps, then:
- assemble your jig and start placing pins in it until you reach your desired length.
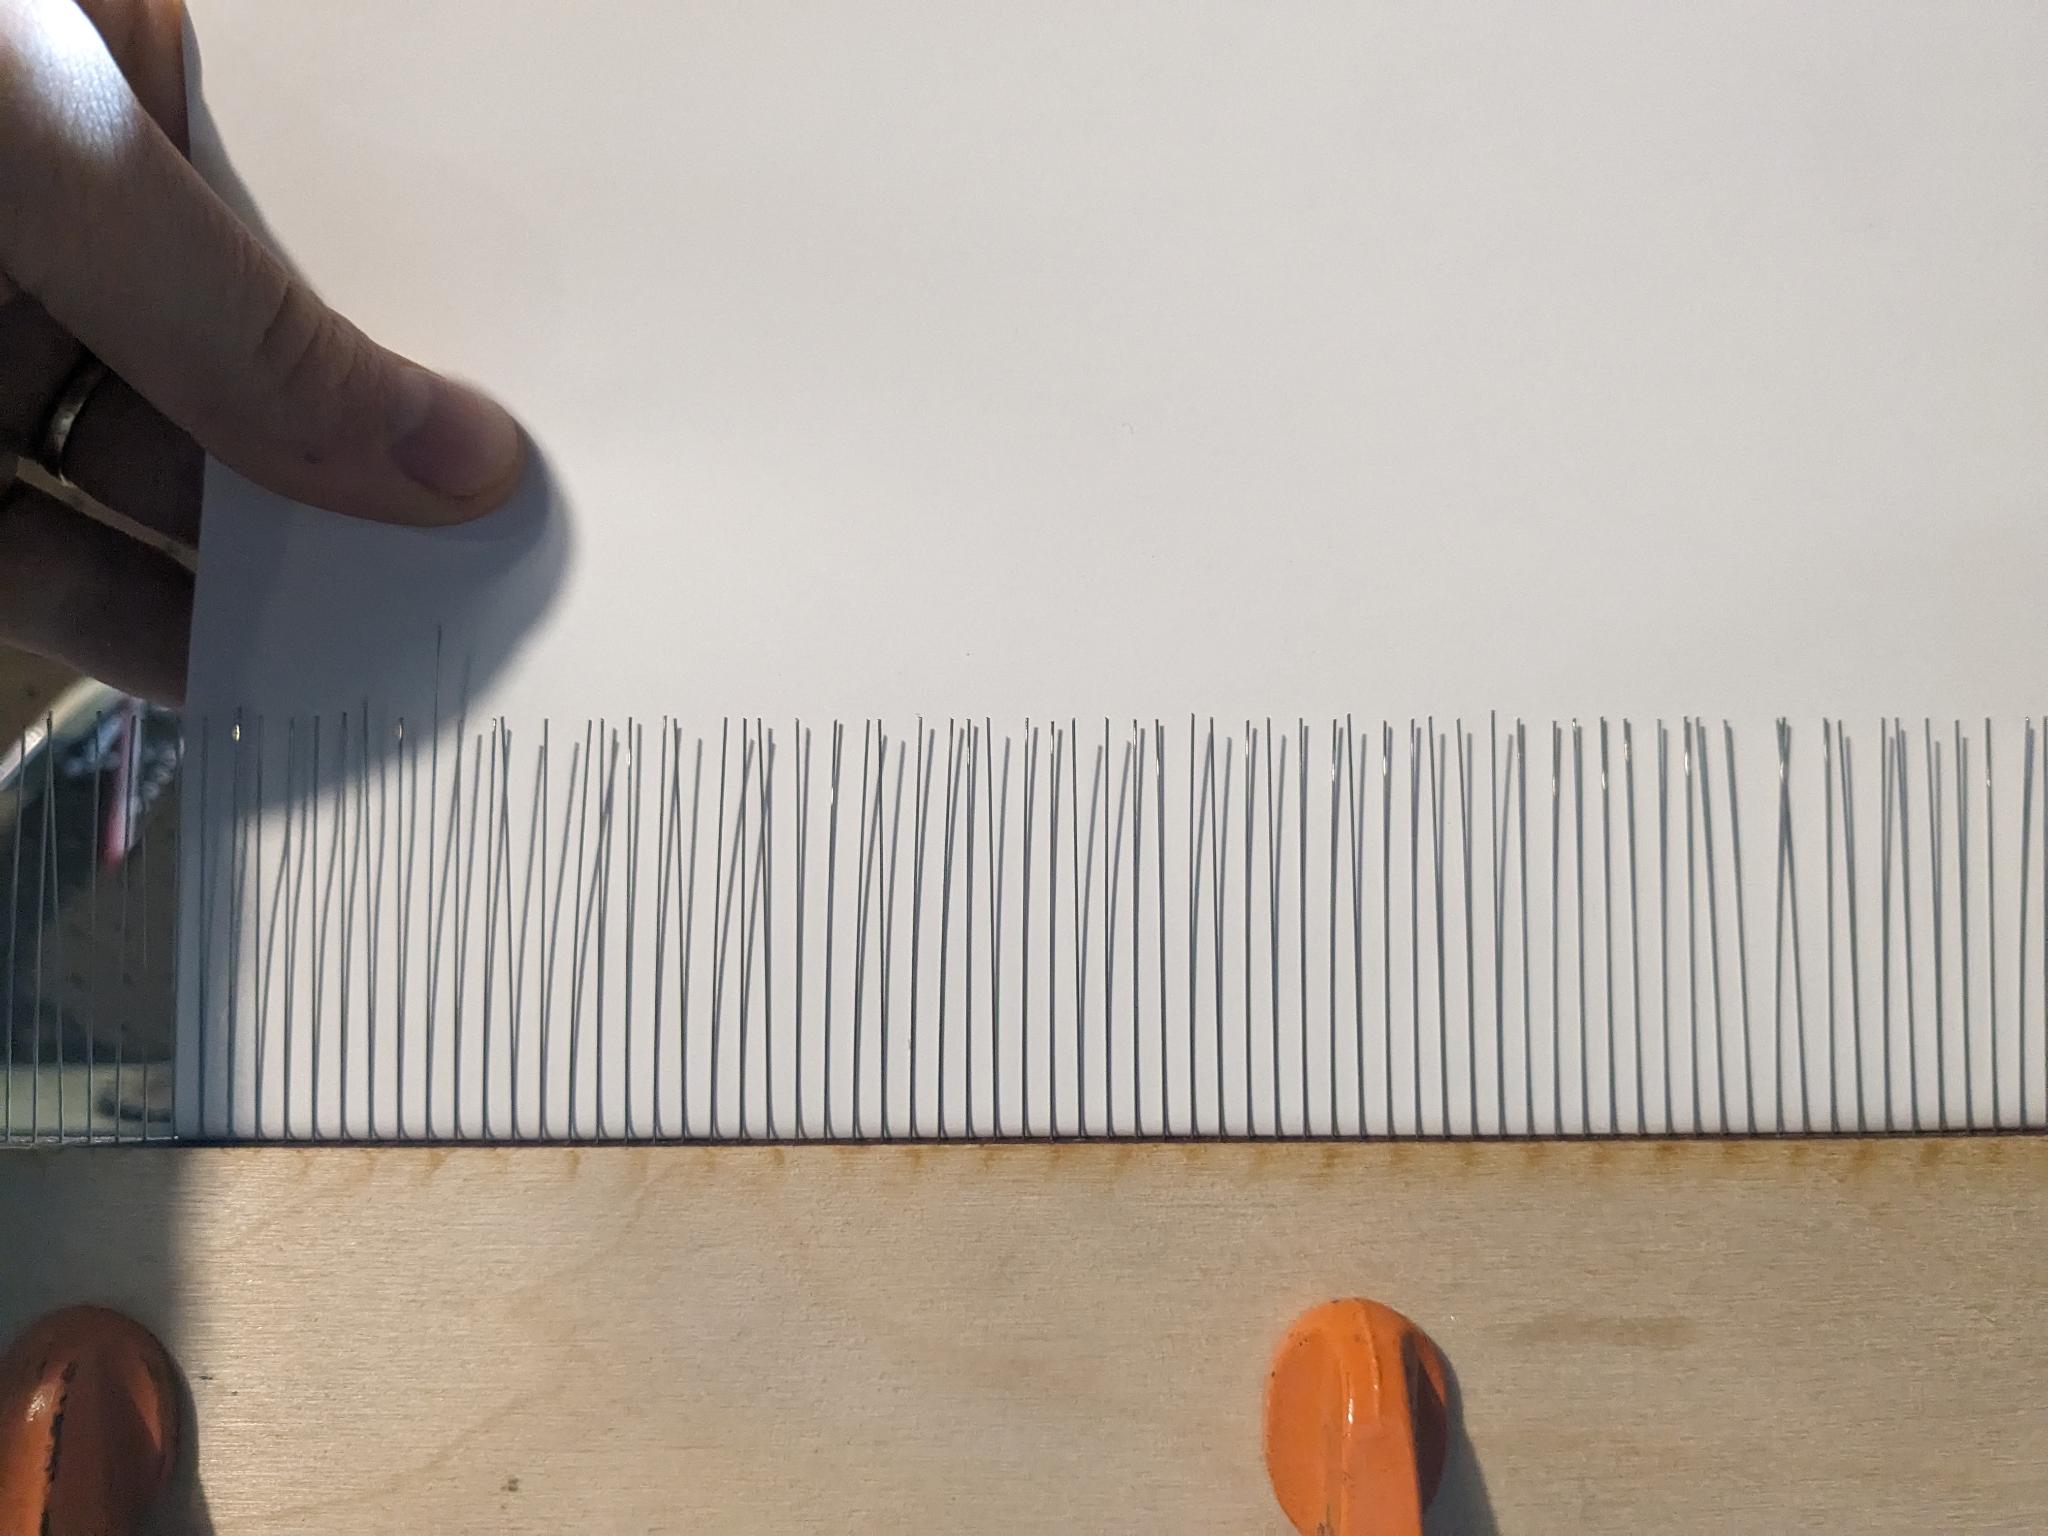
- as far as i understand it, wire is cut from straightened coils, meaning that some wires are prone to returning to their loosely curved state. before getting ready to glue, check to make sure as many of your tines are stick straight as possible and replace those that aren't. you can see an example of an overly curved tine in the right of the image below.
- i recommend adding a half inch support above the jig to add length to the final comb's tines. by default, this method i'm using will result in only 1" long tines in the final product, since that's how long the jig's wire depth is. i've tried other methods to get different lengths, but they are quite unwieldy, require a lot of clamps, and have some risky movements. an additionaly half inch is about where i've found the sweet spot to be in making sure the tines are straight.
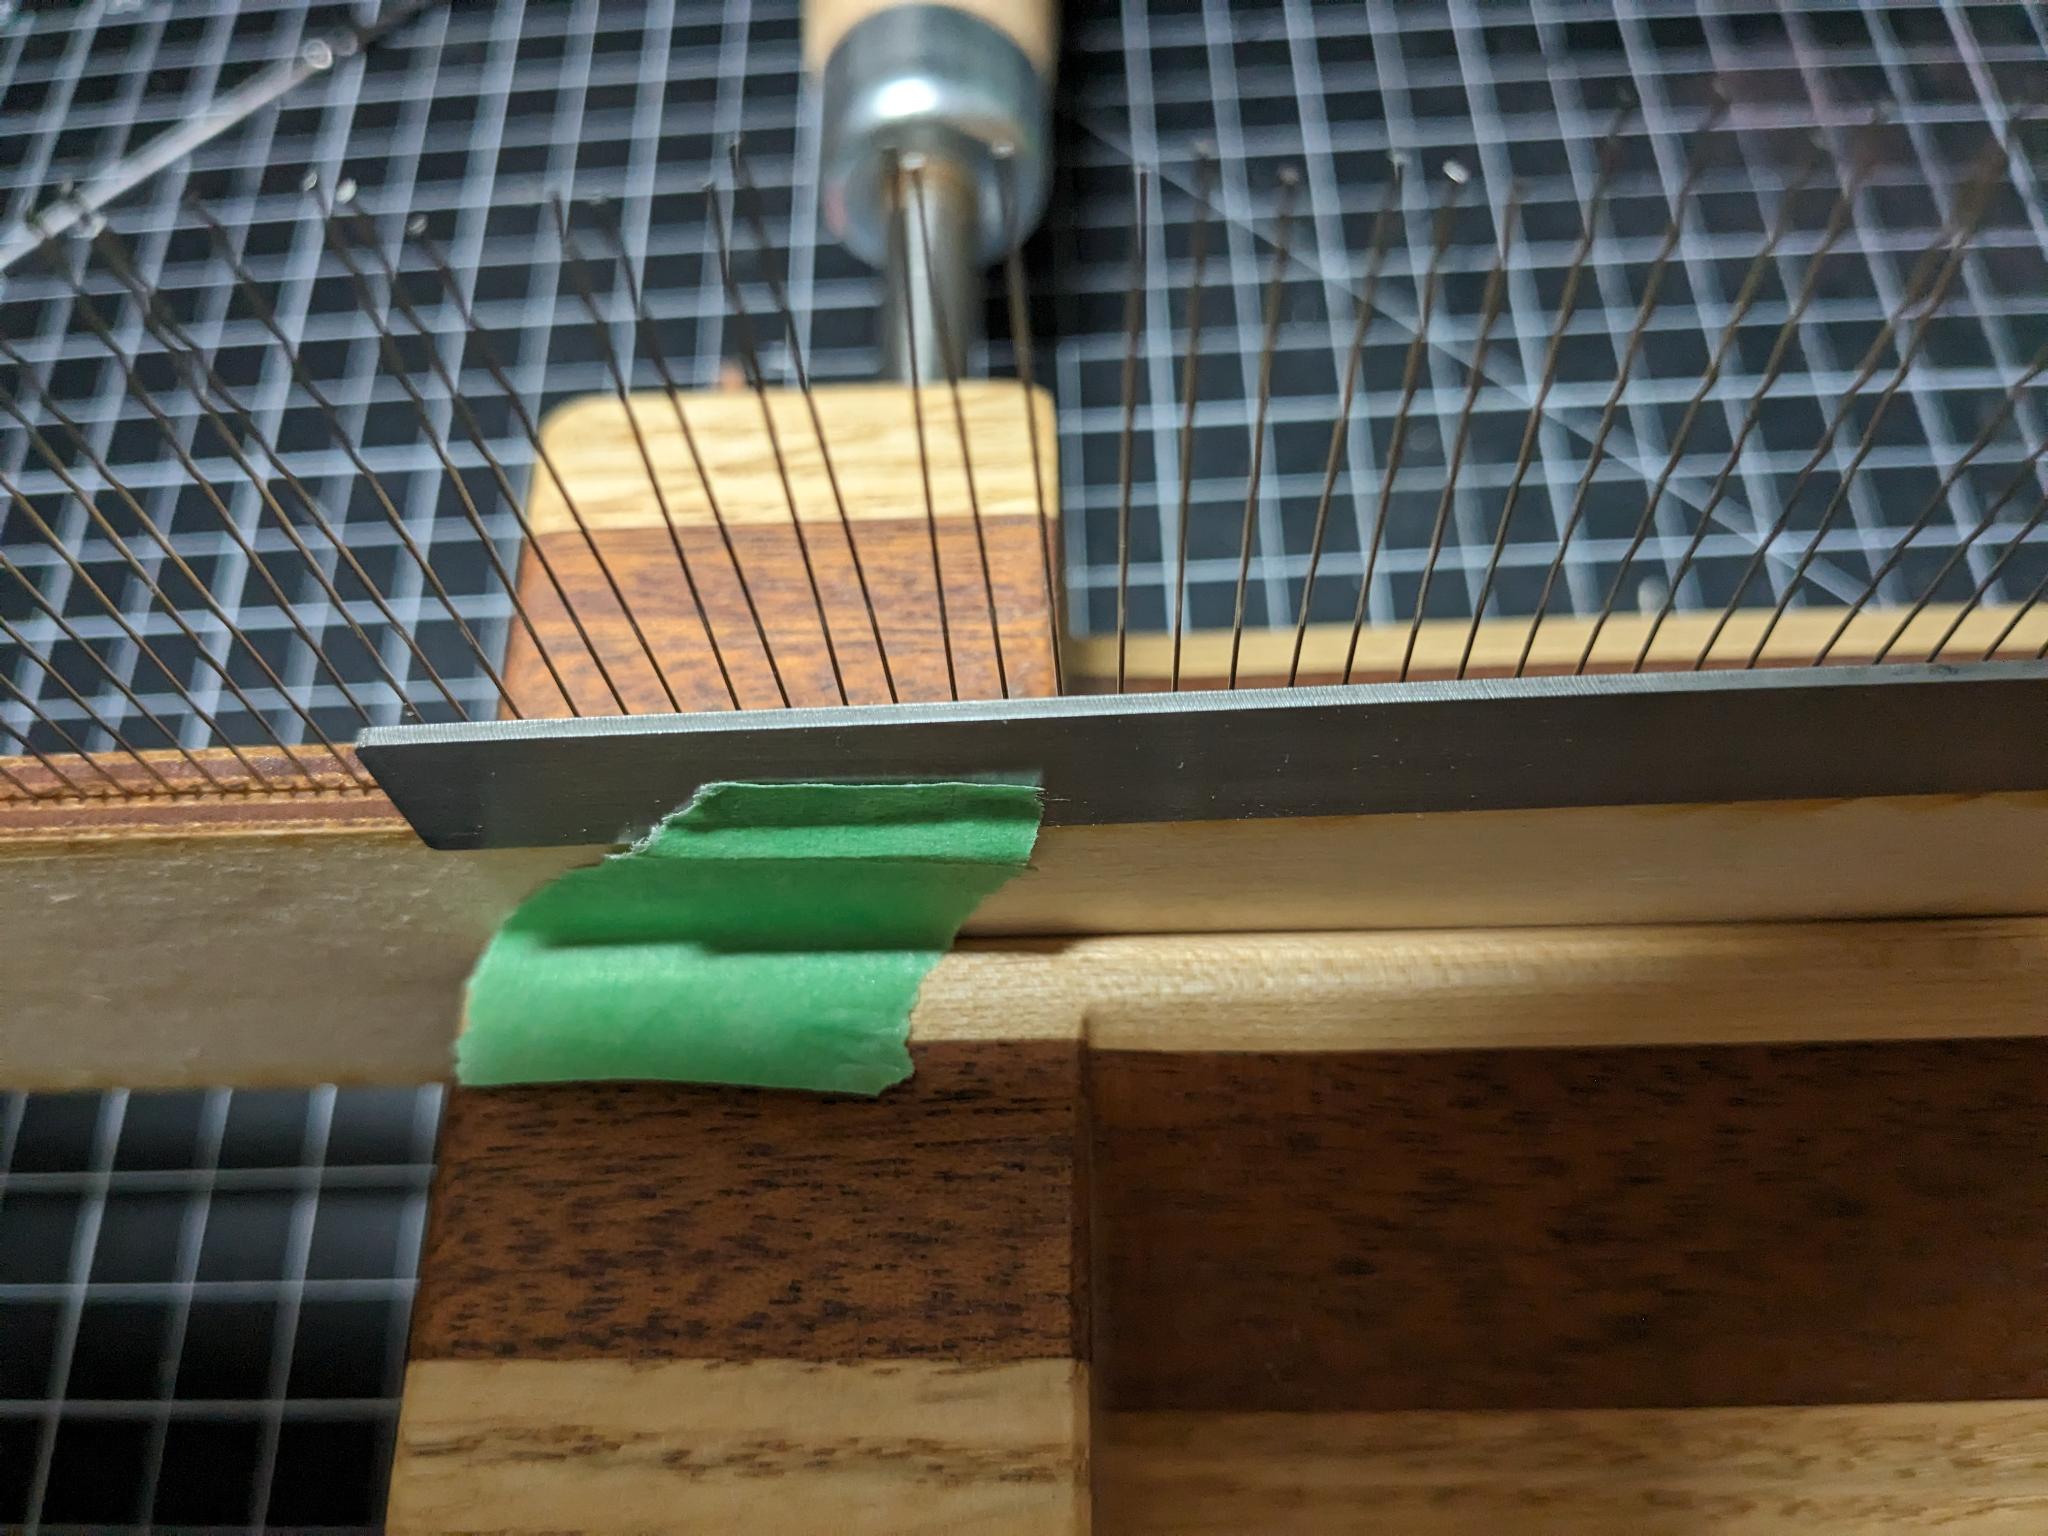
- glue up one piece of basswood, leaving a small strip at the bottom (i.e. towards the jig) where there is no glue: this helps avoid any glue squirting out and getting glue on your jig. in the image below, i'm jusing the black JB Weld plastic bonder.
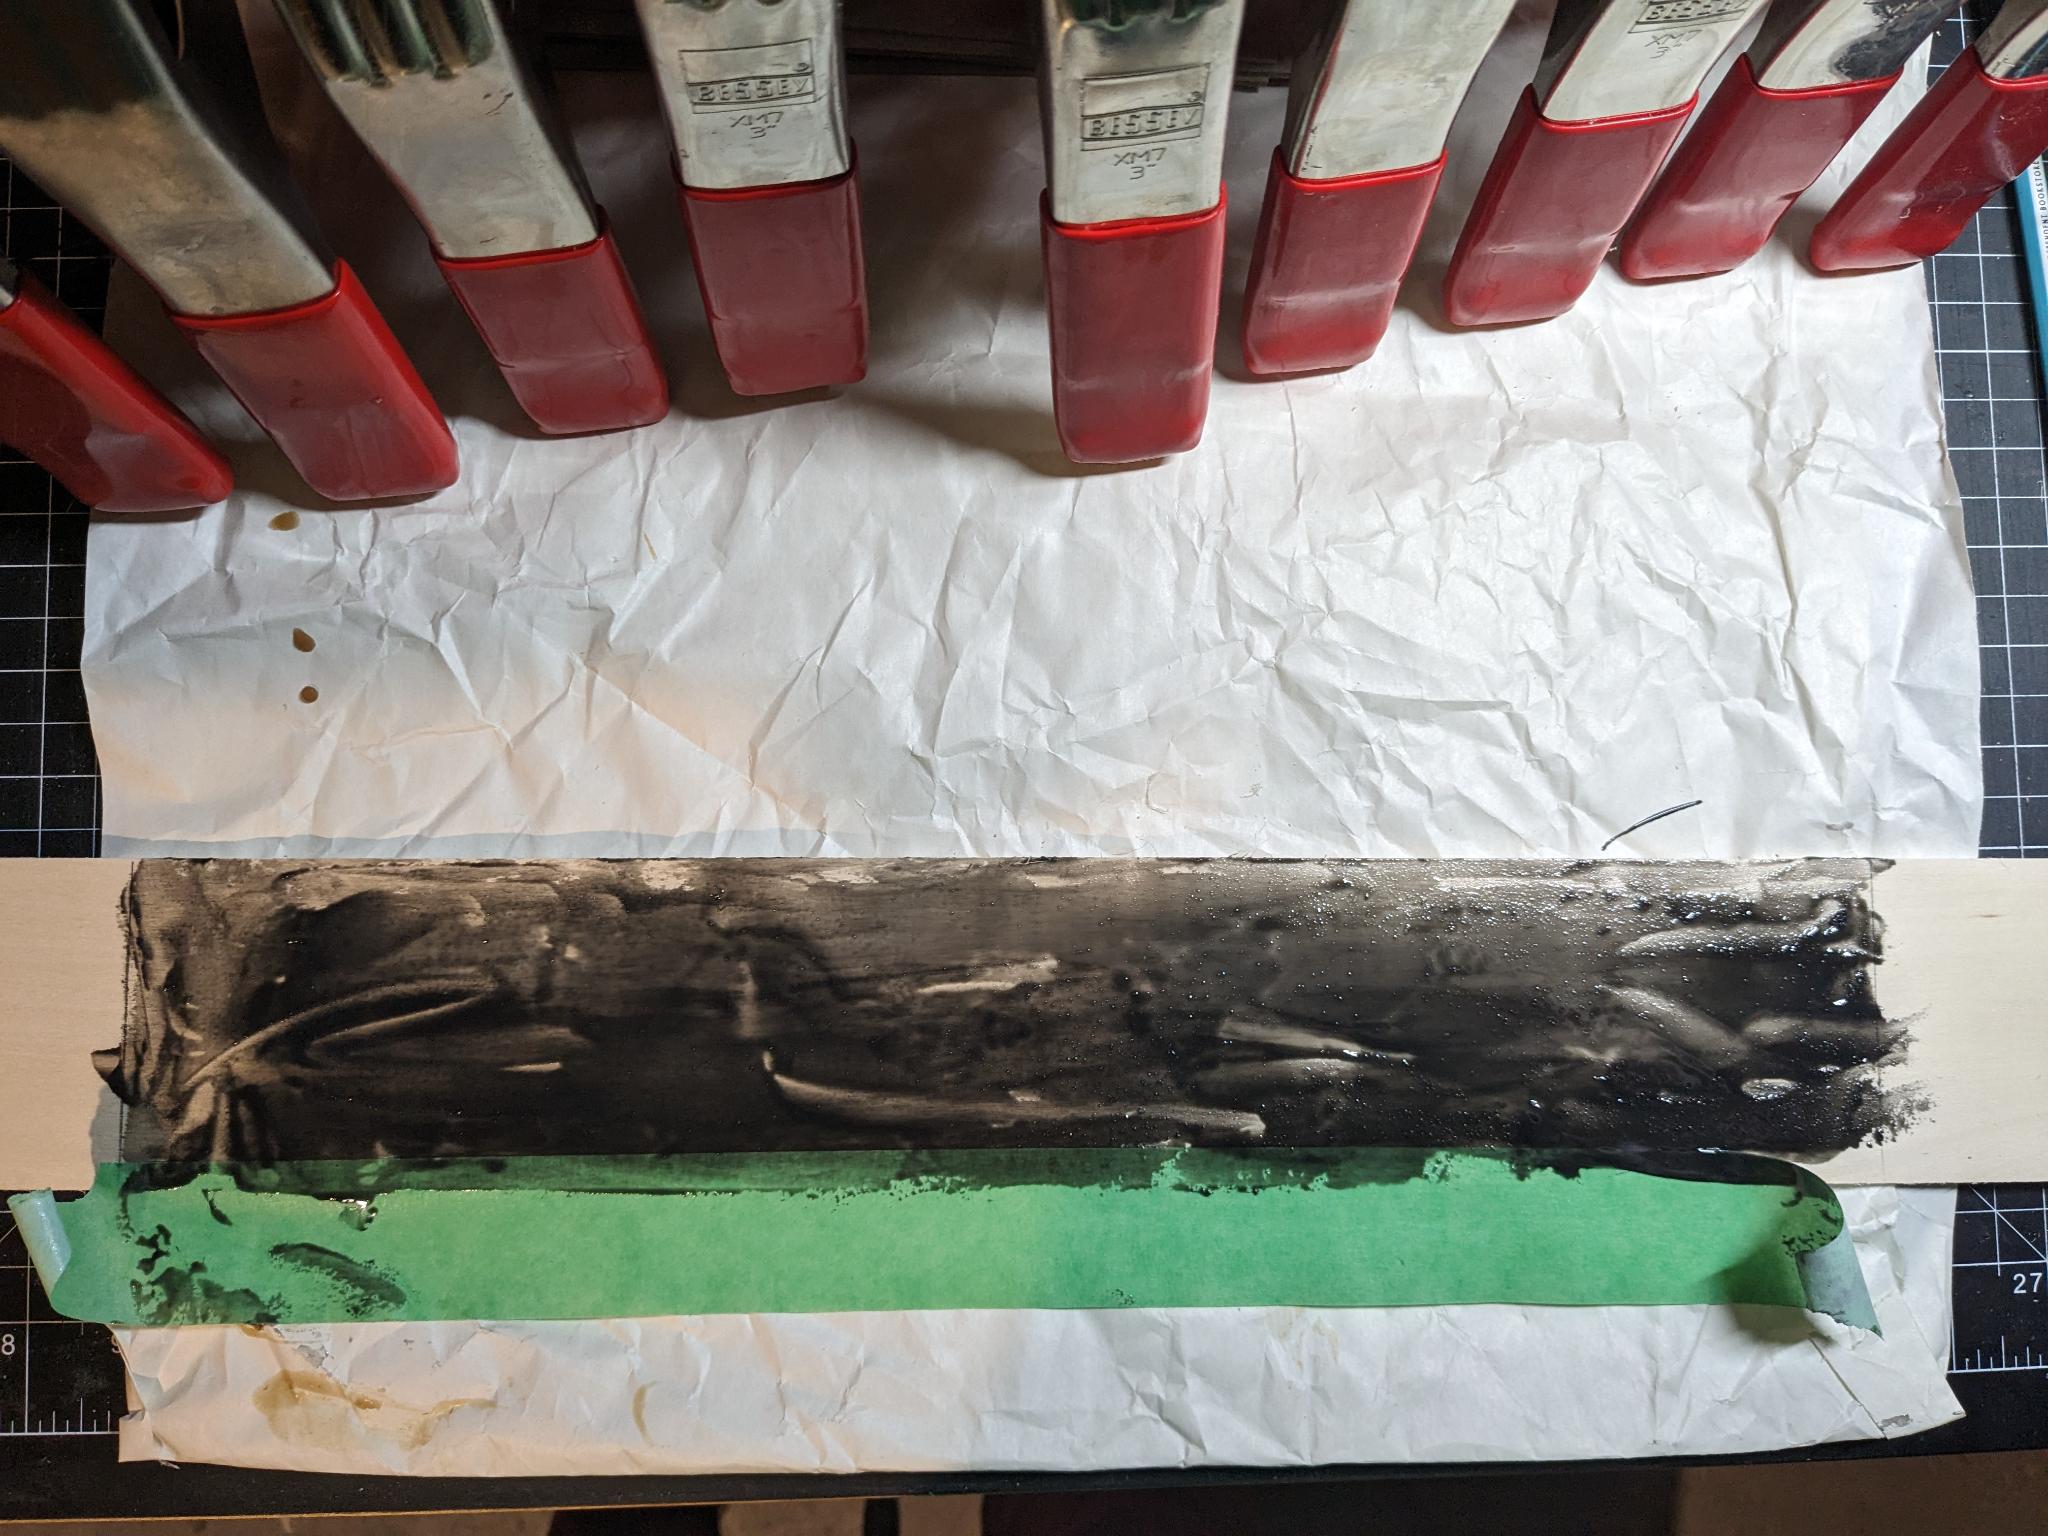
-
now comes the tricky part: place your two pieces of basswood together, sandwiching the tines in the middle. while holding it tight, start using handclamps to clamp the basswood together. ACHTUNG! you will need to hold the handclamps that you've added with one hand while putting new ones on with another – i recommend a hand clamp about every 2 inches.
-
once clamped, loosen the press & jig and delicately move the clamped wood up and then out of the jig, flipping it upside down so the handclamps are resting on the table and the tines are in the air. i highly recommend doing the manipulations from the ends of the comb so you have the most control and can prevent it from warping or tipping.
-
let cure, maybe about 30 minutes, trim to the size of your tank and you're good to go!
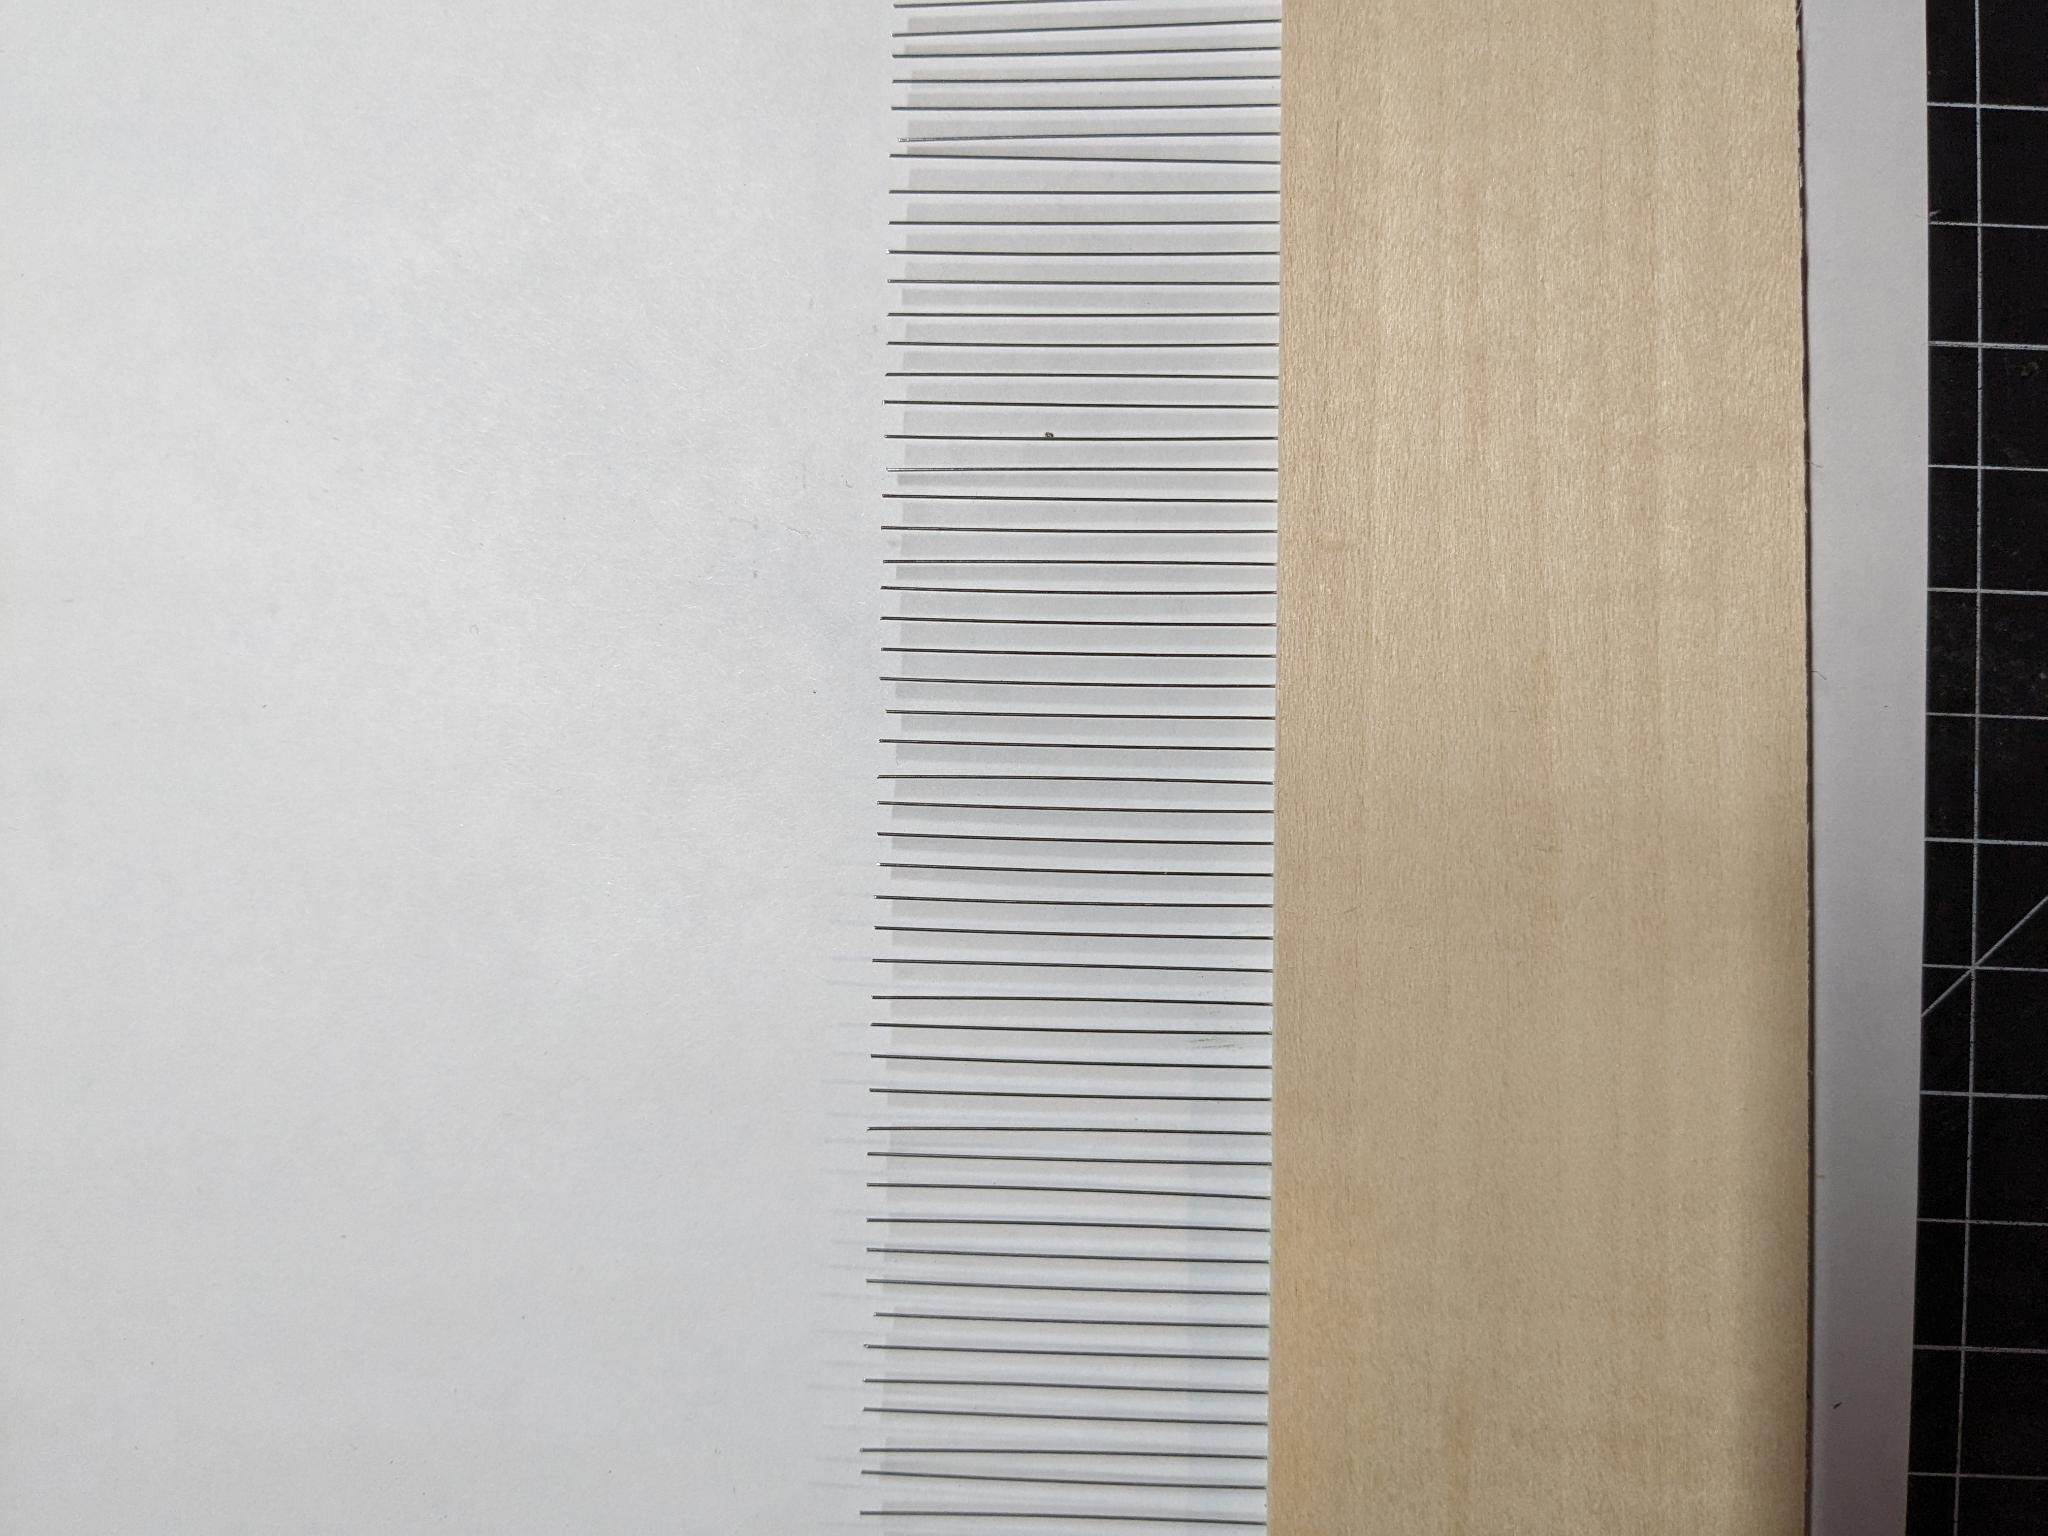
an example of the 8D comb in action (sorry for the bad color palette, i only had white, neon yellow, neon pink, and gold at the time).
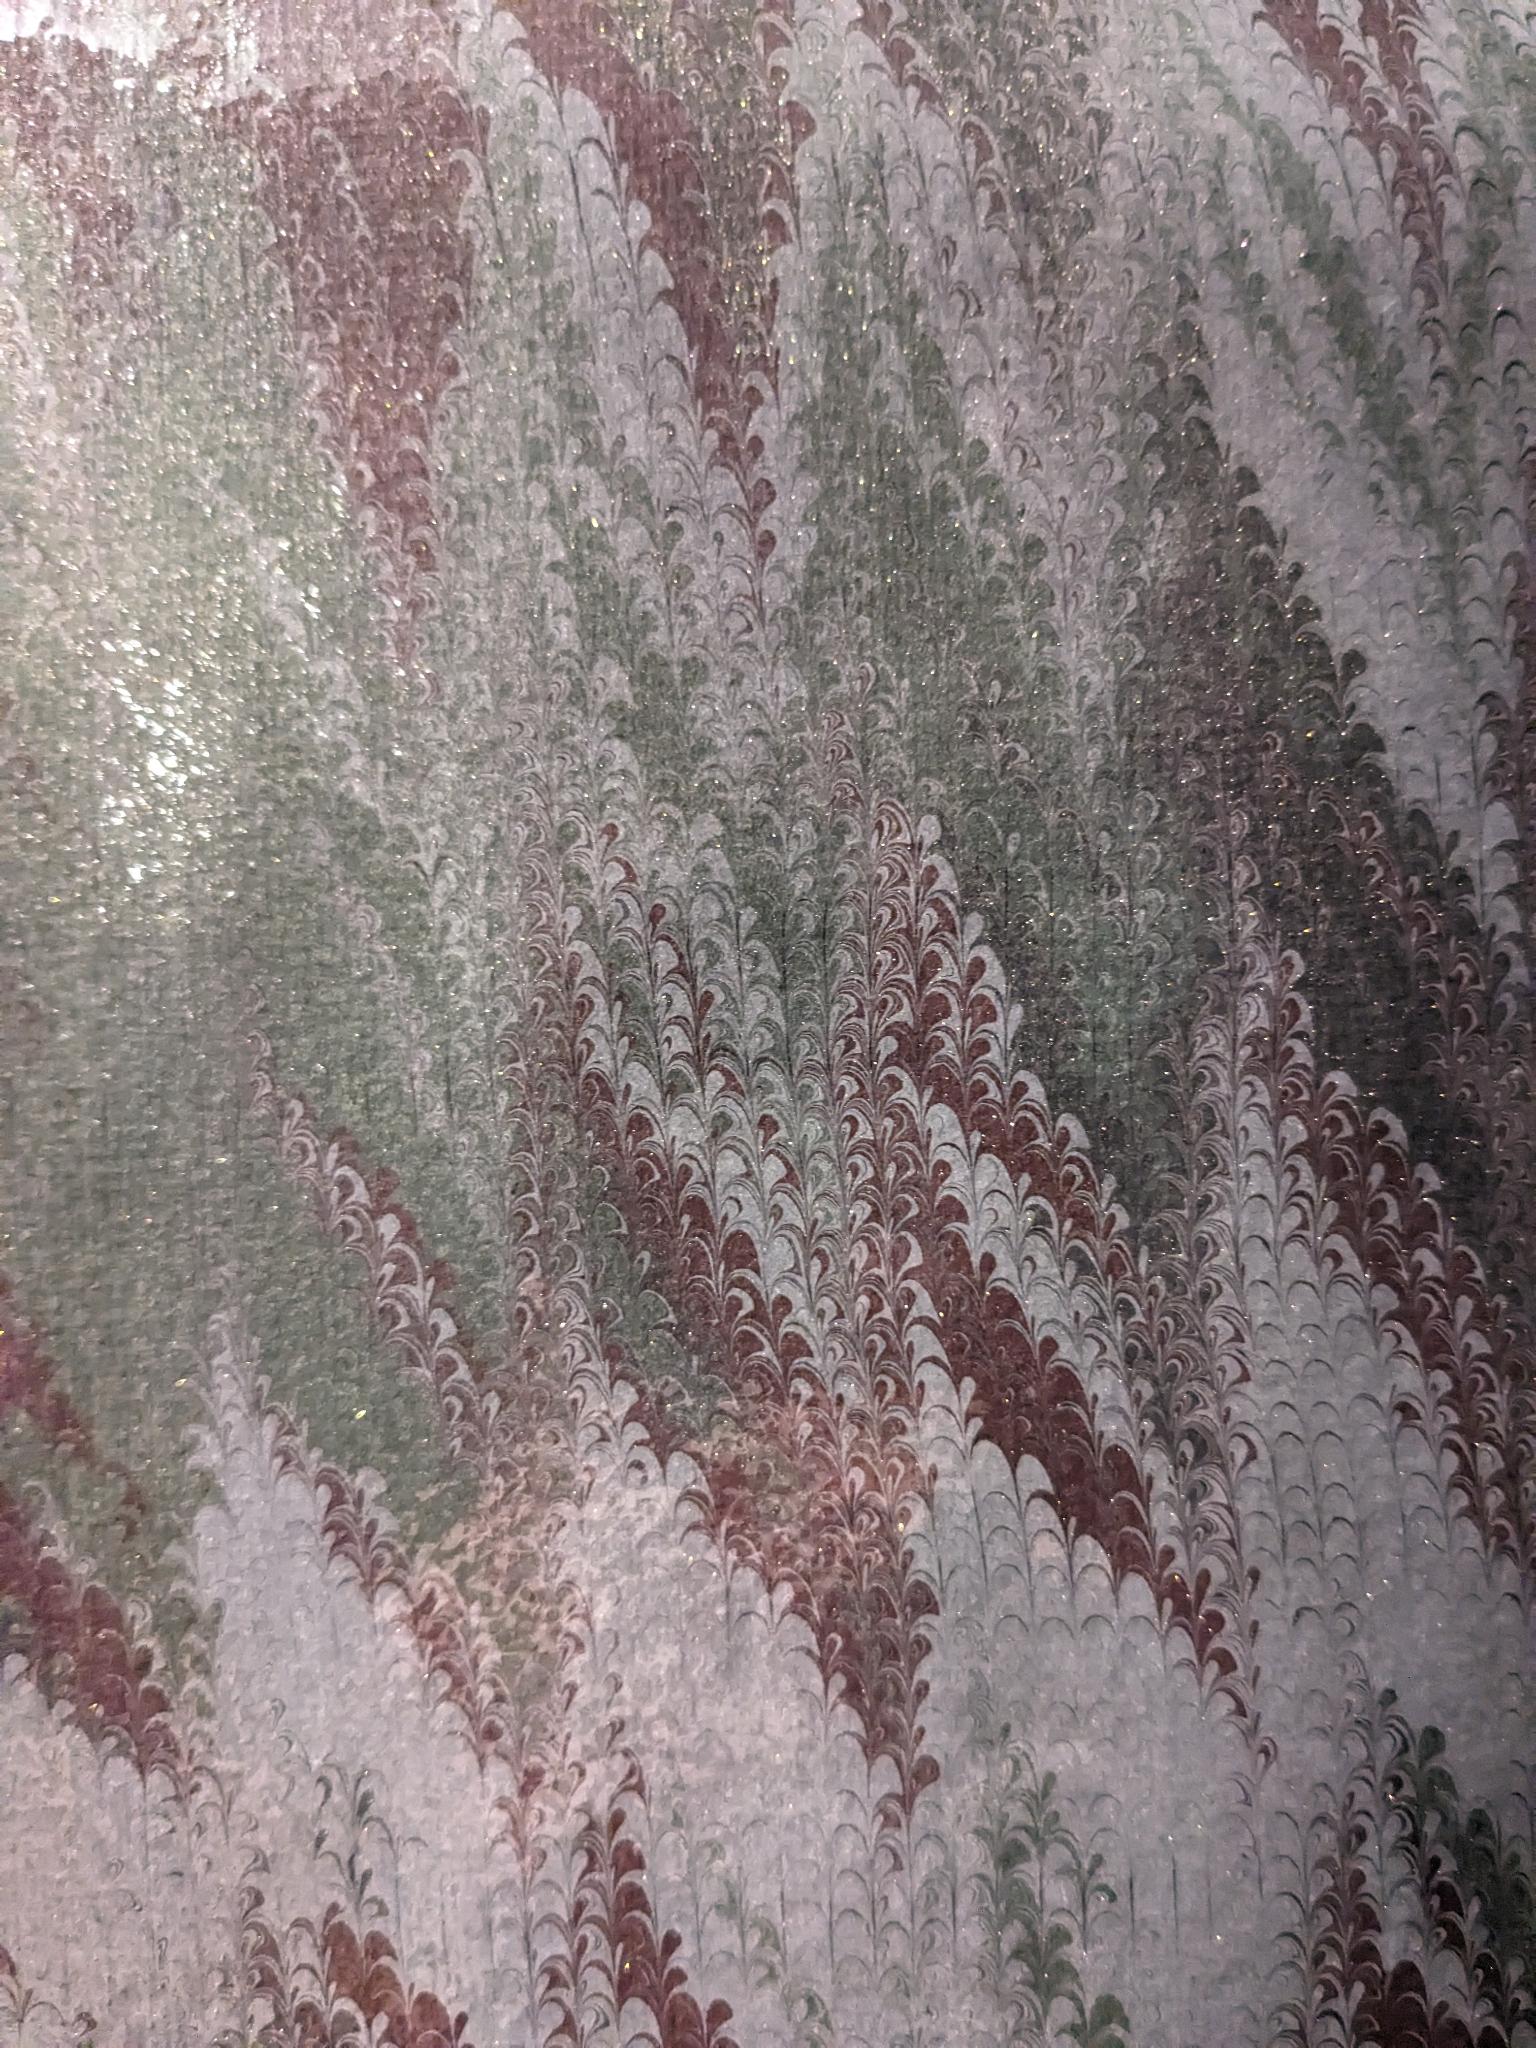
use as a free-standing rake
due to the small size of my test rake and the large size of the vat i was using (19 x 16), the first free-standing rake test i did was to use it like a stylus while making "fantasy" patterns. that is, free-form, not anchored to the sides of the tray.
i have been quite inspired by Norma Rubovits' "vignettes" (an example below) and endeavor to reproduce the technique to the extent i am able and it seems like a microcomb may have been used.

my own personal experiments have used the above rake as well as this tiny 5-tiner that i made while at studio.
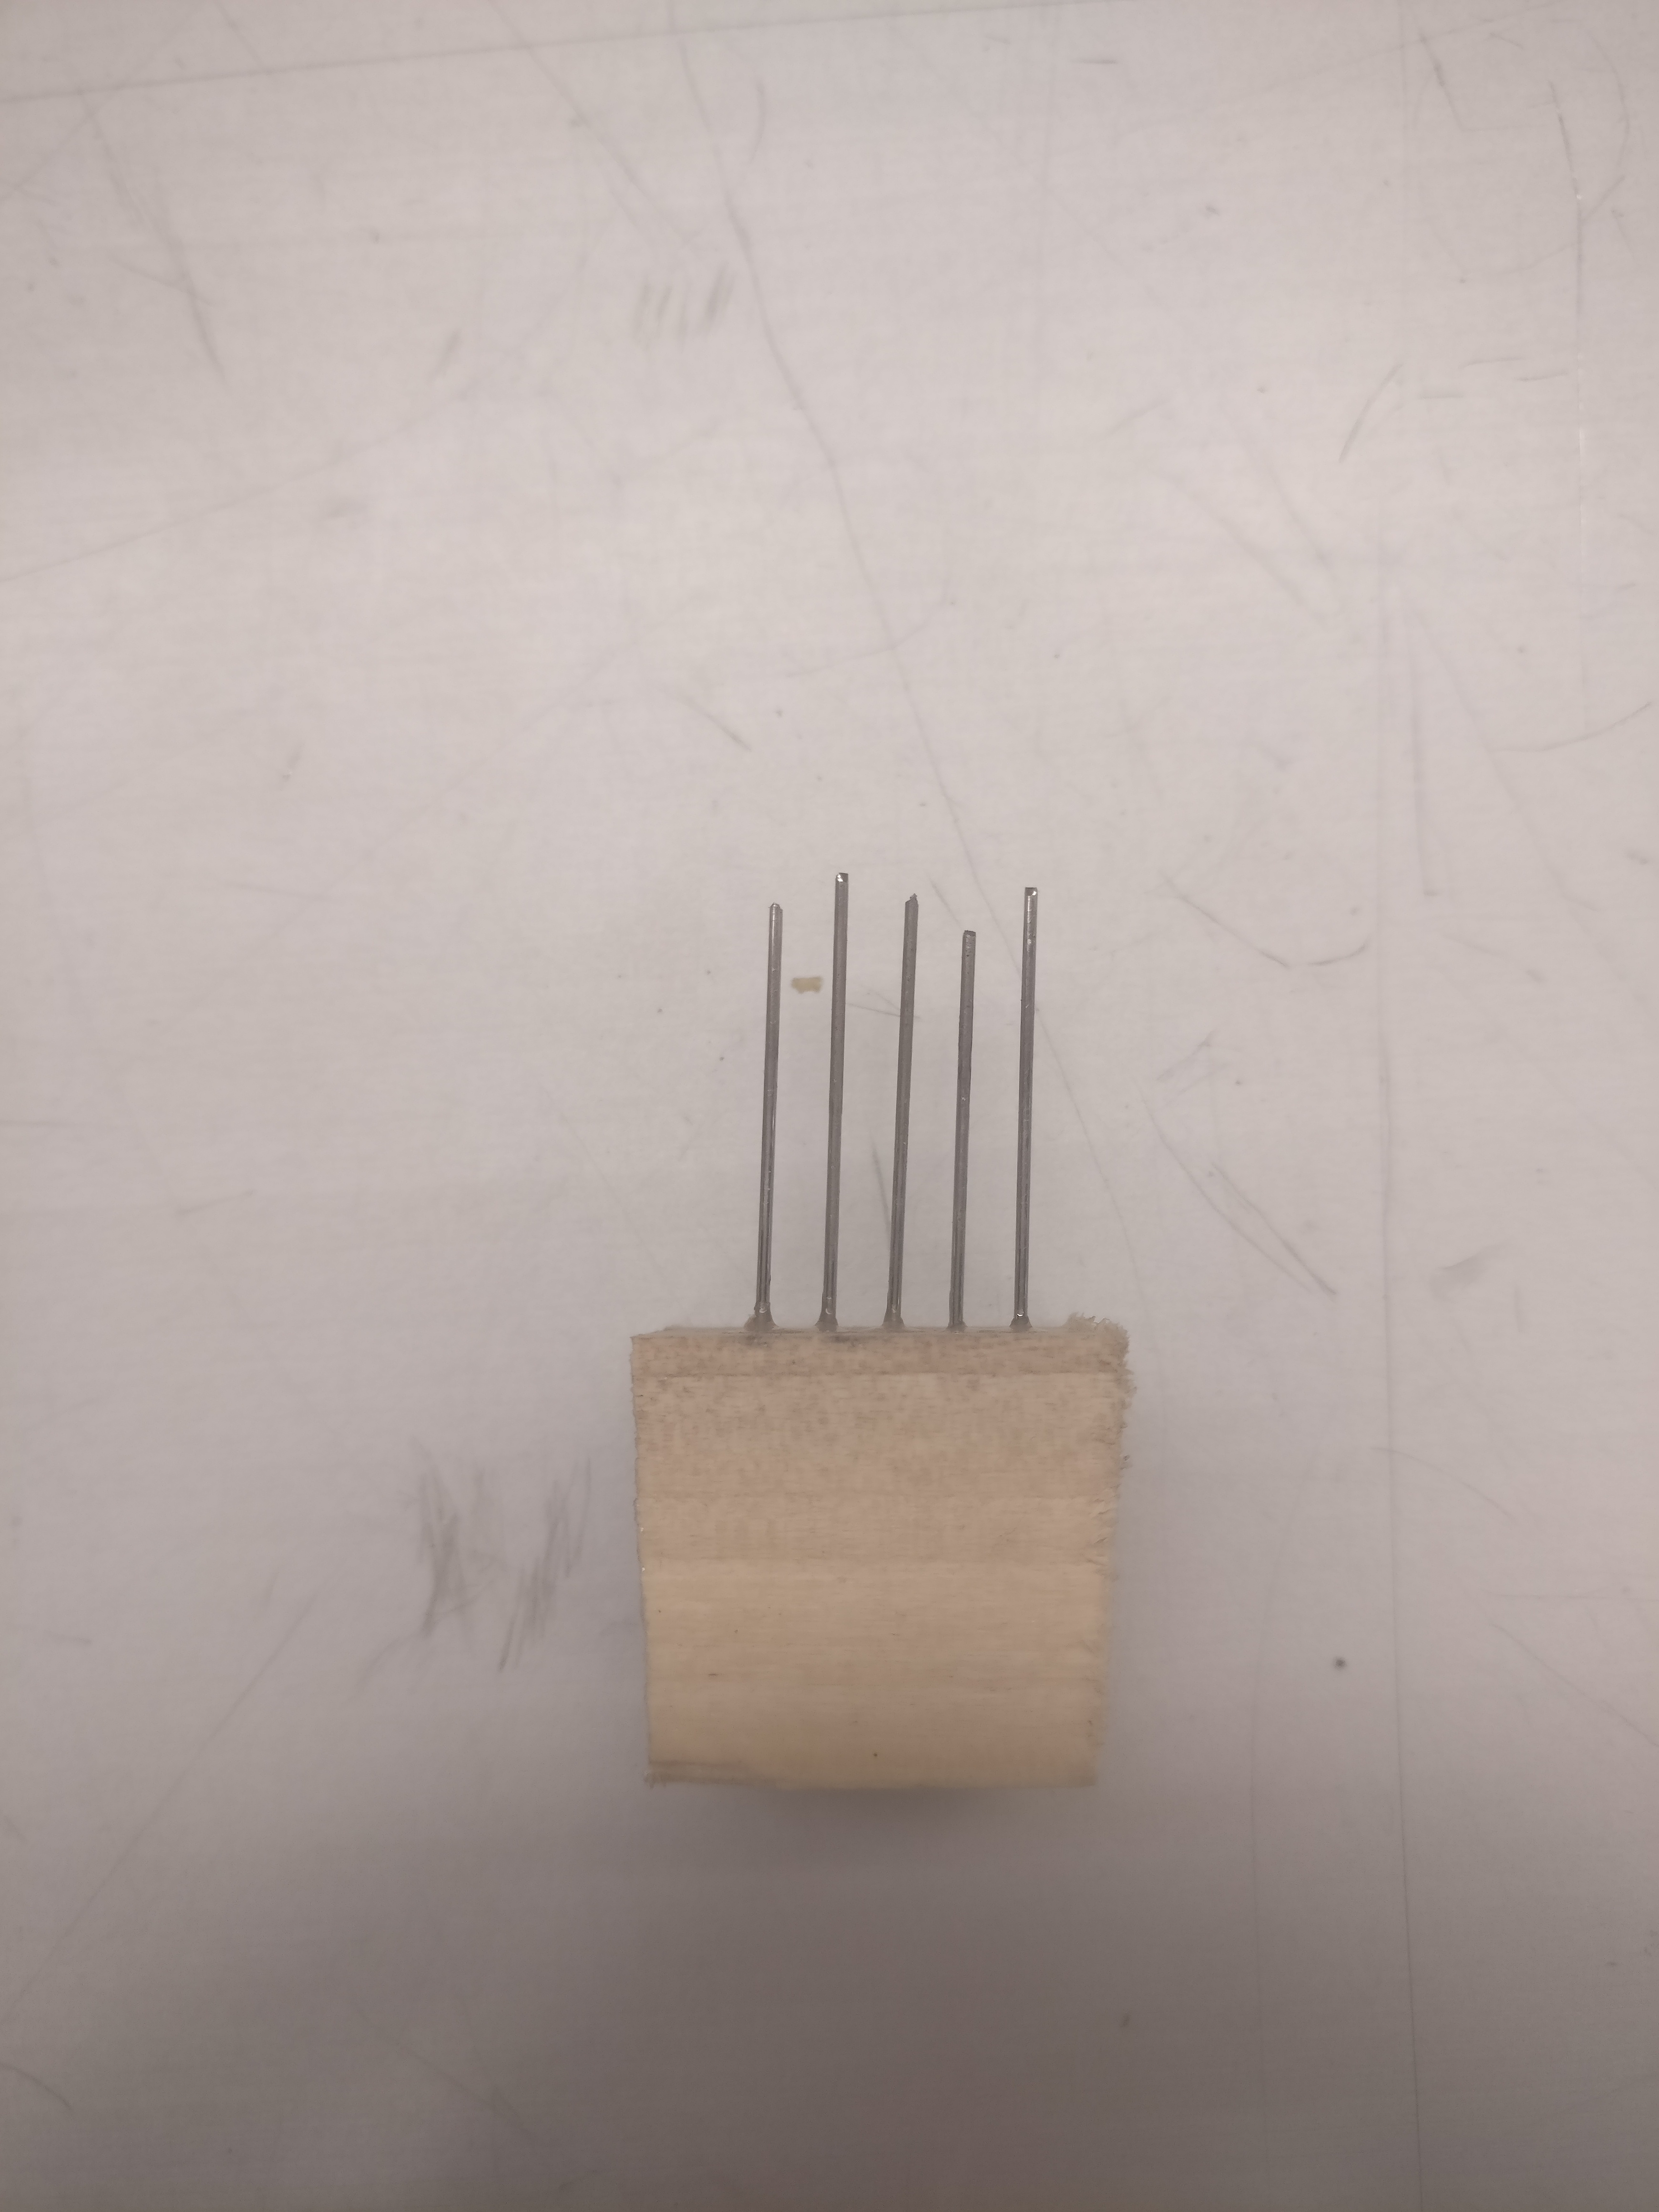
for example, an attempt at a "vignette" with the 5-tiner.
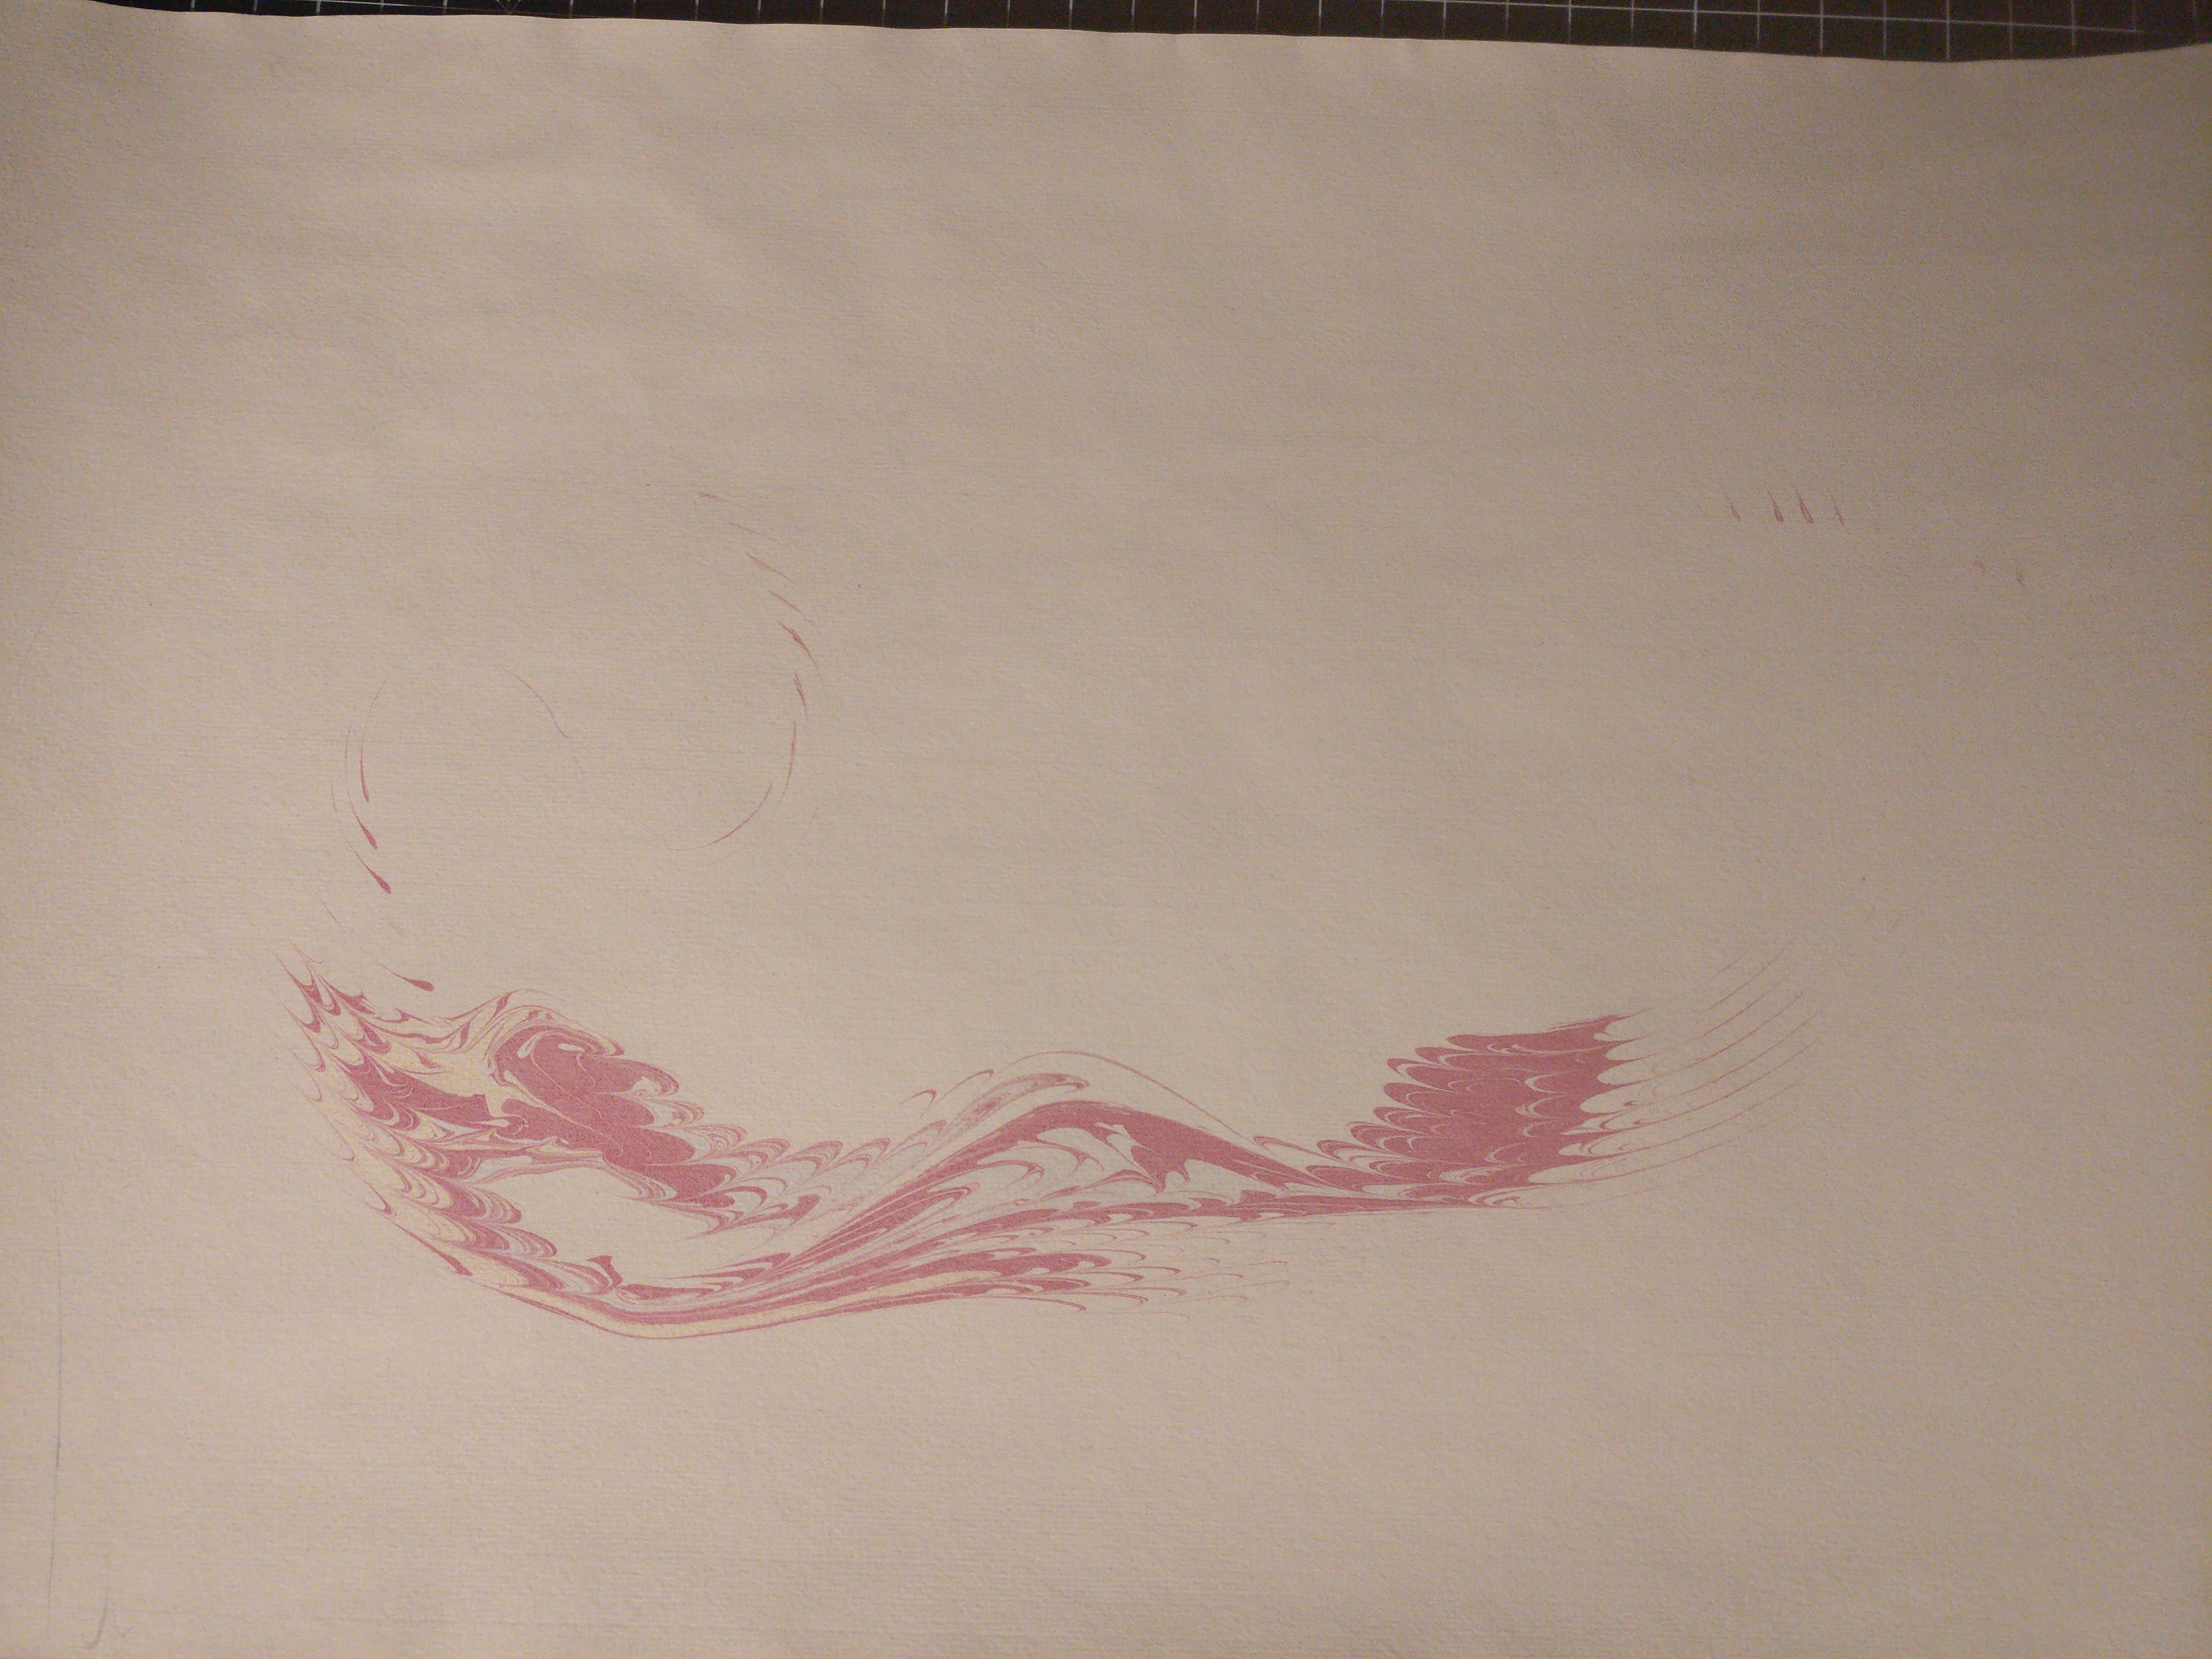
some of the examples have worked better than others – it does seem like the 5-tiner would work well as a skip comb.
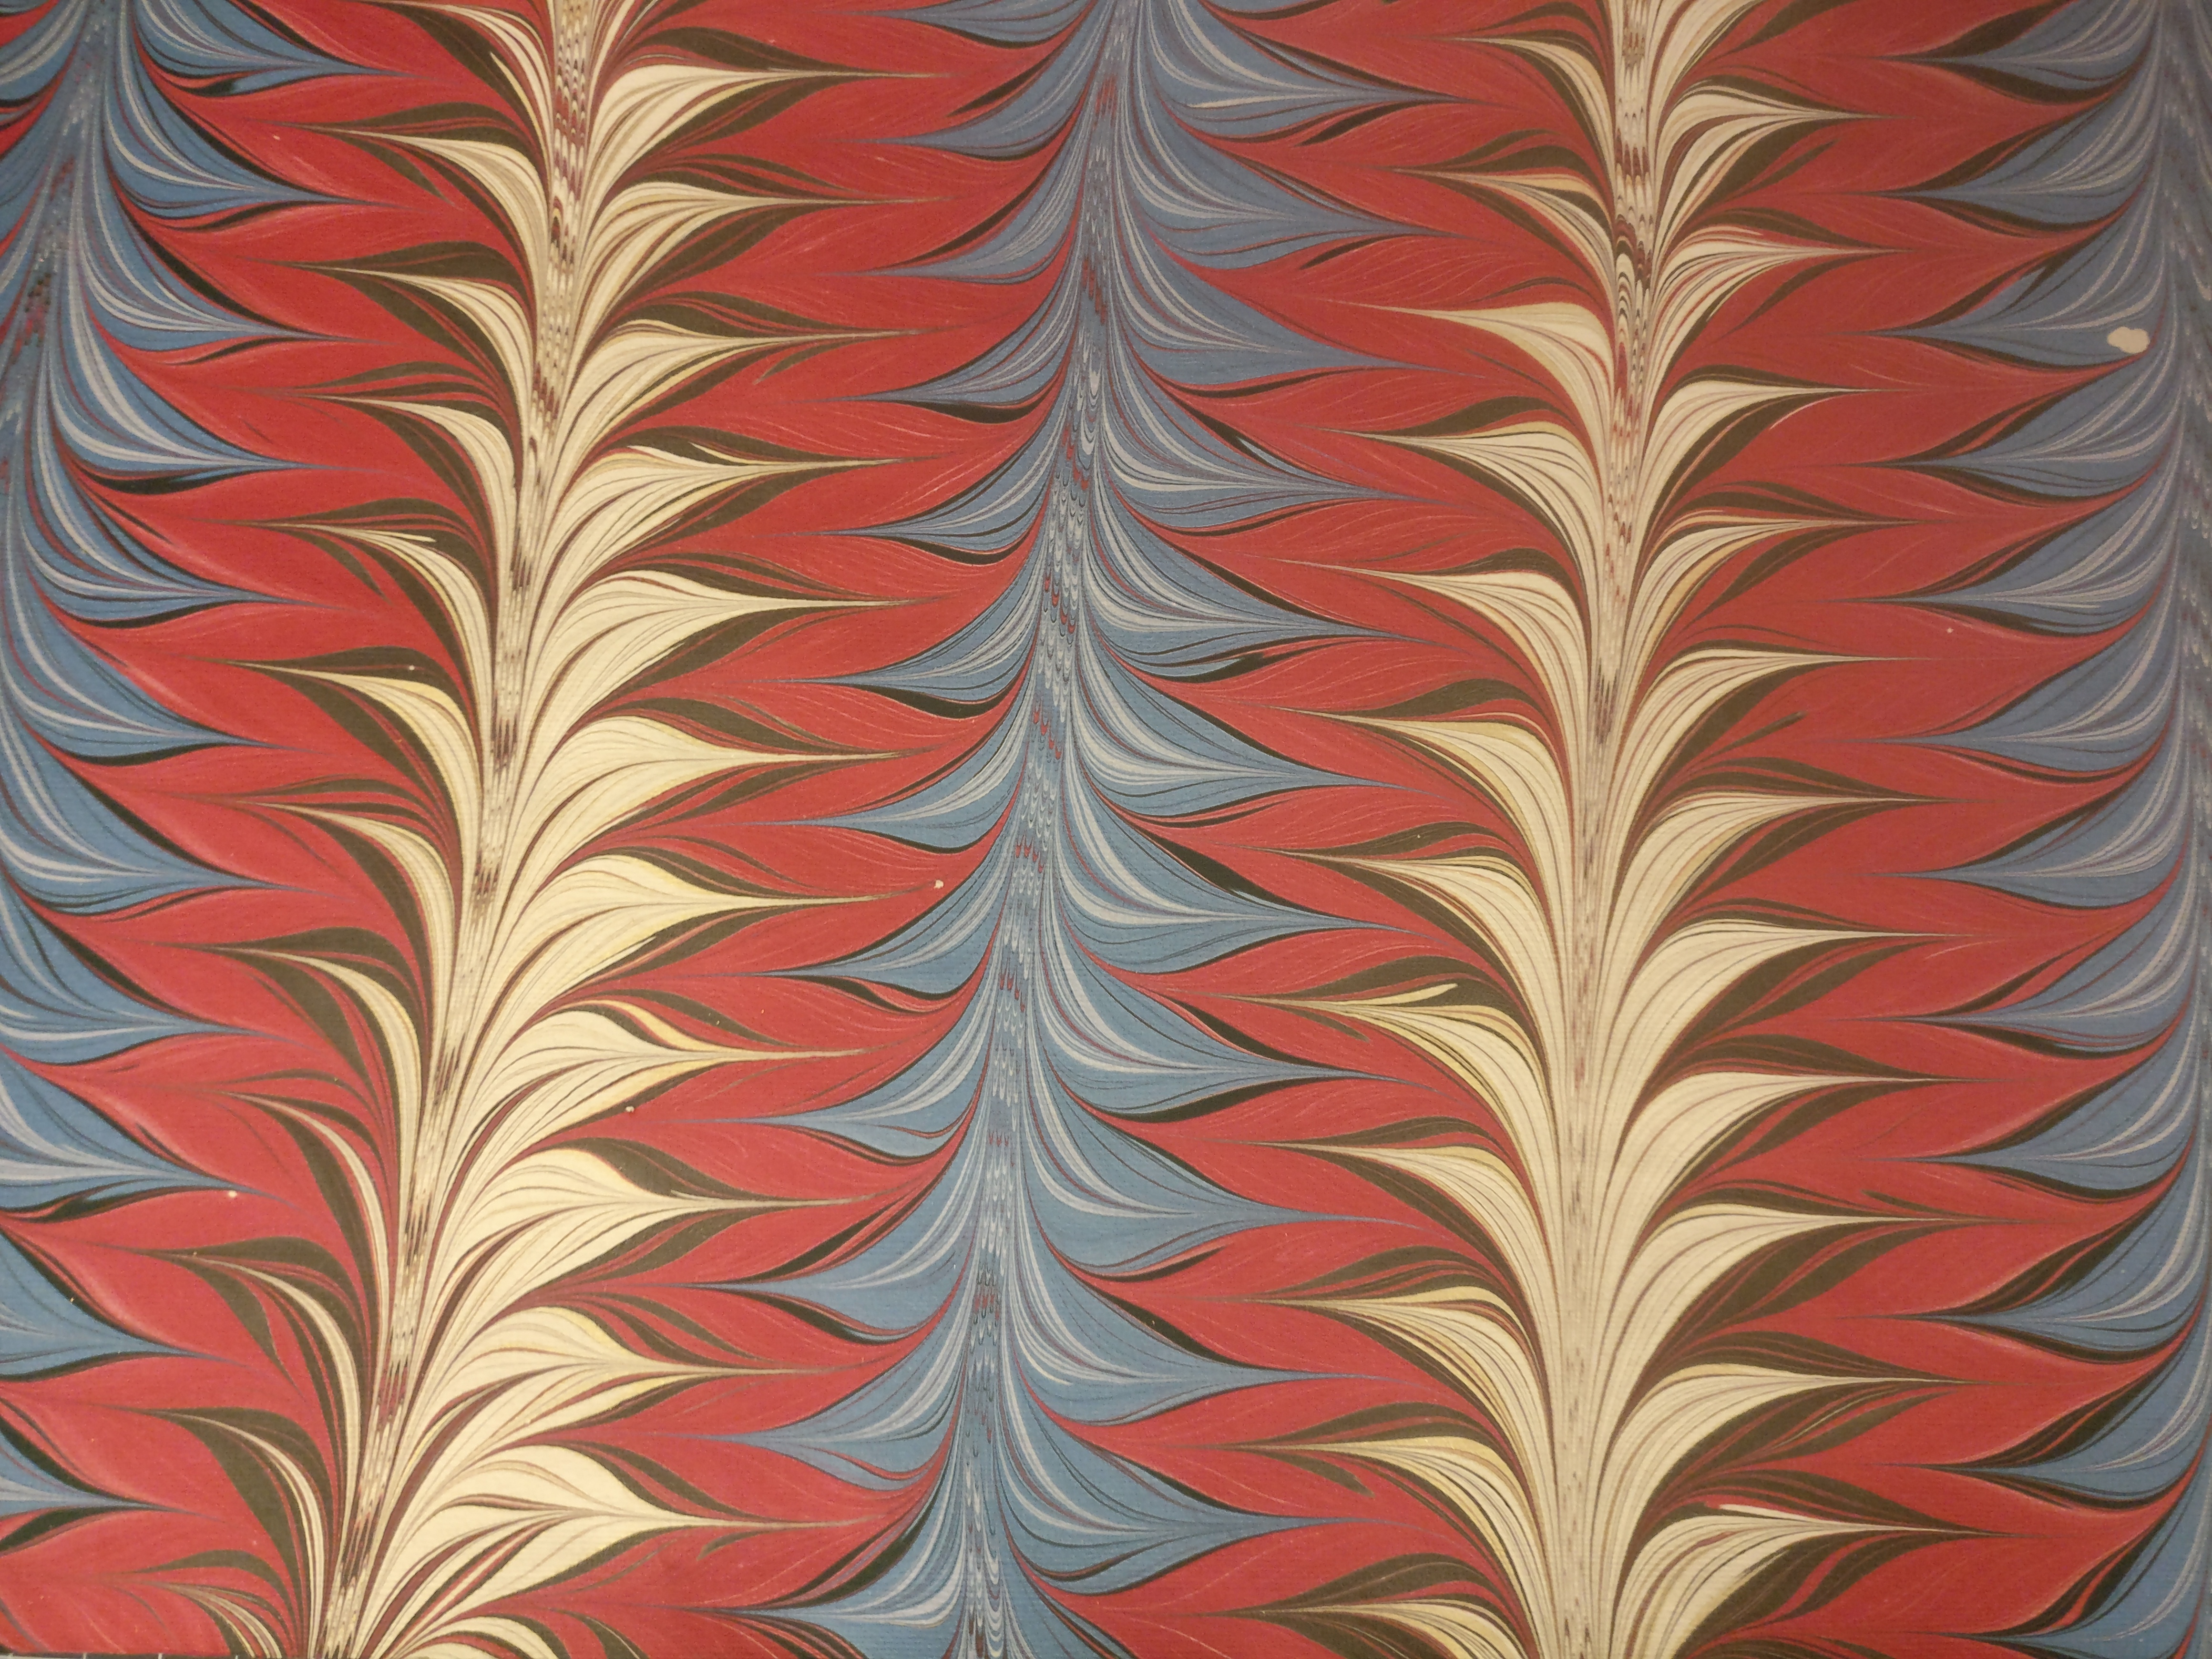
here some additional "fantasy-esque" attempts with both the 5-tiner and the 5" rake. with the 5" rake i attempted to have the tines in the size as little as possible to avoid streaks, but that means that the wonky length of the various tines was much more obvious.
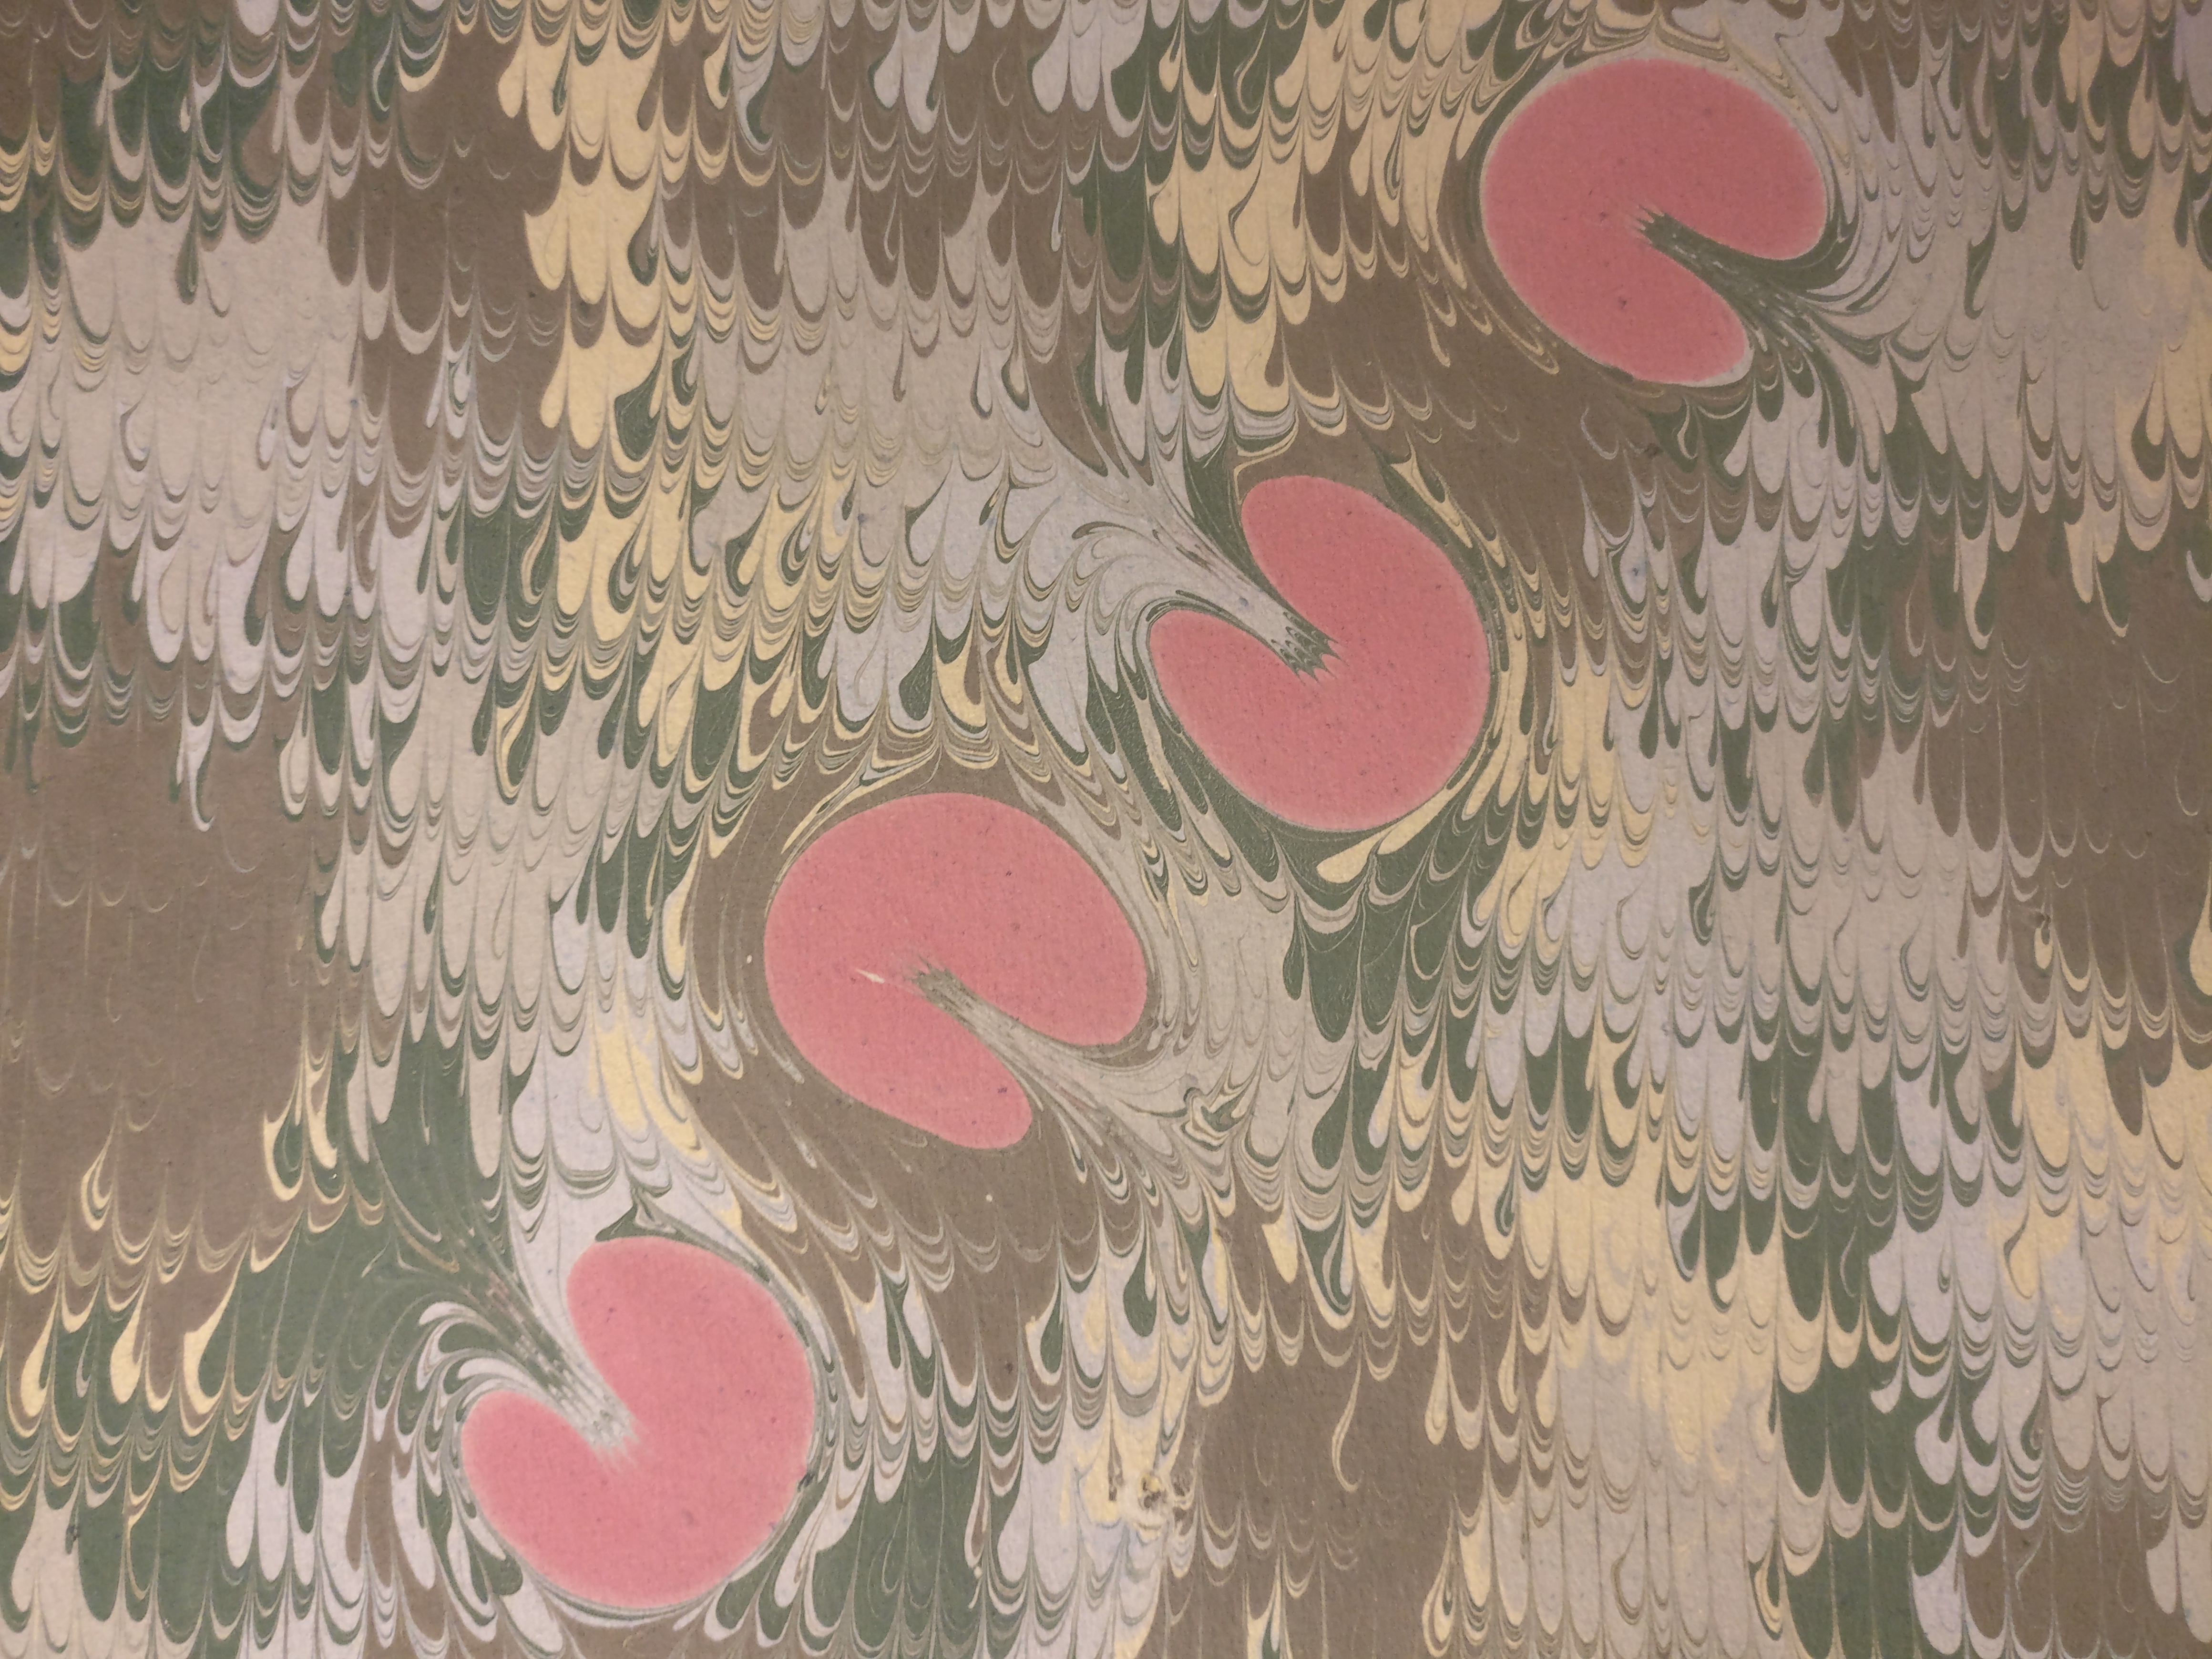

an archive of prior attempts
hot glue summer
hot glue is messy and lumpy, but it is both fast and cheap, which is great for experimentation. to follow along at home you'll need:
- ¼" x ¼" x 1ft wooden dowels
- ¾" x ¾" x desired length wooden dowel
- ⅛" spaced roll of pins
- a glue gun
- painters tape
- a cutting mat or some carboard – something about ⅛" thick to raise the pins off the table
-
tape a roll of pins the desired length on to a cutting mat or piece of cardboard. the roll of pins is not very flat, which makes it quite hard to manipulate. to do this, tape a long strip of painters tape face up on your cutting mat. i tape the top edge and the left and right edge of the strip. this allows me to press the paper part of the roll of pins onto the tape, which keps it both flat and unmoving. the pointy part of the pins should face away from you and there should be a significant overhang of the pins off of the cutting mat.
-
fold the paper up away from the flat part of the pins so that you have clear gap between the paper and the flat part of the pins. if you forget to do this, you're liable to glue the paper to the wooden dowels, wrecking your work.
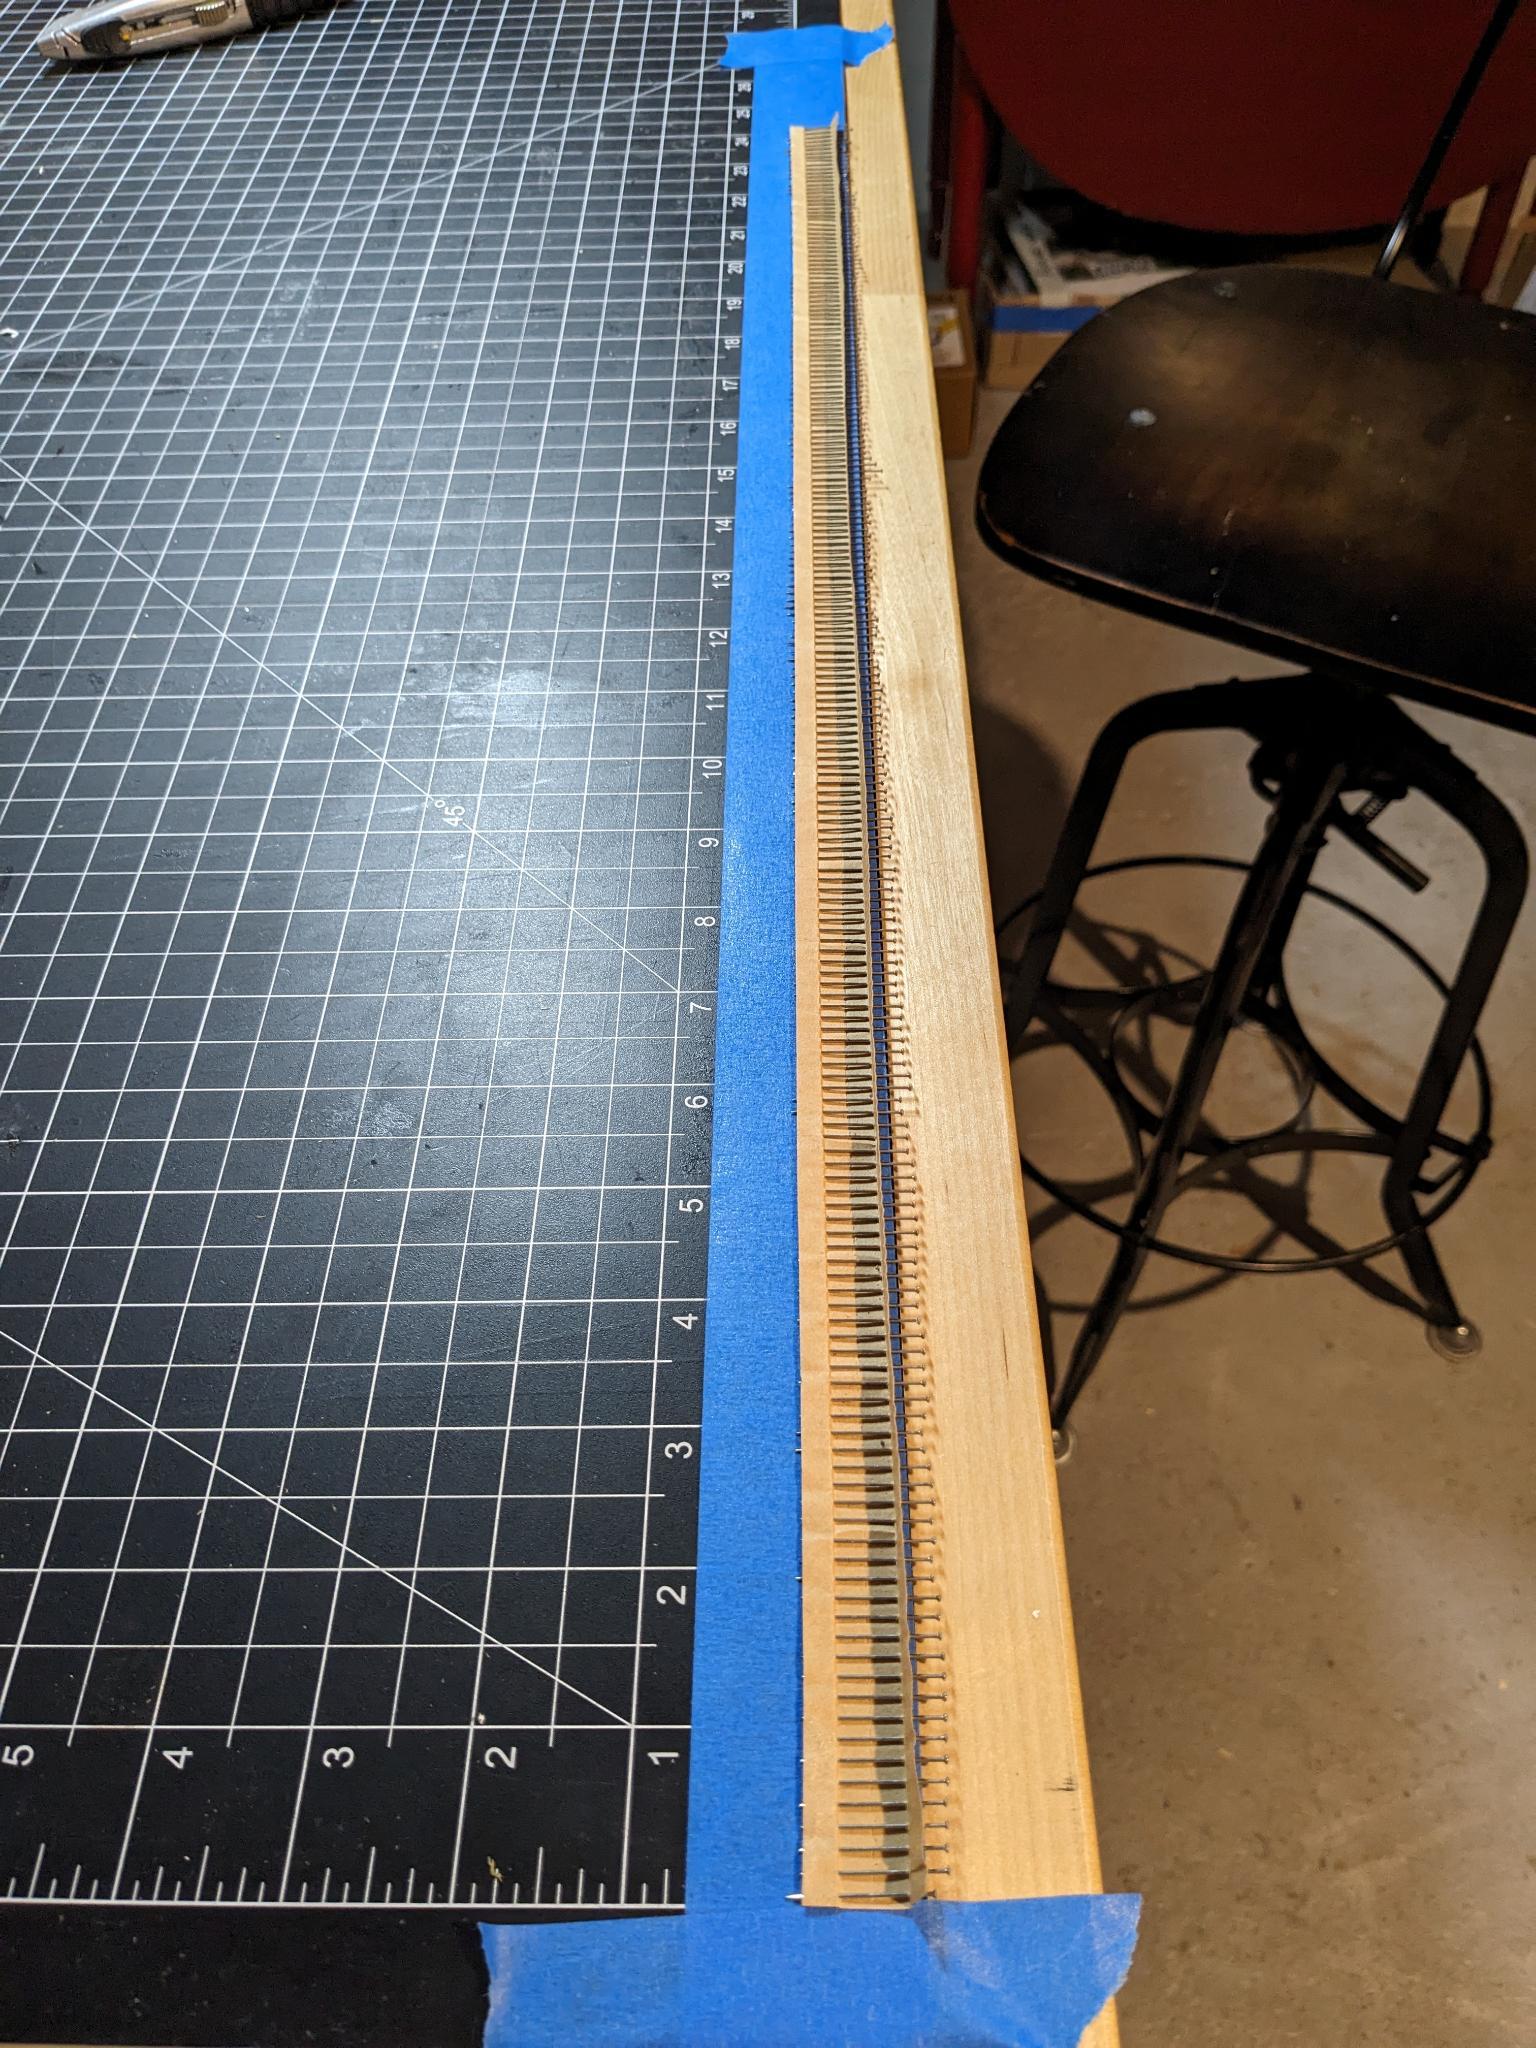
- add a bead of glue on your ¼" wooden dowel and stick to the flat part of the pins. you may need to add glue to the dowel after it's already aligned – be careful to make sure the glue surrounds the end of the pin, otherwise they are likely to fall off. repeat this for the length of your comb. here you can see how obvious it is that it's hard to get a consistent bead size. repeat this for the desired length of your comb.
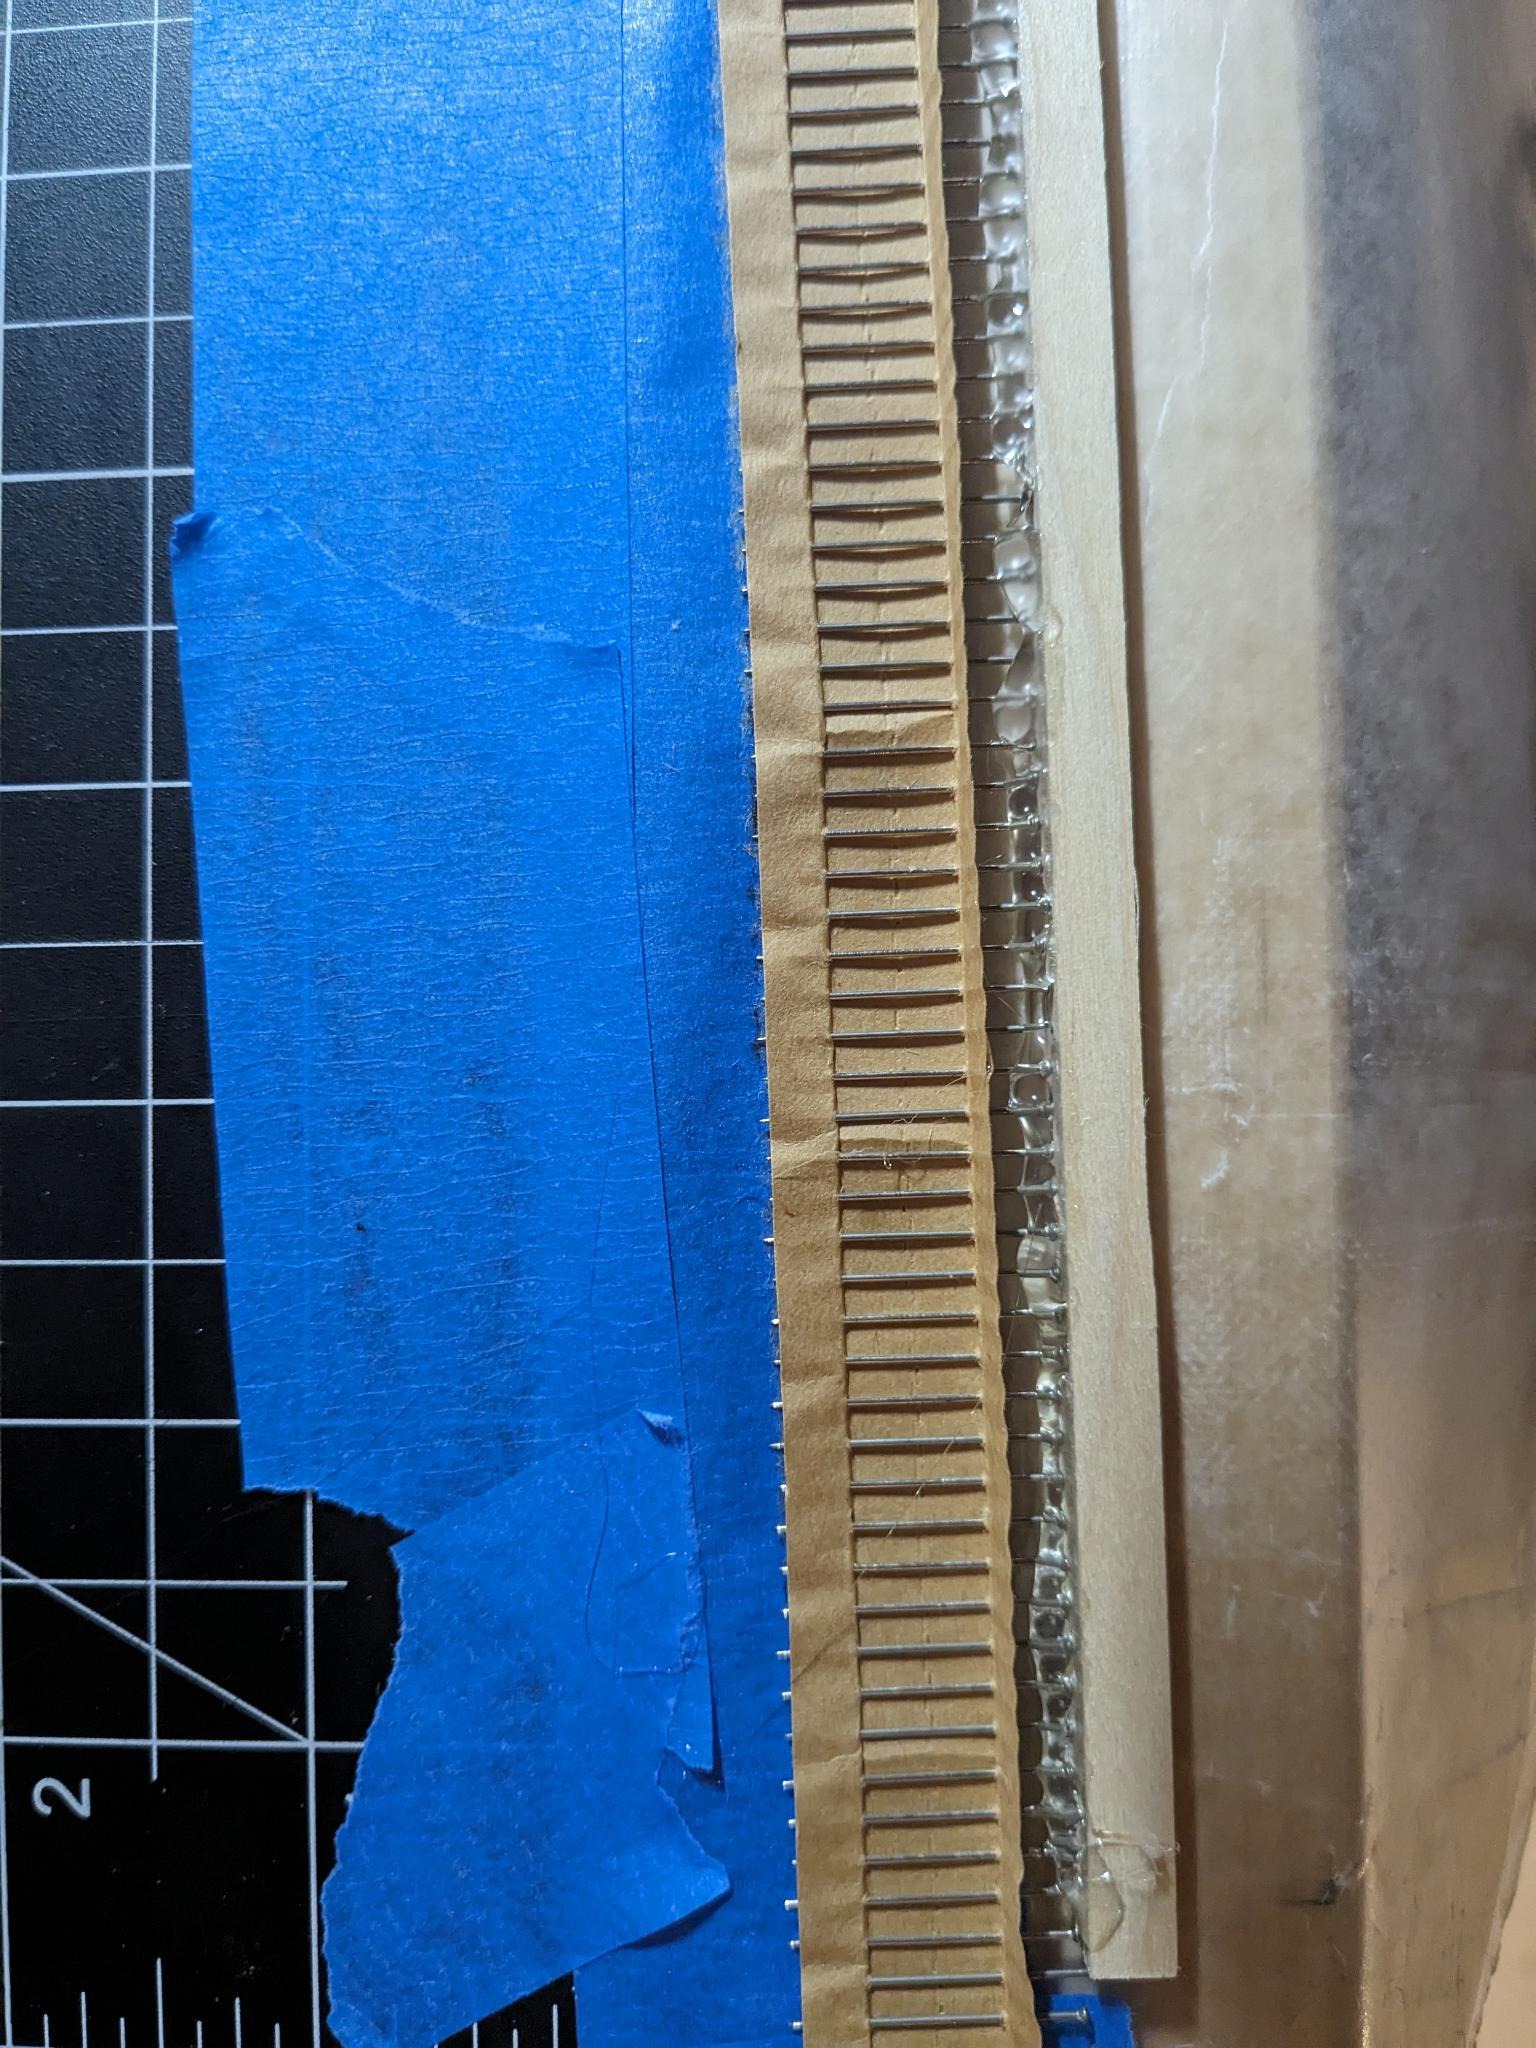
- one set, carefully remove the strip of pins from the tape
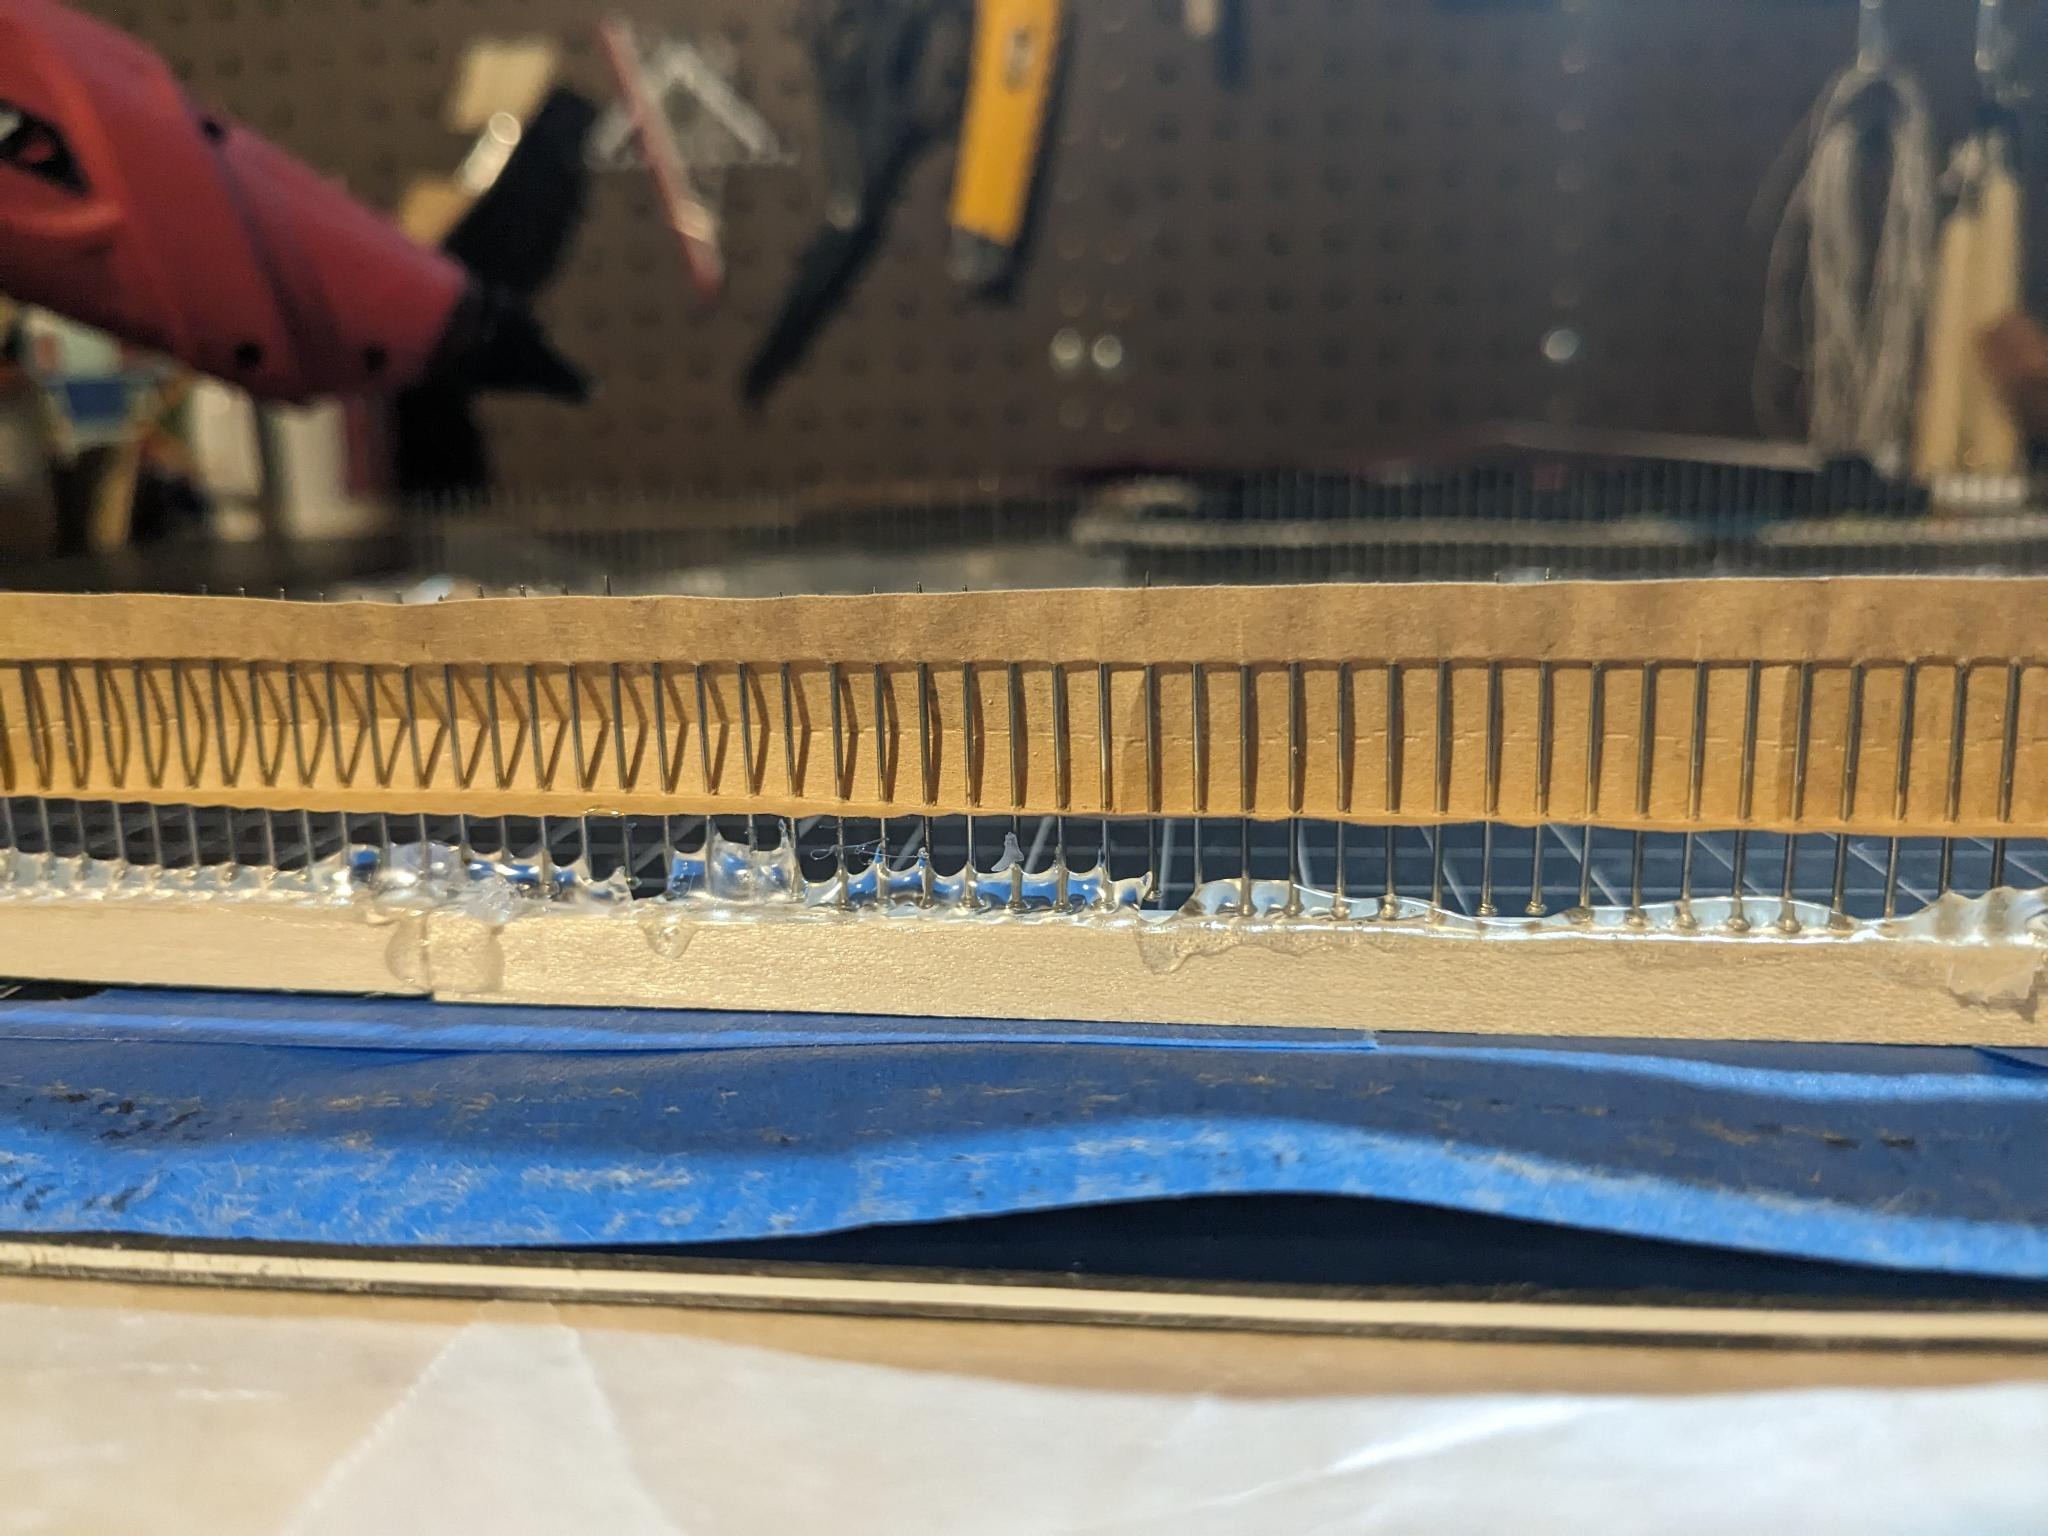
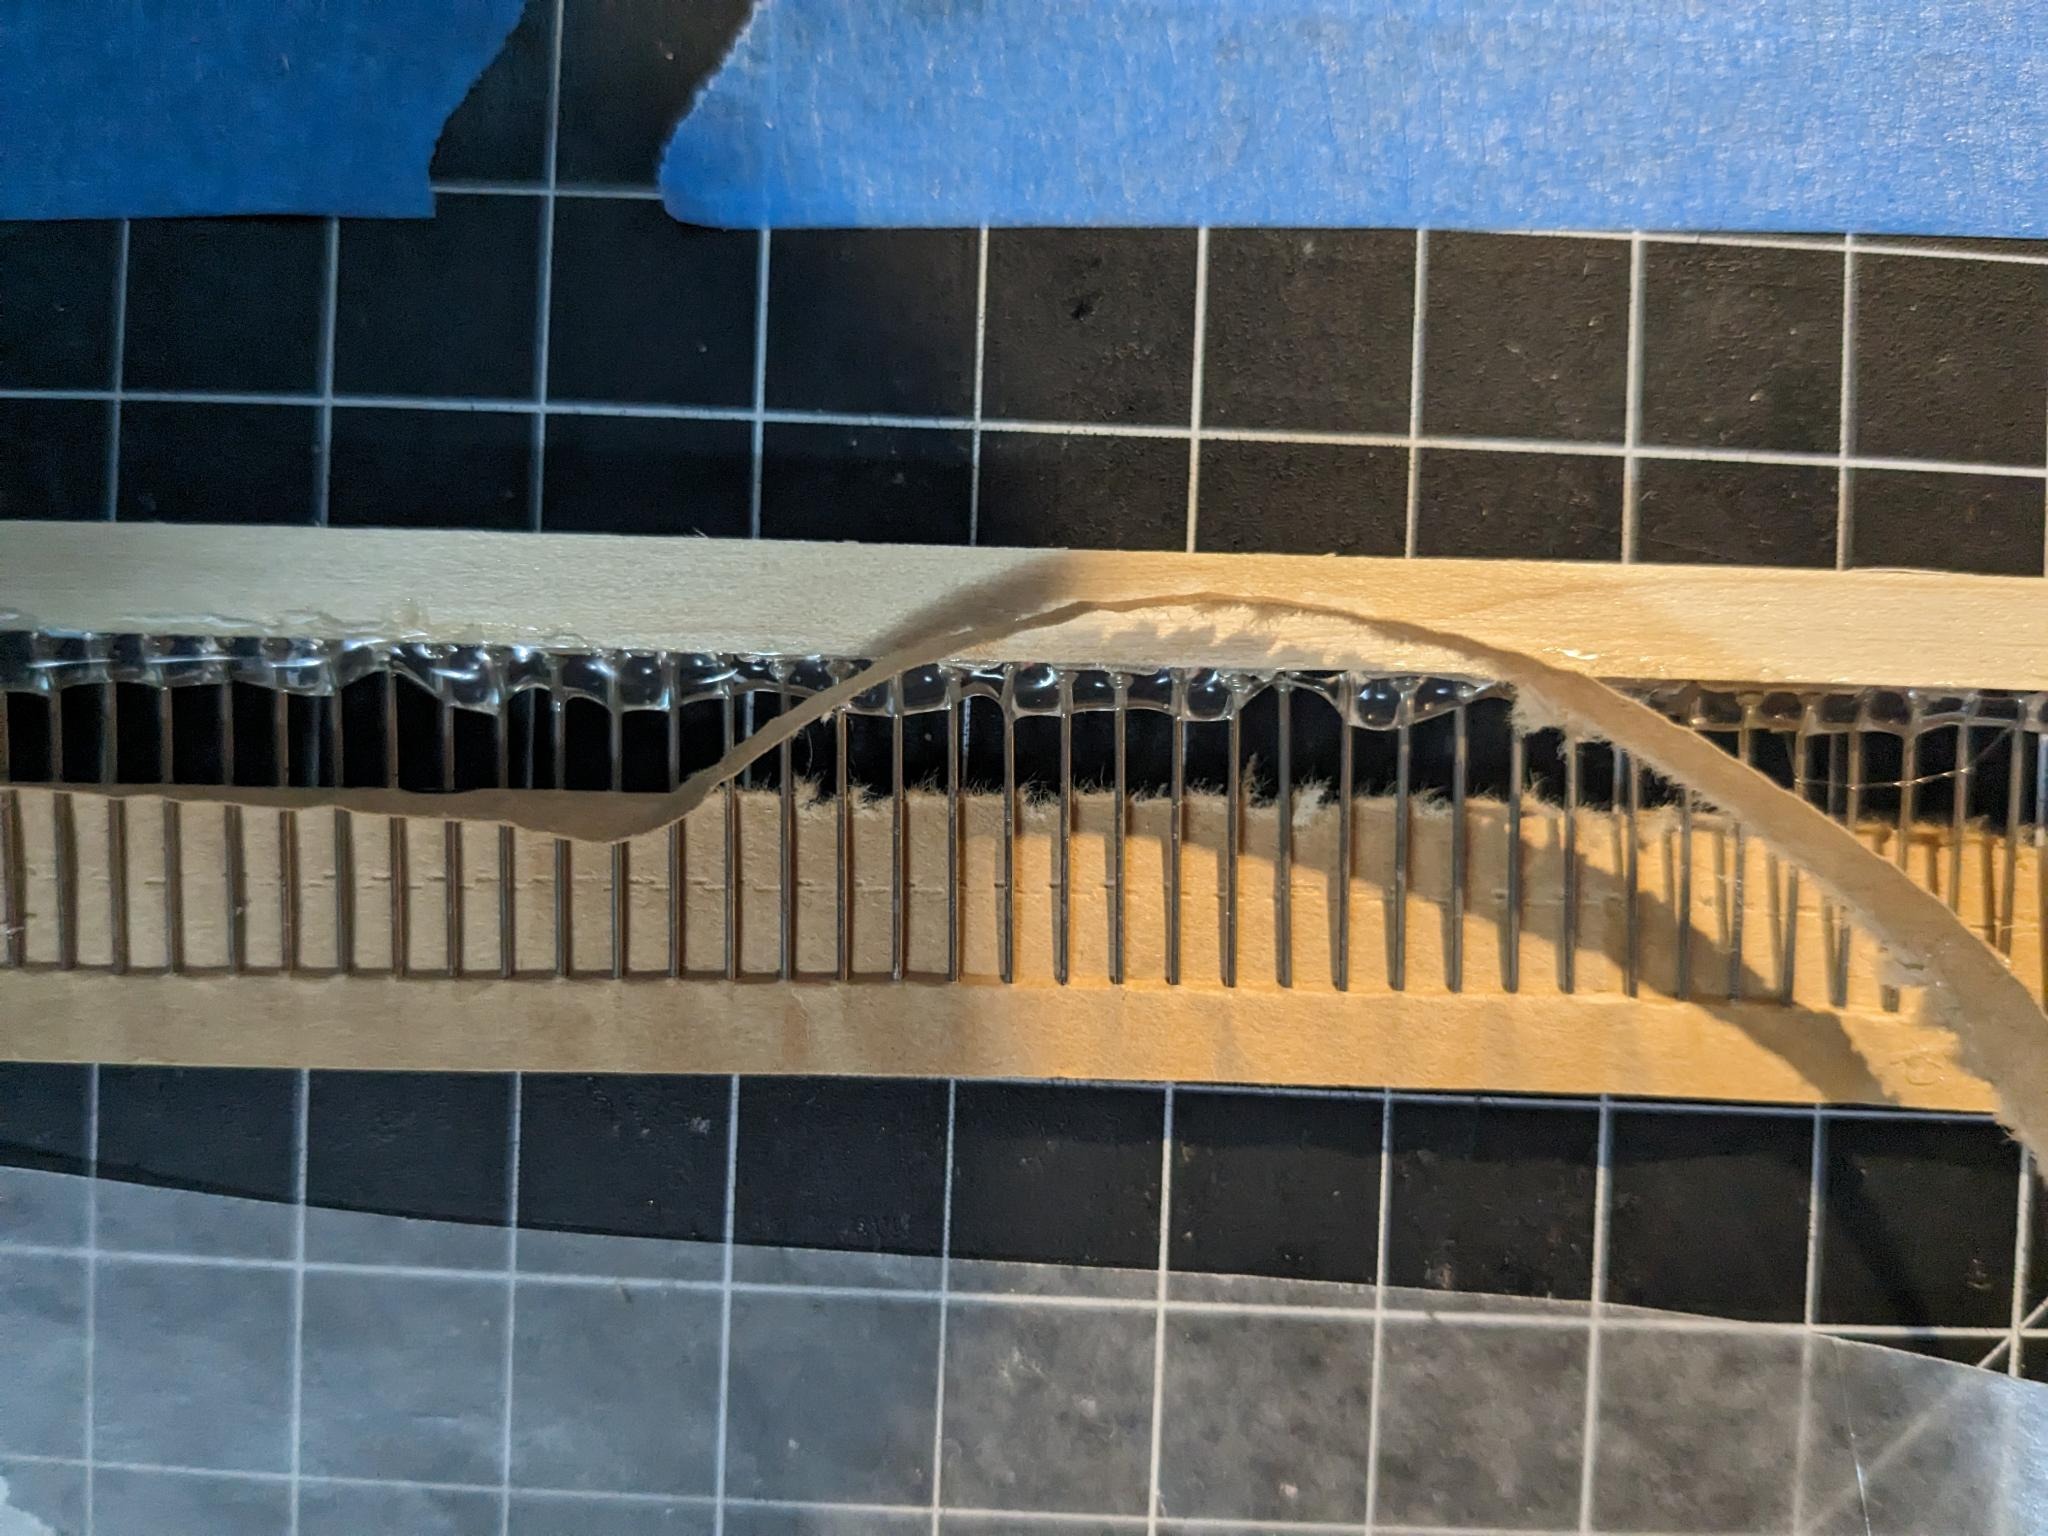
- rip the folded up piece of paper off the paper holding the pins in place. now, remove the paper off the pins: huzzah, you have a ⅛" comb! (even if a bit flimsy).
-
repeat steps ① - ⑤ for the 2nd dowel you'll need.
-
to finish your comb, glue one of the length of ¼" dowels to the edge of the ¾" dowel. then, offset ⅛" laterally and glue the 2nd dowel down. voila! you now have a mostly servicable 1/16" comb!
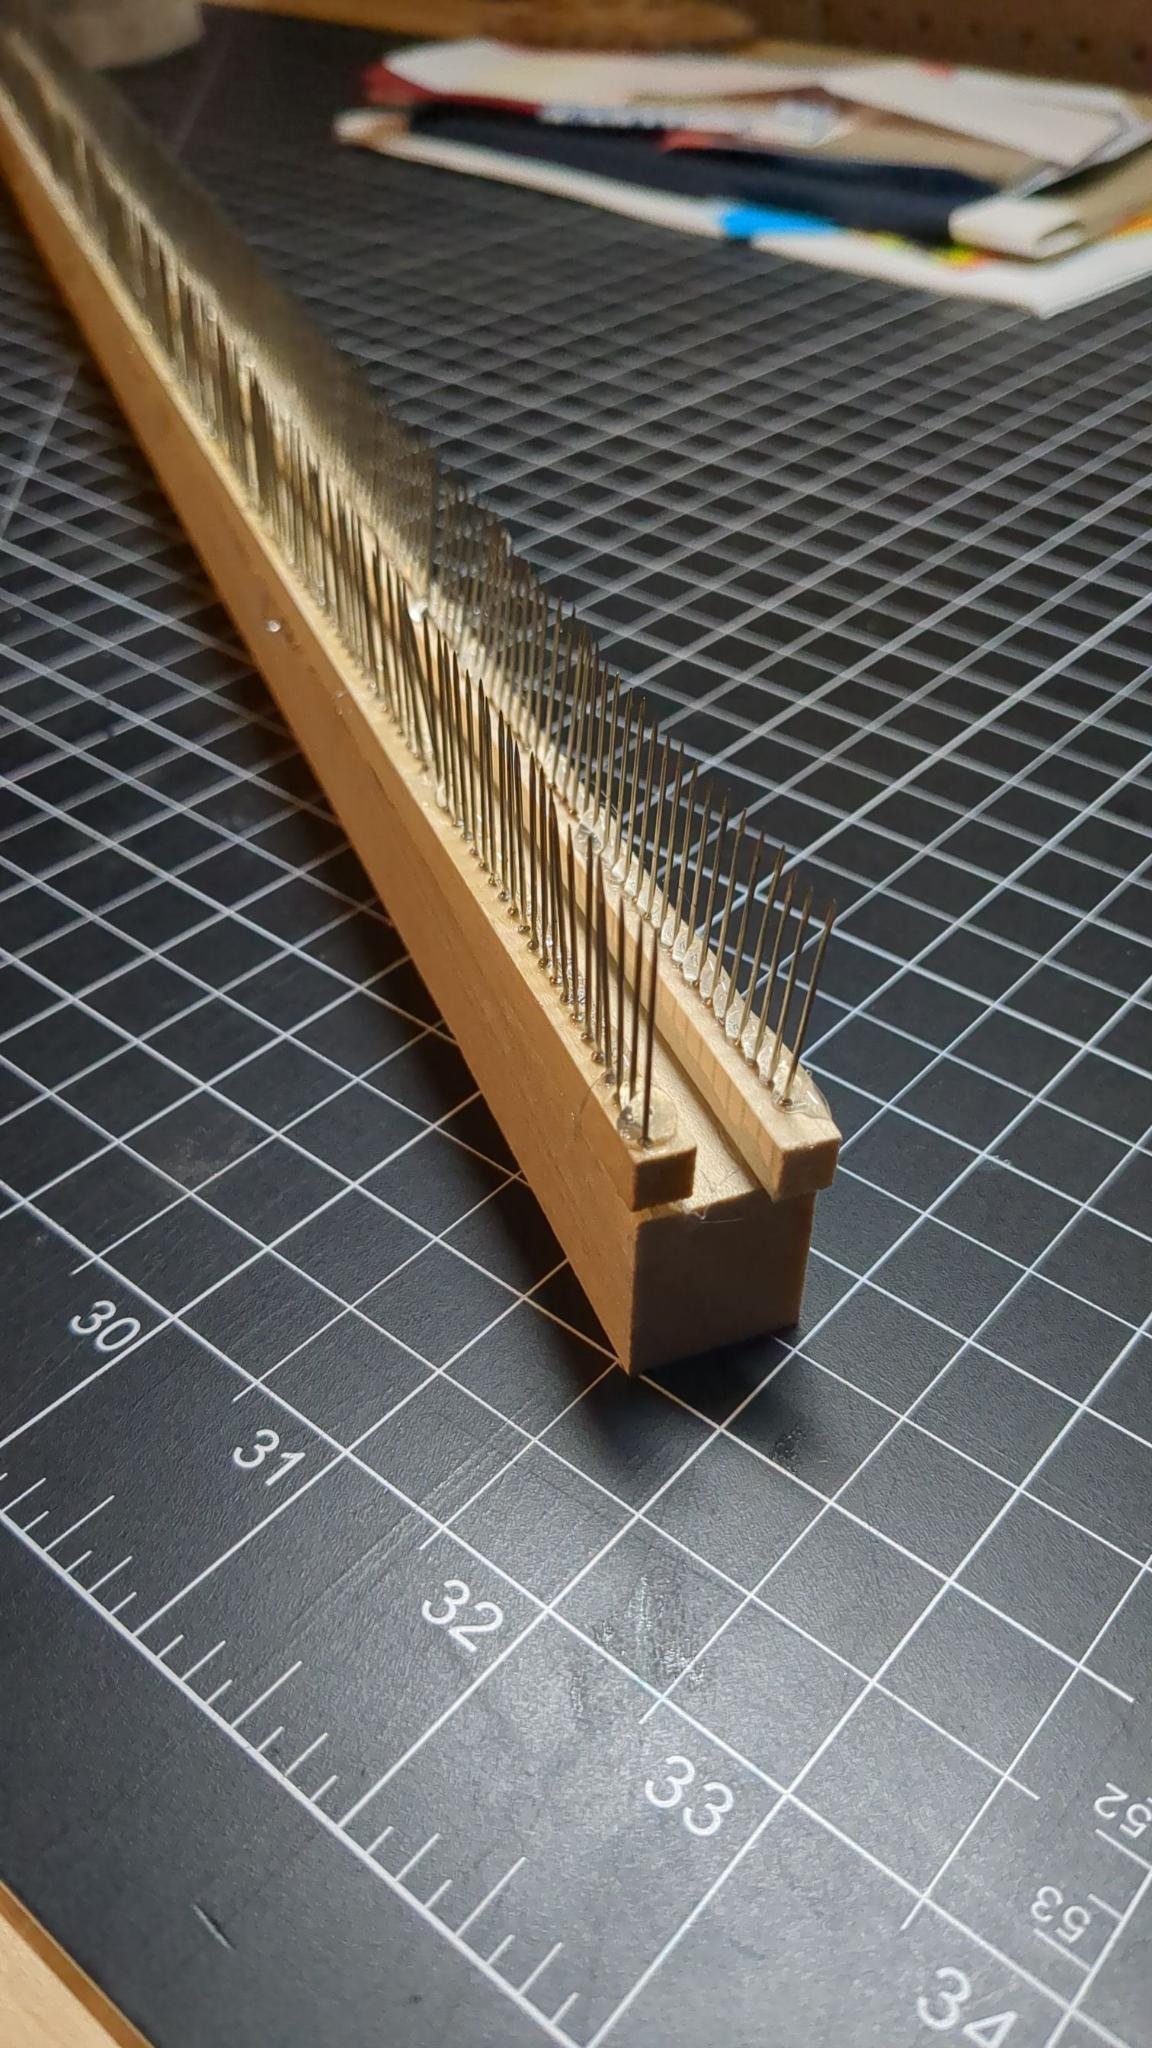
let me know how it goes :)
attempt one
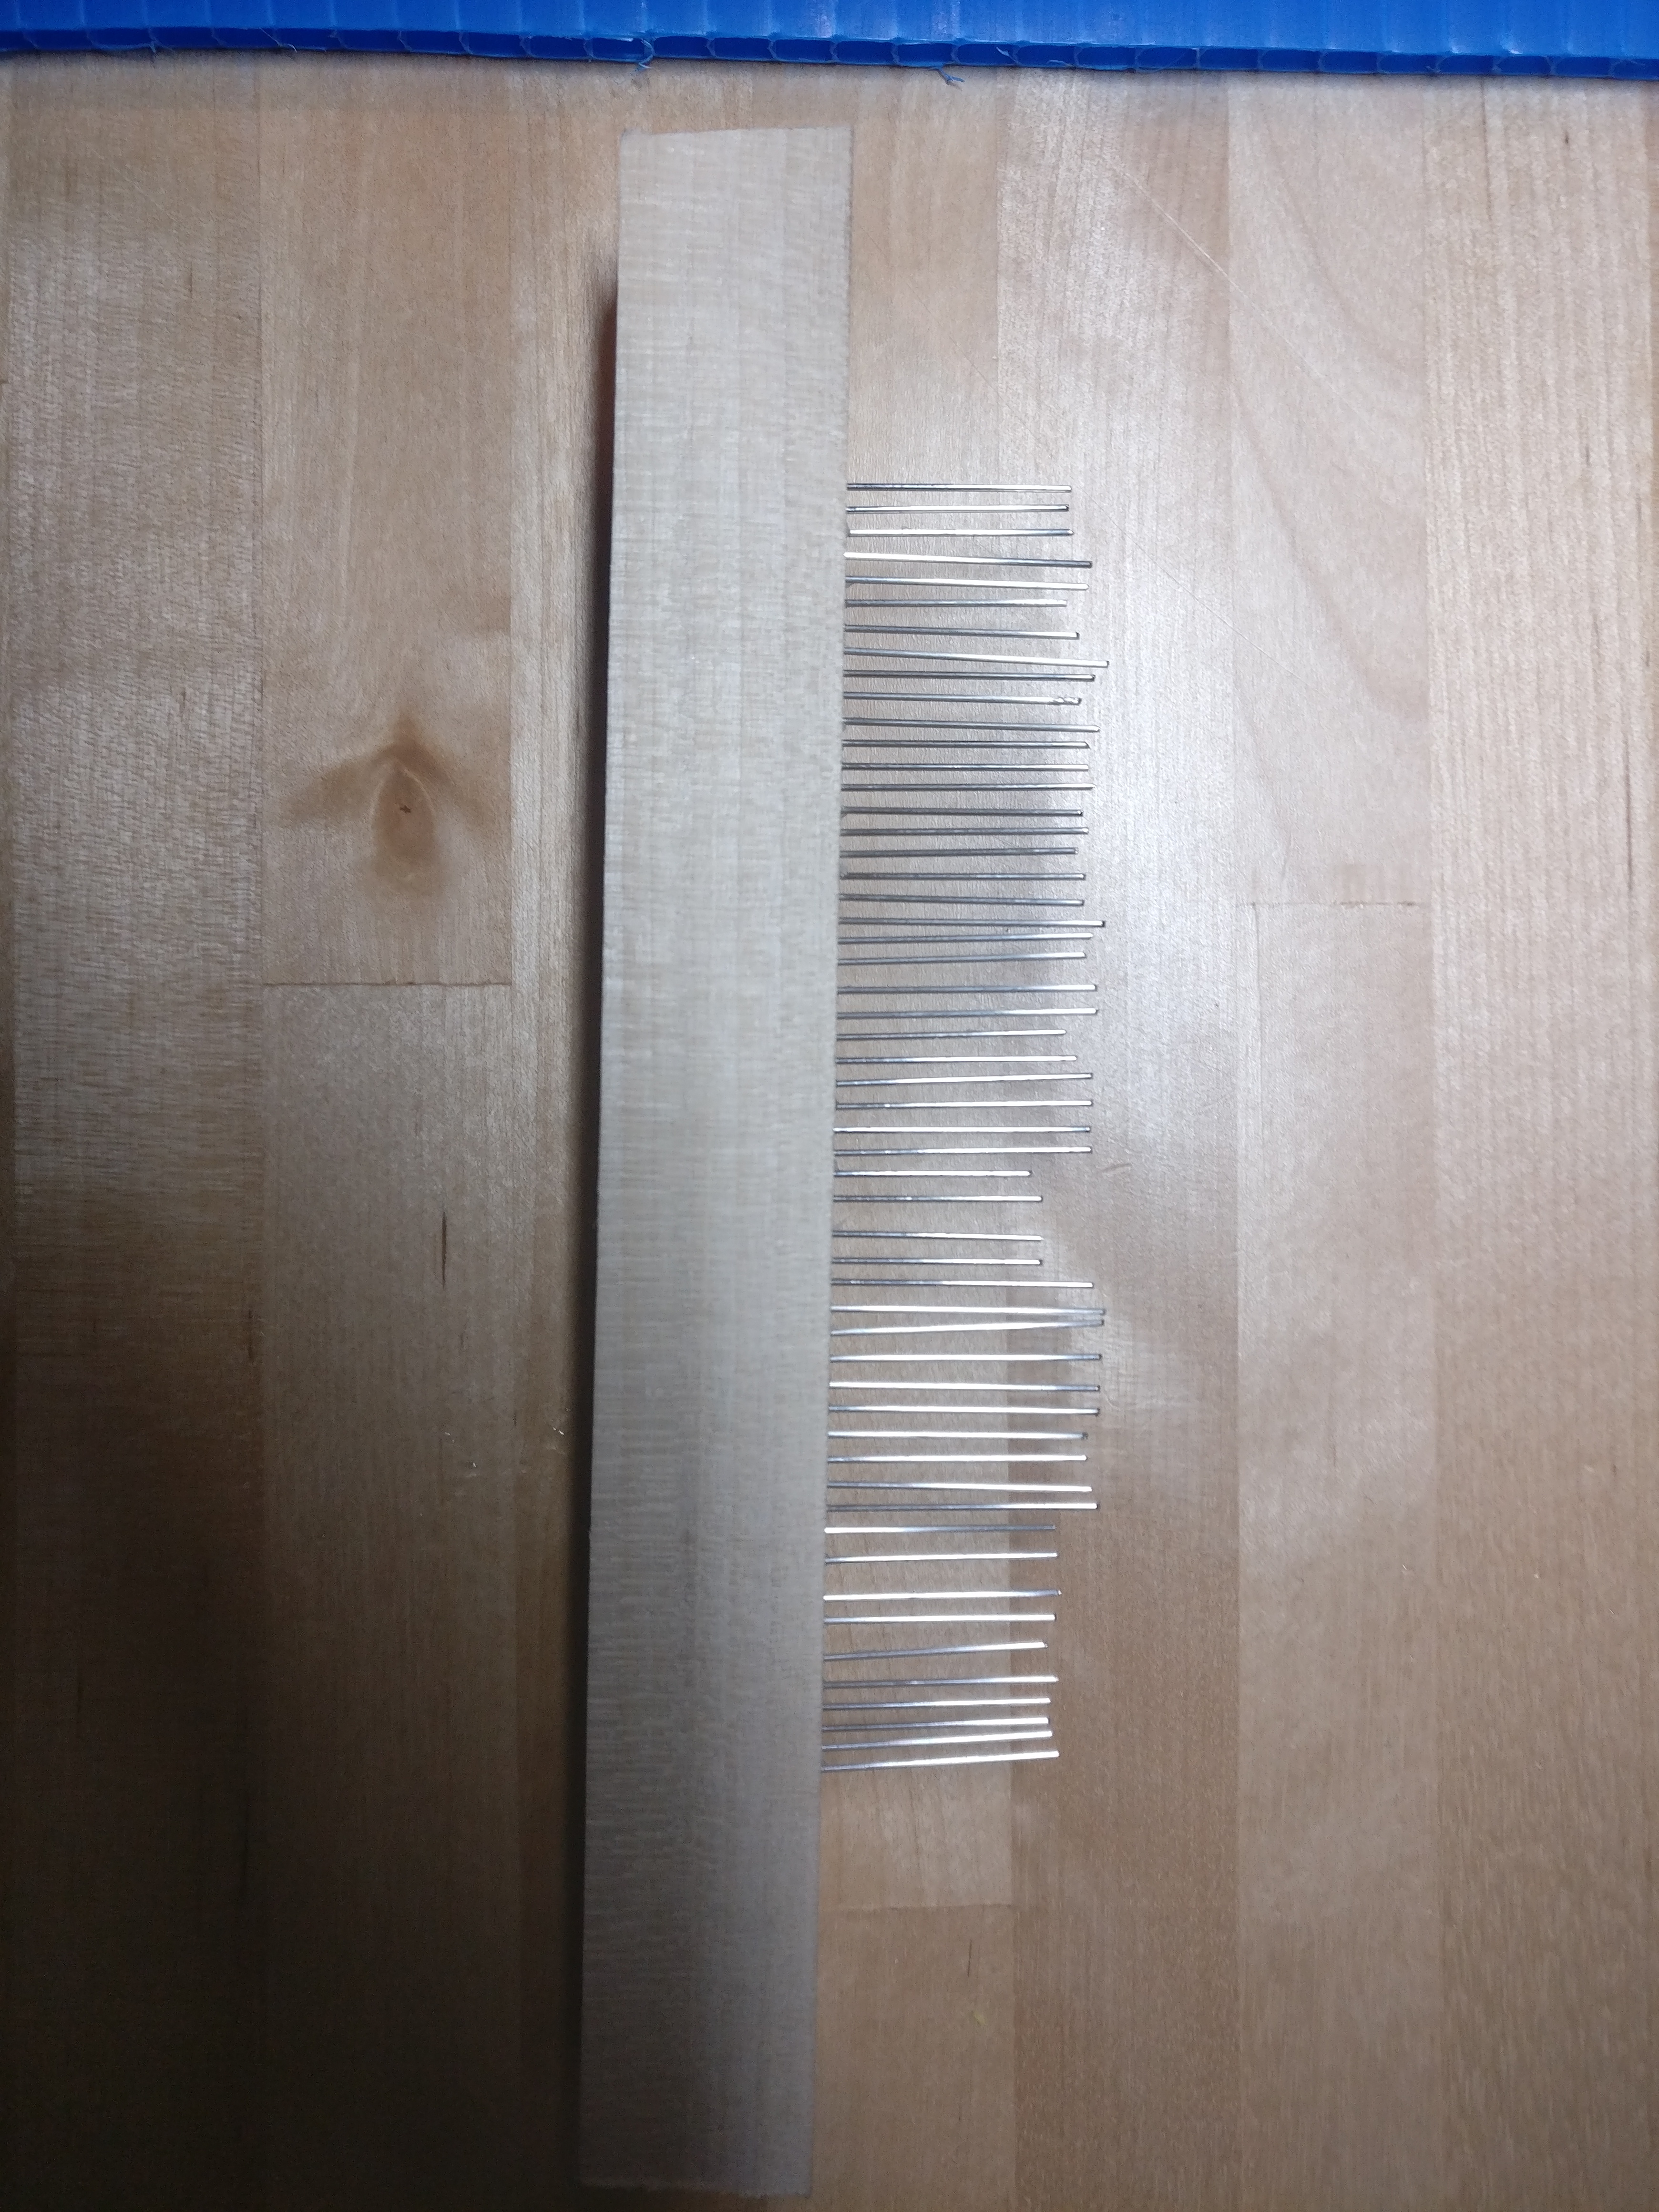
that is my first attempt: a 5" wide comb, with 1/16" spaced tines. the tines are 70-gauge stainless steel wire. holes were hand-drilled with a needle-nosed handdrill – the chuck slipped occasionally, hence why the tines are of uneven length.
there are a few things at play here that leave me unfulfilled:
1) something about the tines are causing what appears to be too much paint being lapped up by the tines and causing streaks of carrageenan. i welcome any additional theories: currently my mitigating strategy is to try to put as little of the comb in the size as possible
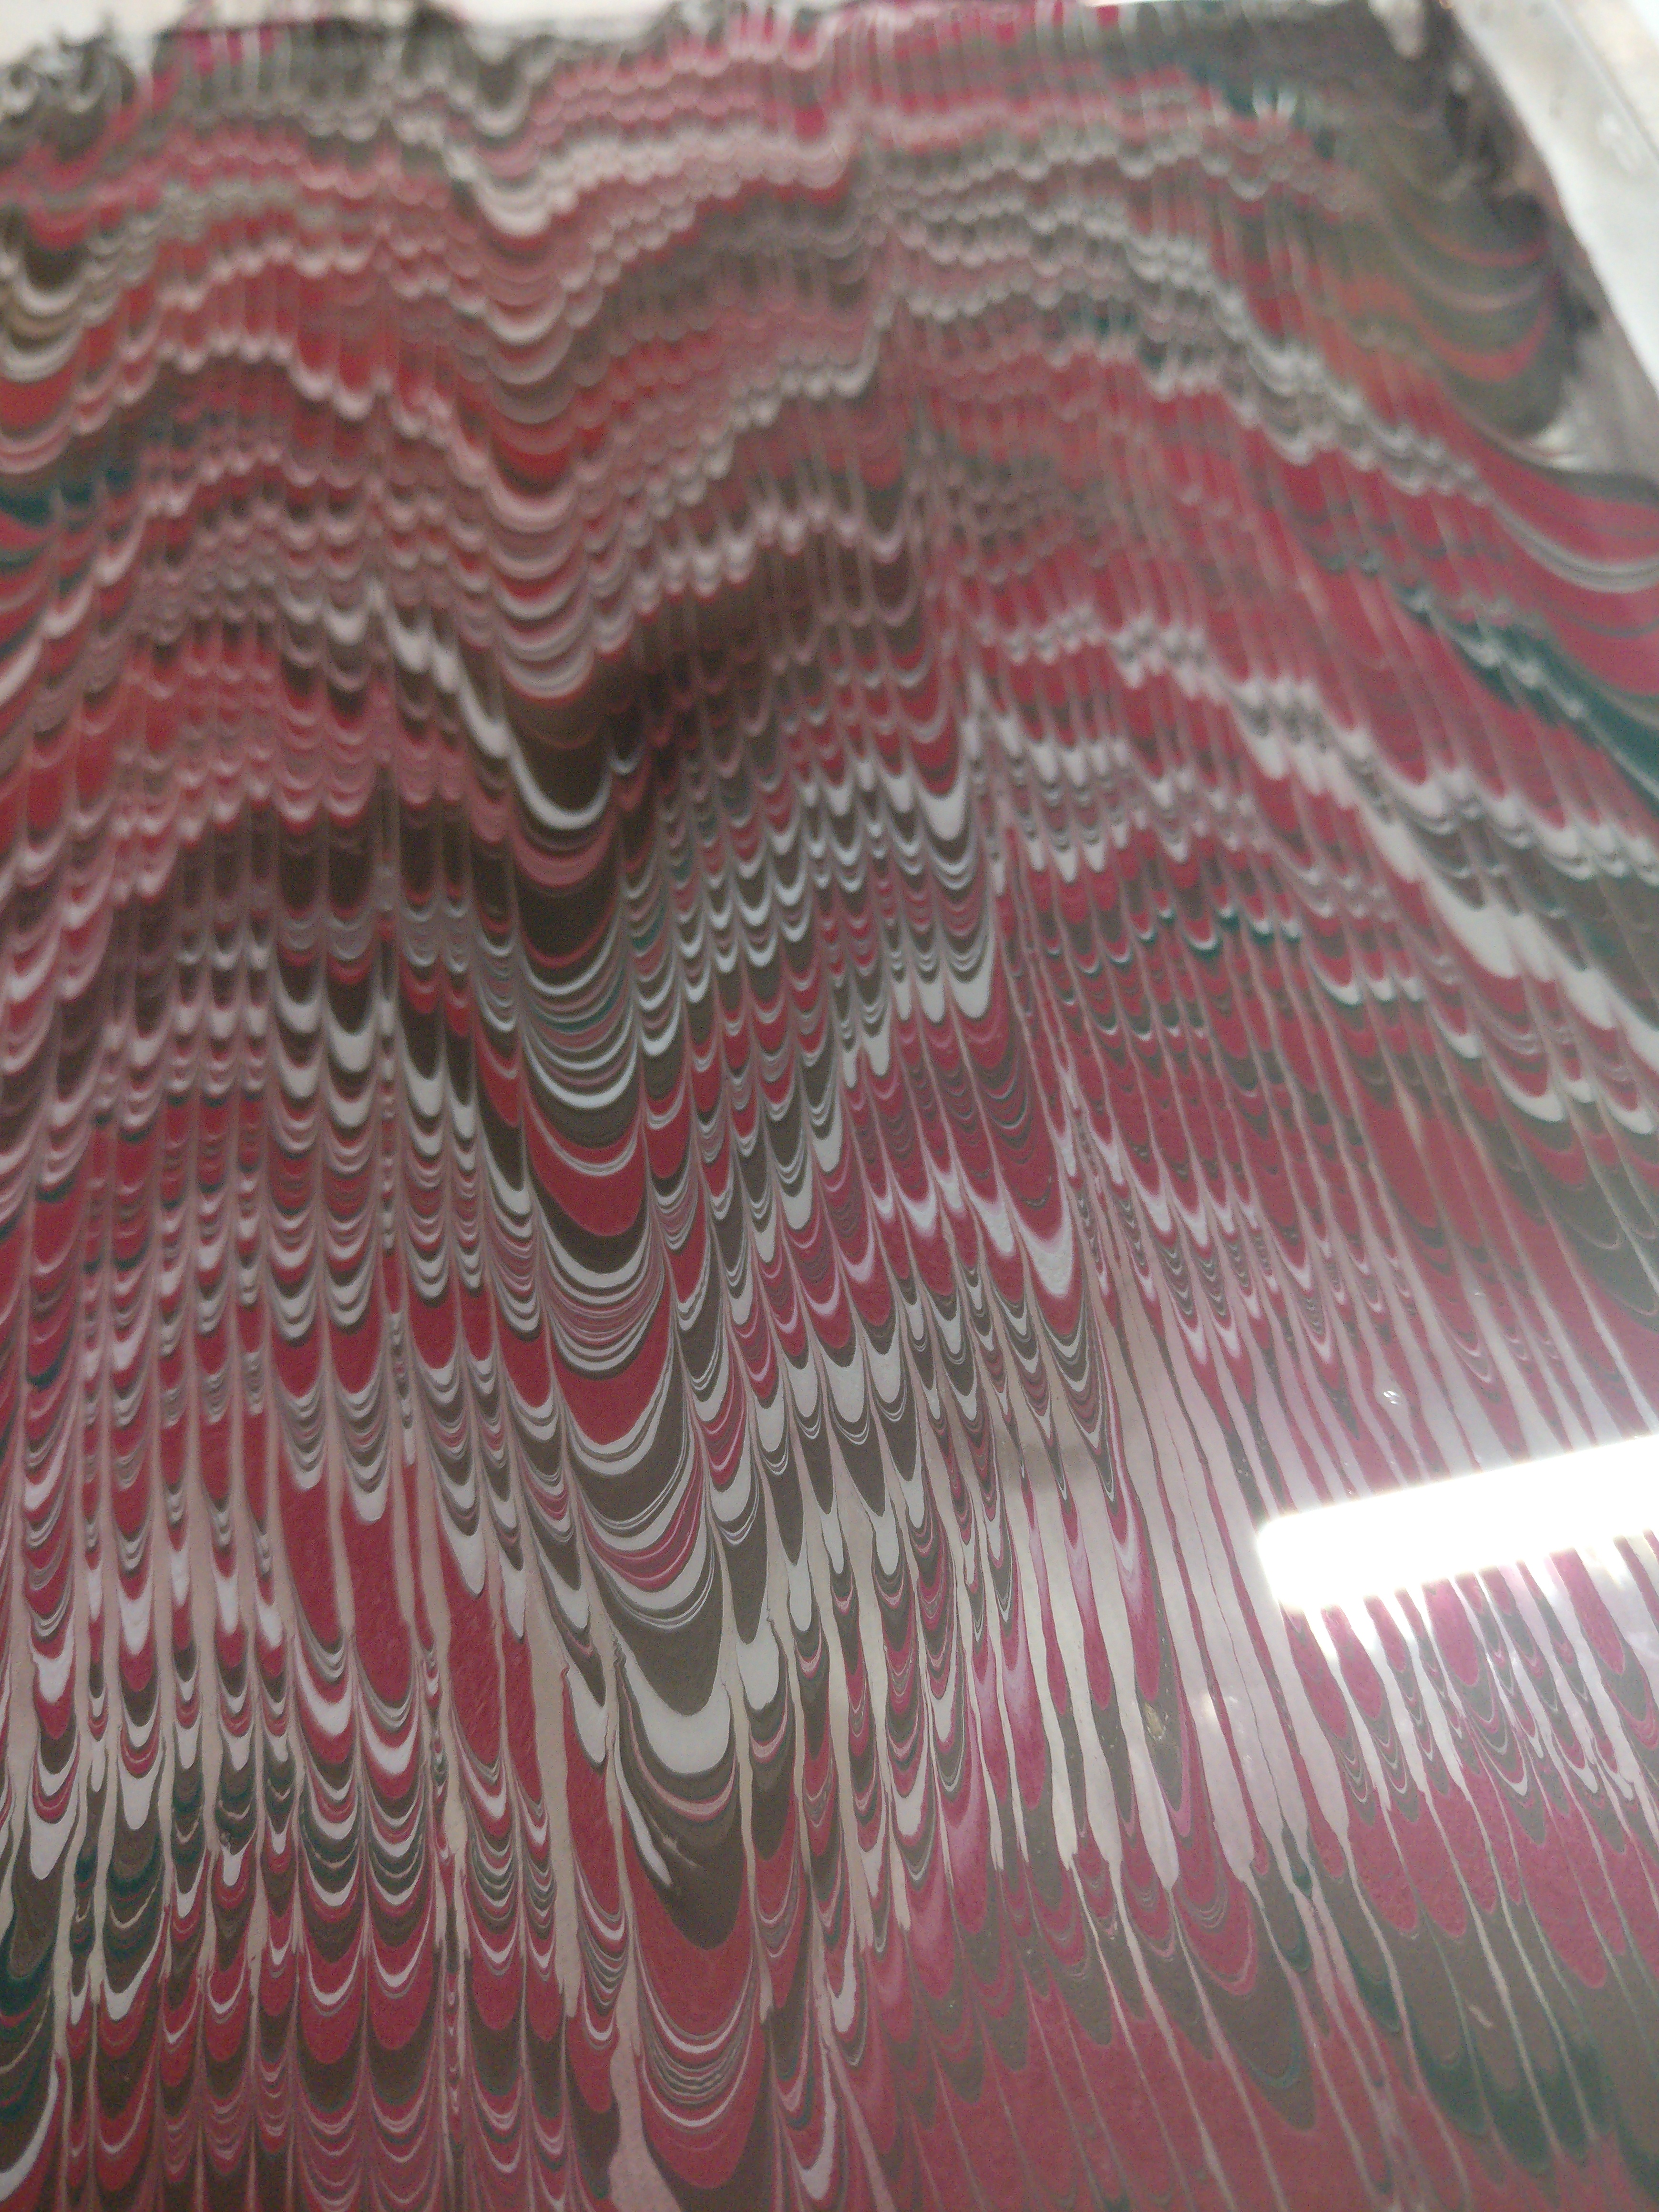
2) as you can see, it is very obvious where i deviated from the sixteenth of an inch progression
thus as a "standard" comb used like a non-pareil comb, there is still some experimentation to do. i'd like to try with 80 gauge wire – i've since gotten better at using the micro handdrill, so the uneven nature of the comb should be mitigated in the next go around.
attempt two
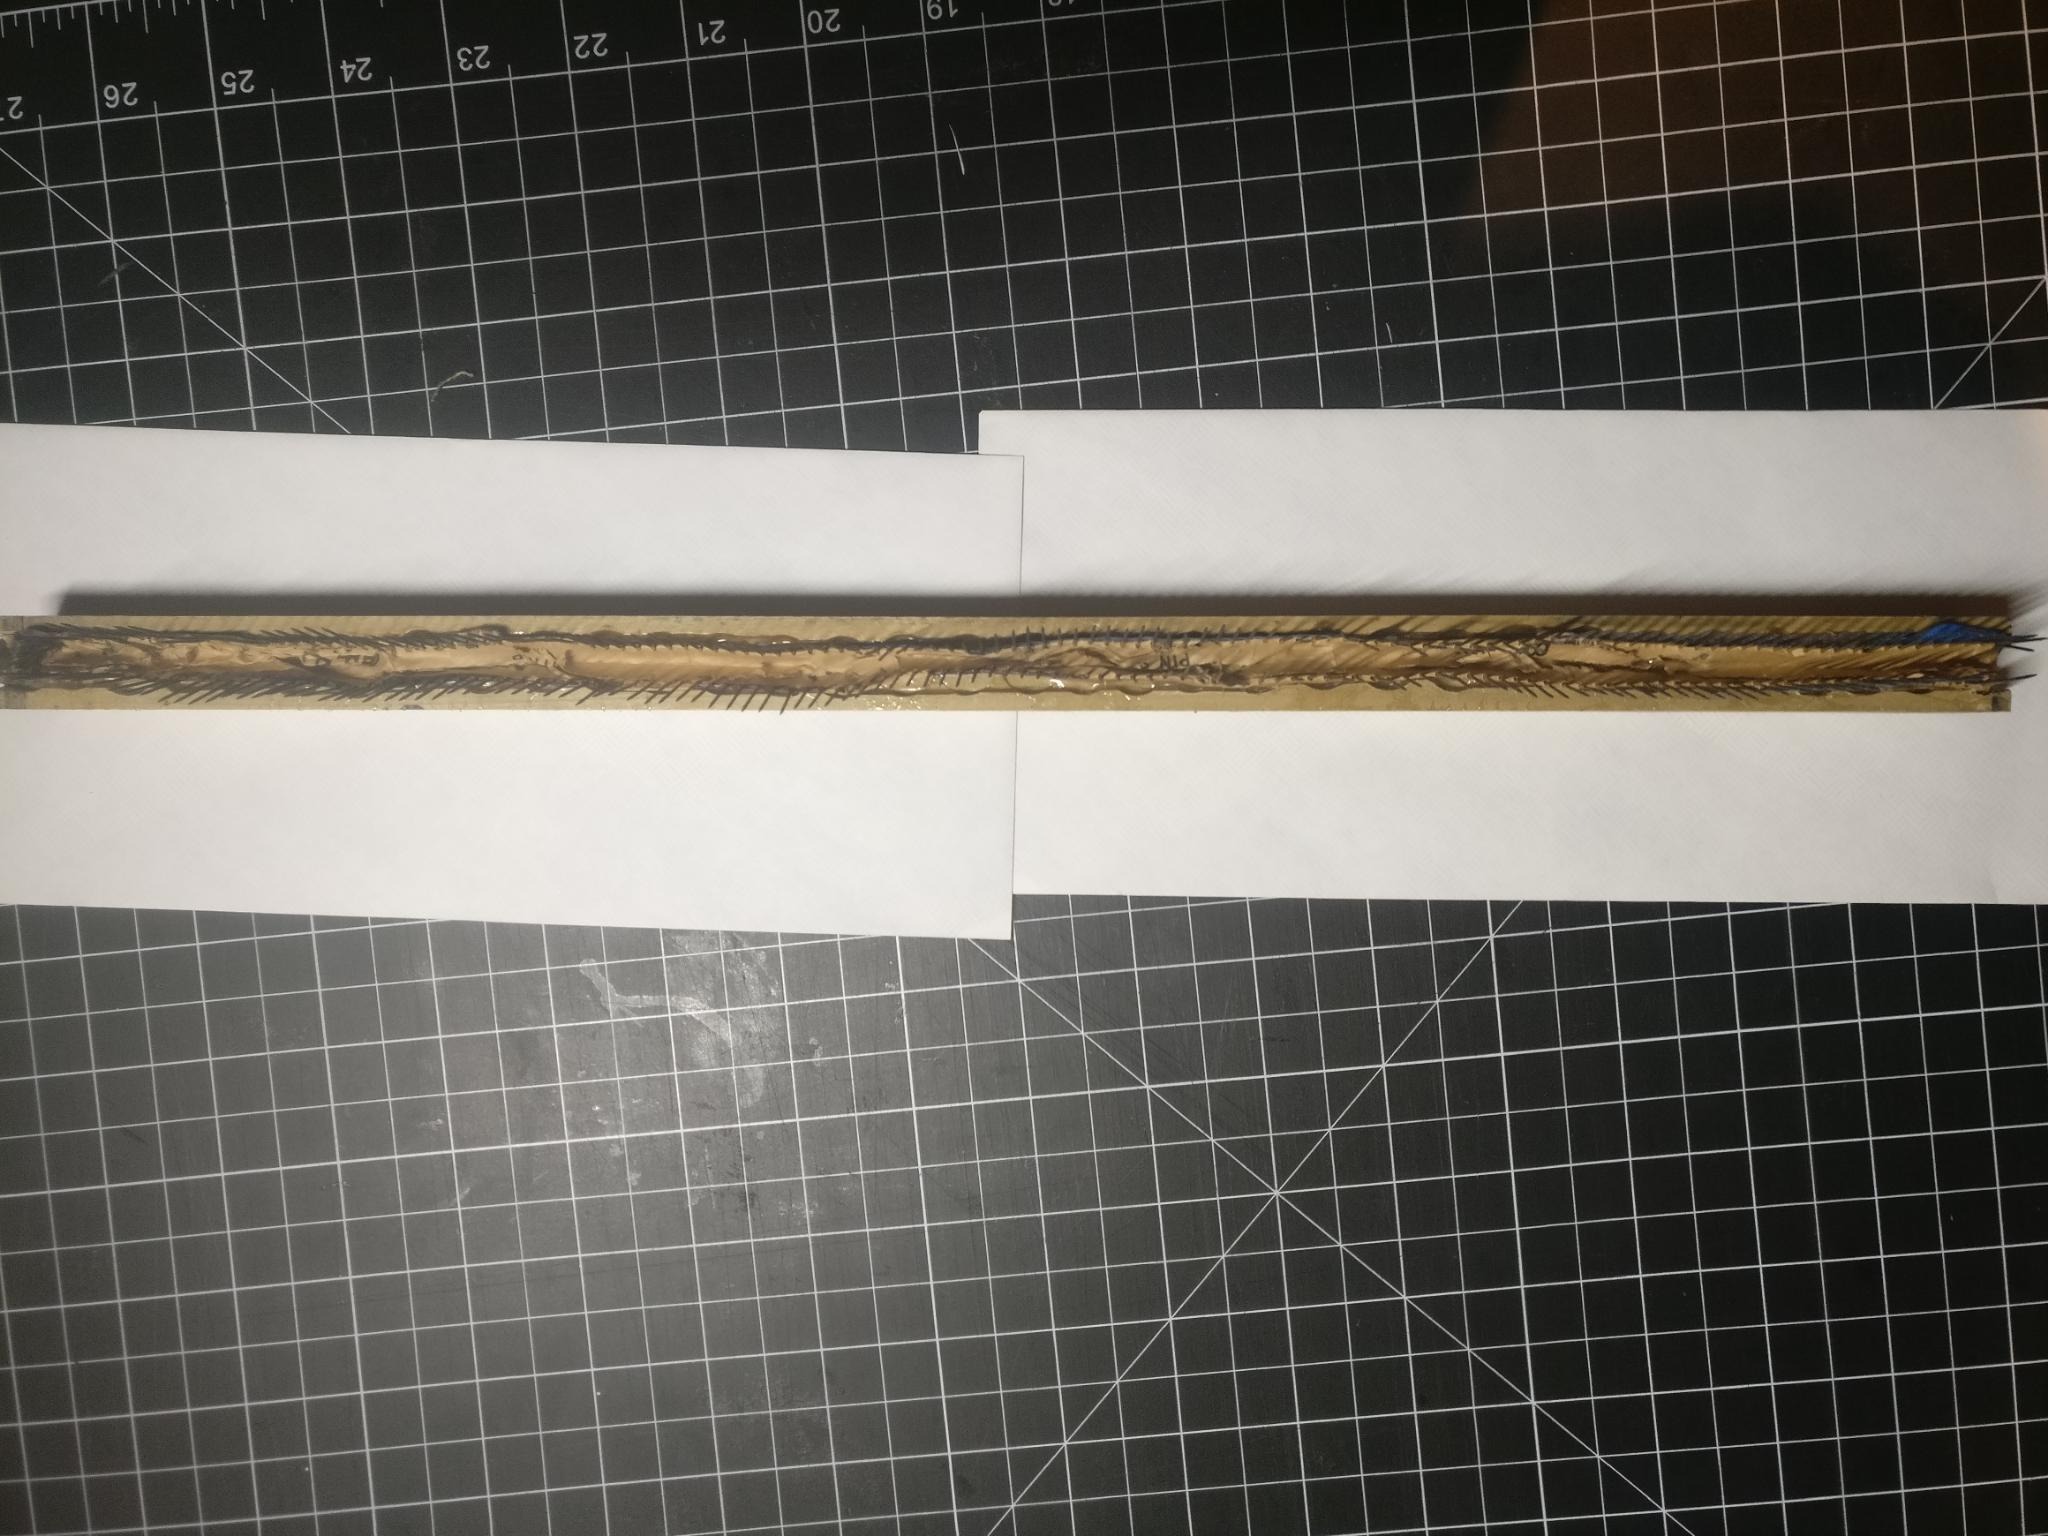
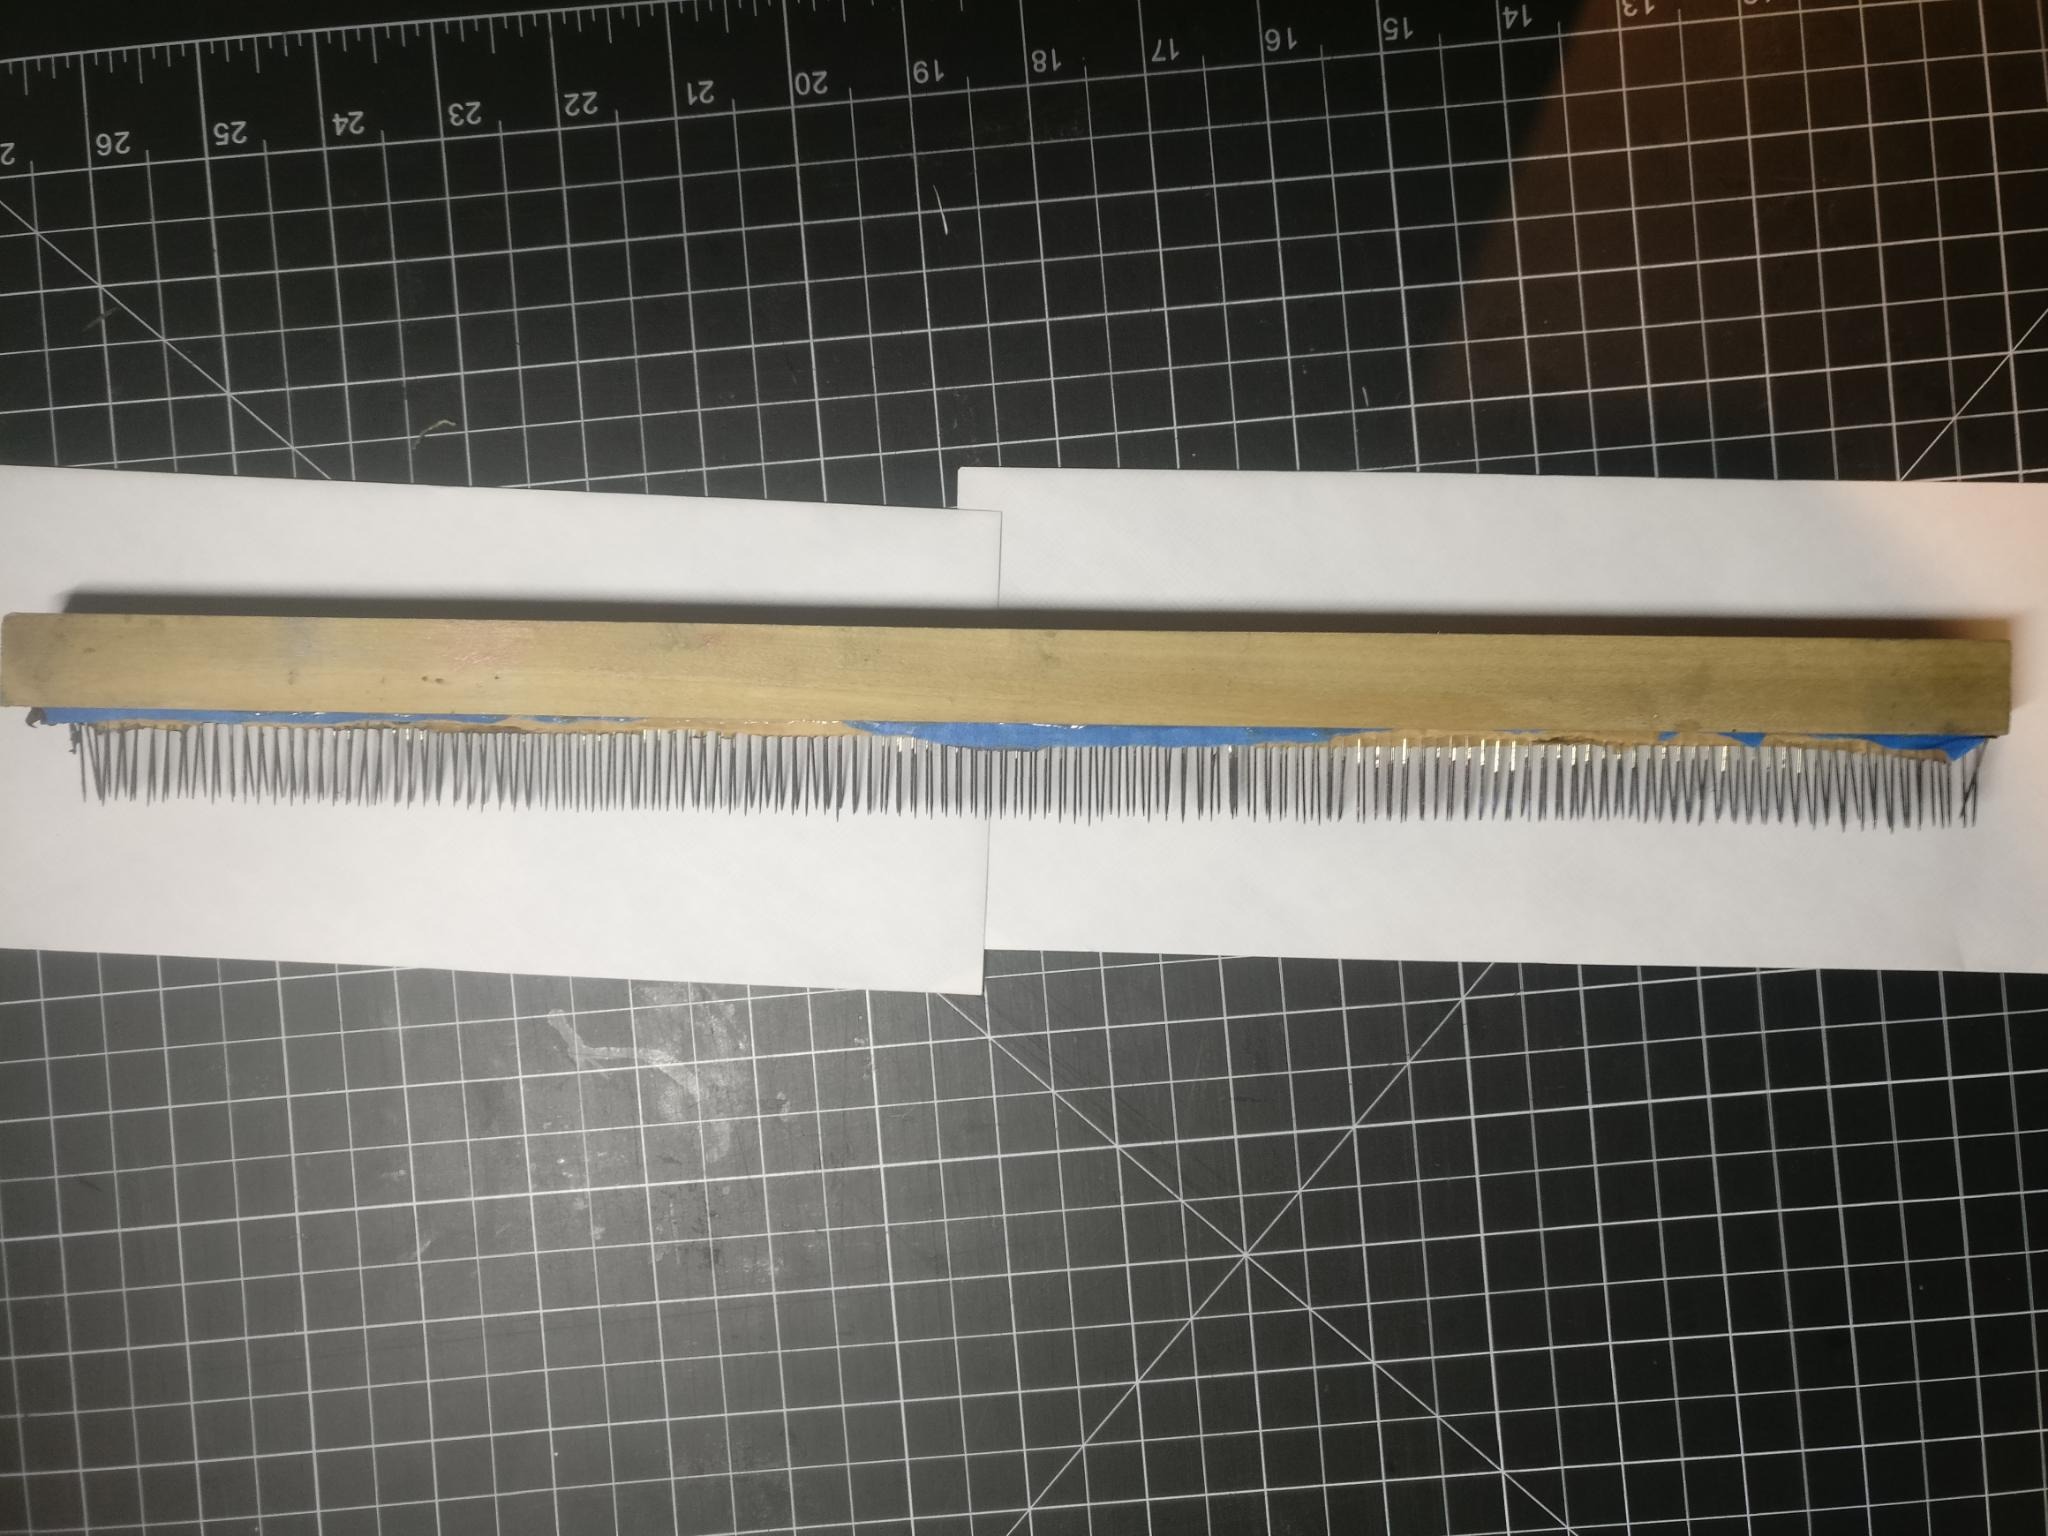
this comb is admittedly shoddily made and is definitely more of a proof of concept than anything else. but it works! and has held up over multiple sessions, so that's saying something, i guess.
how to make one?
i don't have any fancy power tools, so this how you'd make it with hand tools.
equipment
- a roll of dennison brass pins in strips (this gives you the easy 1/8" spacing)
- wooden dowel
- forstner bit slightly smaller than width of the wooden dowel
- chisel
- drill
- use the forstner bit to create the approximation of a groove in the dowel – shouldn't be too deep, maybe a quarter of an inch. each new hole from the forstner bit should slightly overlap the prior hole made.
- use a sharp chisel to clean up the groove. namely, cut away the little bits on the edge of the groove that weren't taken out by the forstner bit. if you have a router plane or additional chisels, you can probably clean up the bottom of the groove, too.
- lay a bead of glue in the groove on one side.
- pull out a string of pins (keeping the paper on!) the length of your dowel and make sure they're all aligned against the paper (i.e. are the same height). i made the poiny part face "up" (that is, what will go in the size).
- place this strip in the bead of glue. it's helpful to have a thin, pokey tool to align the pins so they rest vertically.
- wait for this glue to dry (or at least get pretty tacky).
- lay another bead of glue and repeat for the other length of brass pins, making sure to align the pins so they bifurcate the first set of pins laid. i used painters tape to keep the pins from leaning over while drying.
- once the glue is dried, fill the groove with water so that the paper gets drenched. now you can pull the paper off easily (minus any parts that got covered in glue).
it's important to make sure the pins are offset from each other (like a miniature bouquet comb), otherwise, you've just made a weird 1/8" comb – which is totally fair, but you probably didn't need to use two rows of pins for that.
last updated: 2024-06-12 15:37:34