pivot rakes
the rakes are designed to be smaller than the tank you're working in and are used to make curved patterns. i've also heard them called compass combs/rakes.
there are two main varieties i've come across: free-floating and anchored.
free-floating
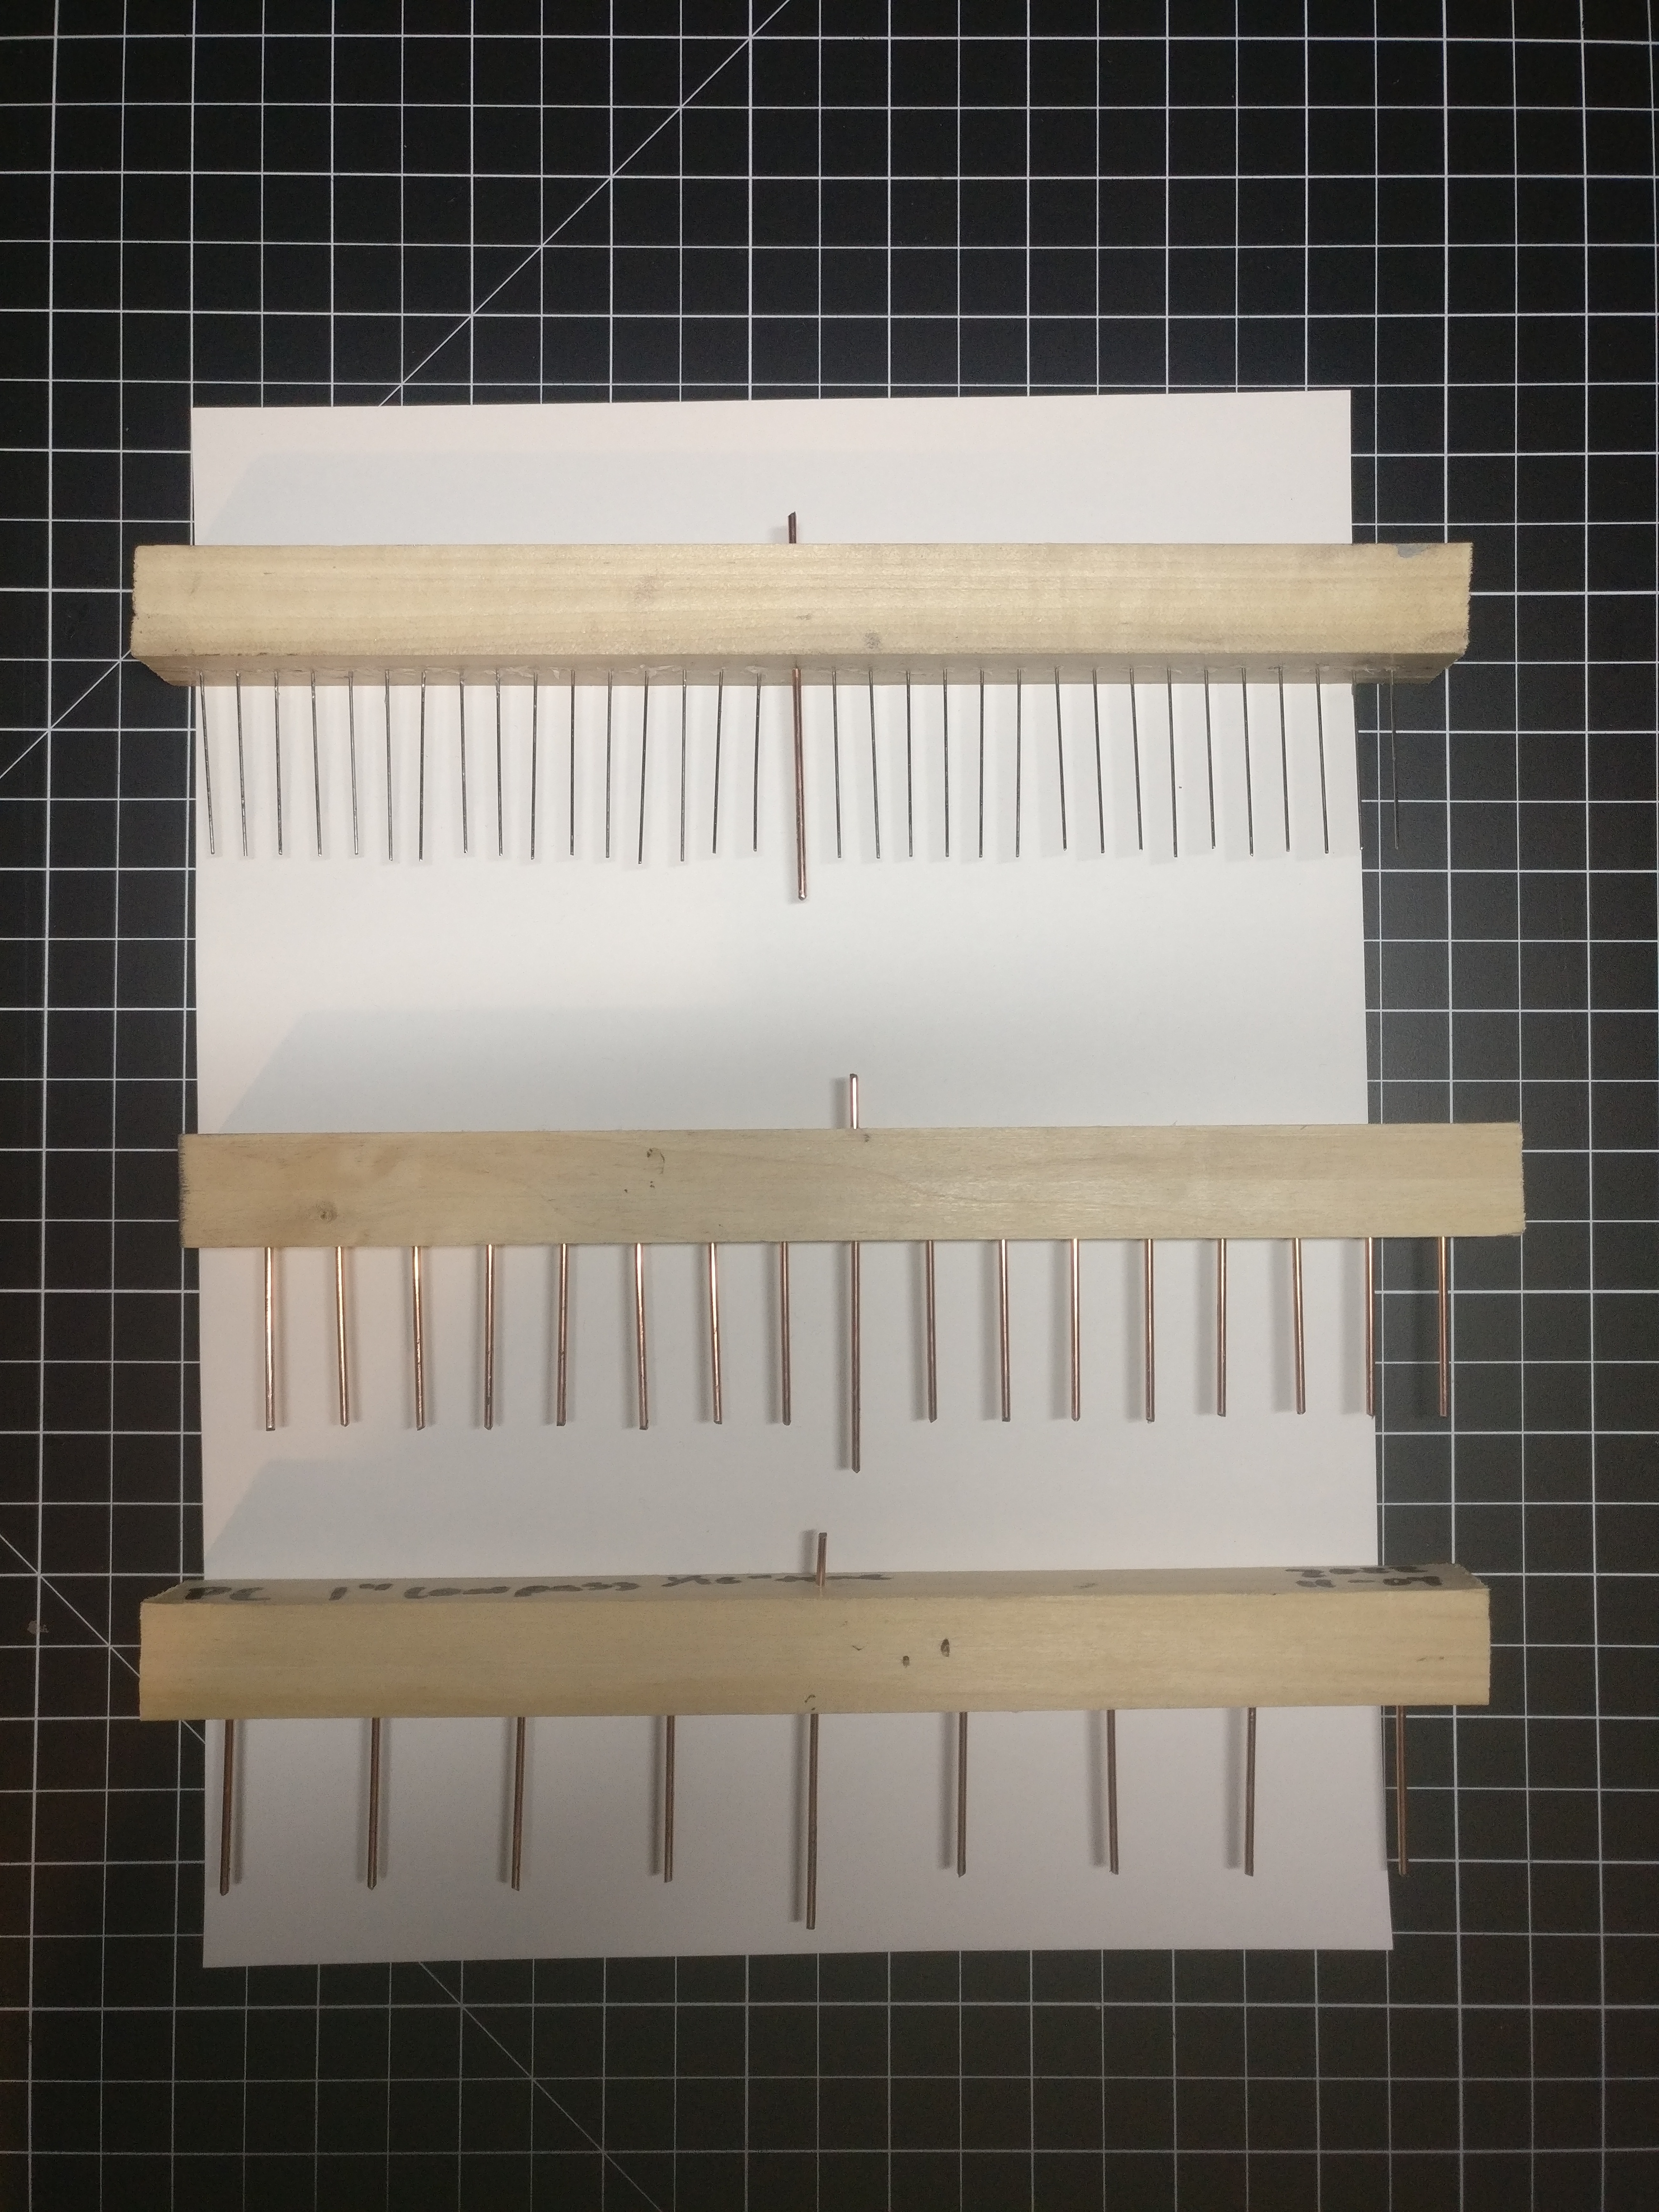
these rakes are designed to be used anywhere in the tank. while any comb can be used, i've found purpose built combs can improve the quality of the curves and circles created. in particular, lengthening the center tine to create a pivot point and extending that same tine above the rake make controling the rotation a lot easier.
below, from top to bottom are a ¼" comb, a ½" comb, and a 1" comb. as you move from larger to smaller, the quality of the circle and the completeness of the circle diminishes. that is, with a 1" comb, the resulting circle will be almost a perfect circle and it's possible to visually connect the "lines" of the circle. however, with smaller width combs, increased movement of the carrageenan results in the lines of the circle being more squashed and less likely to be completely circular.

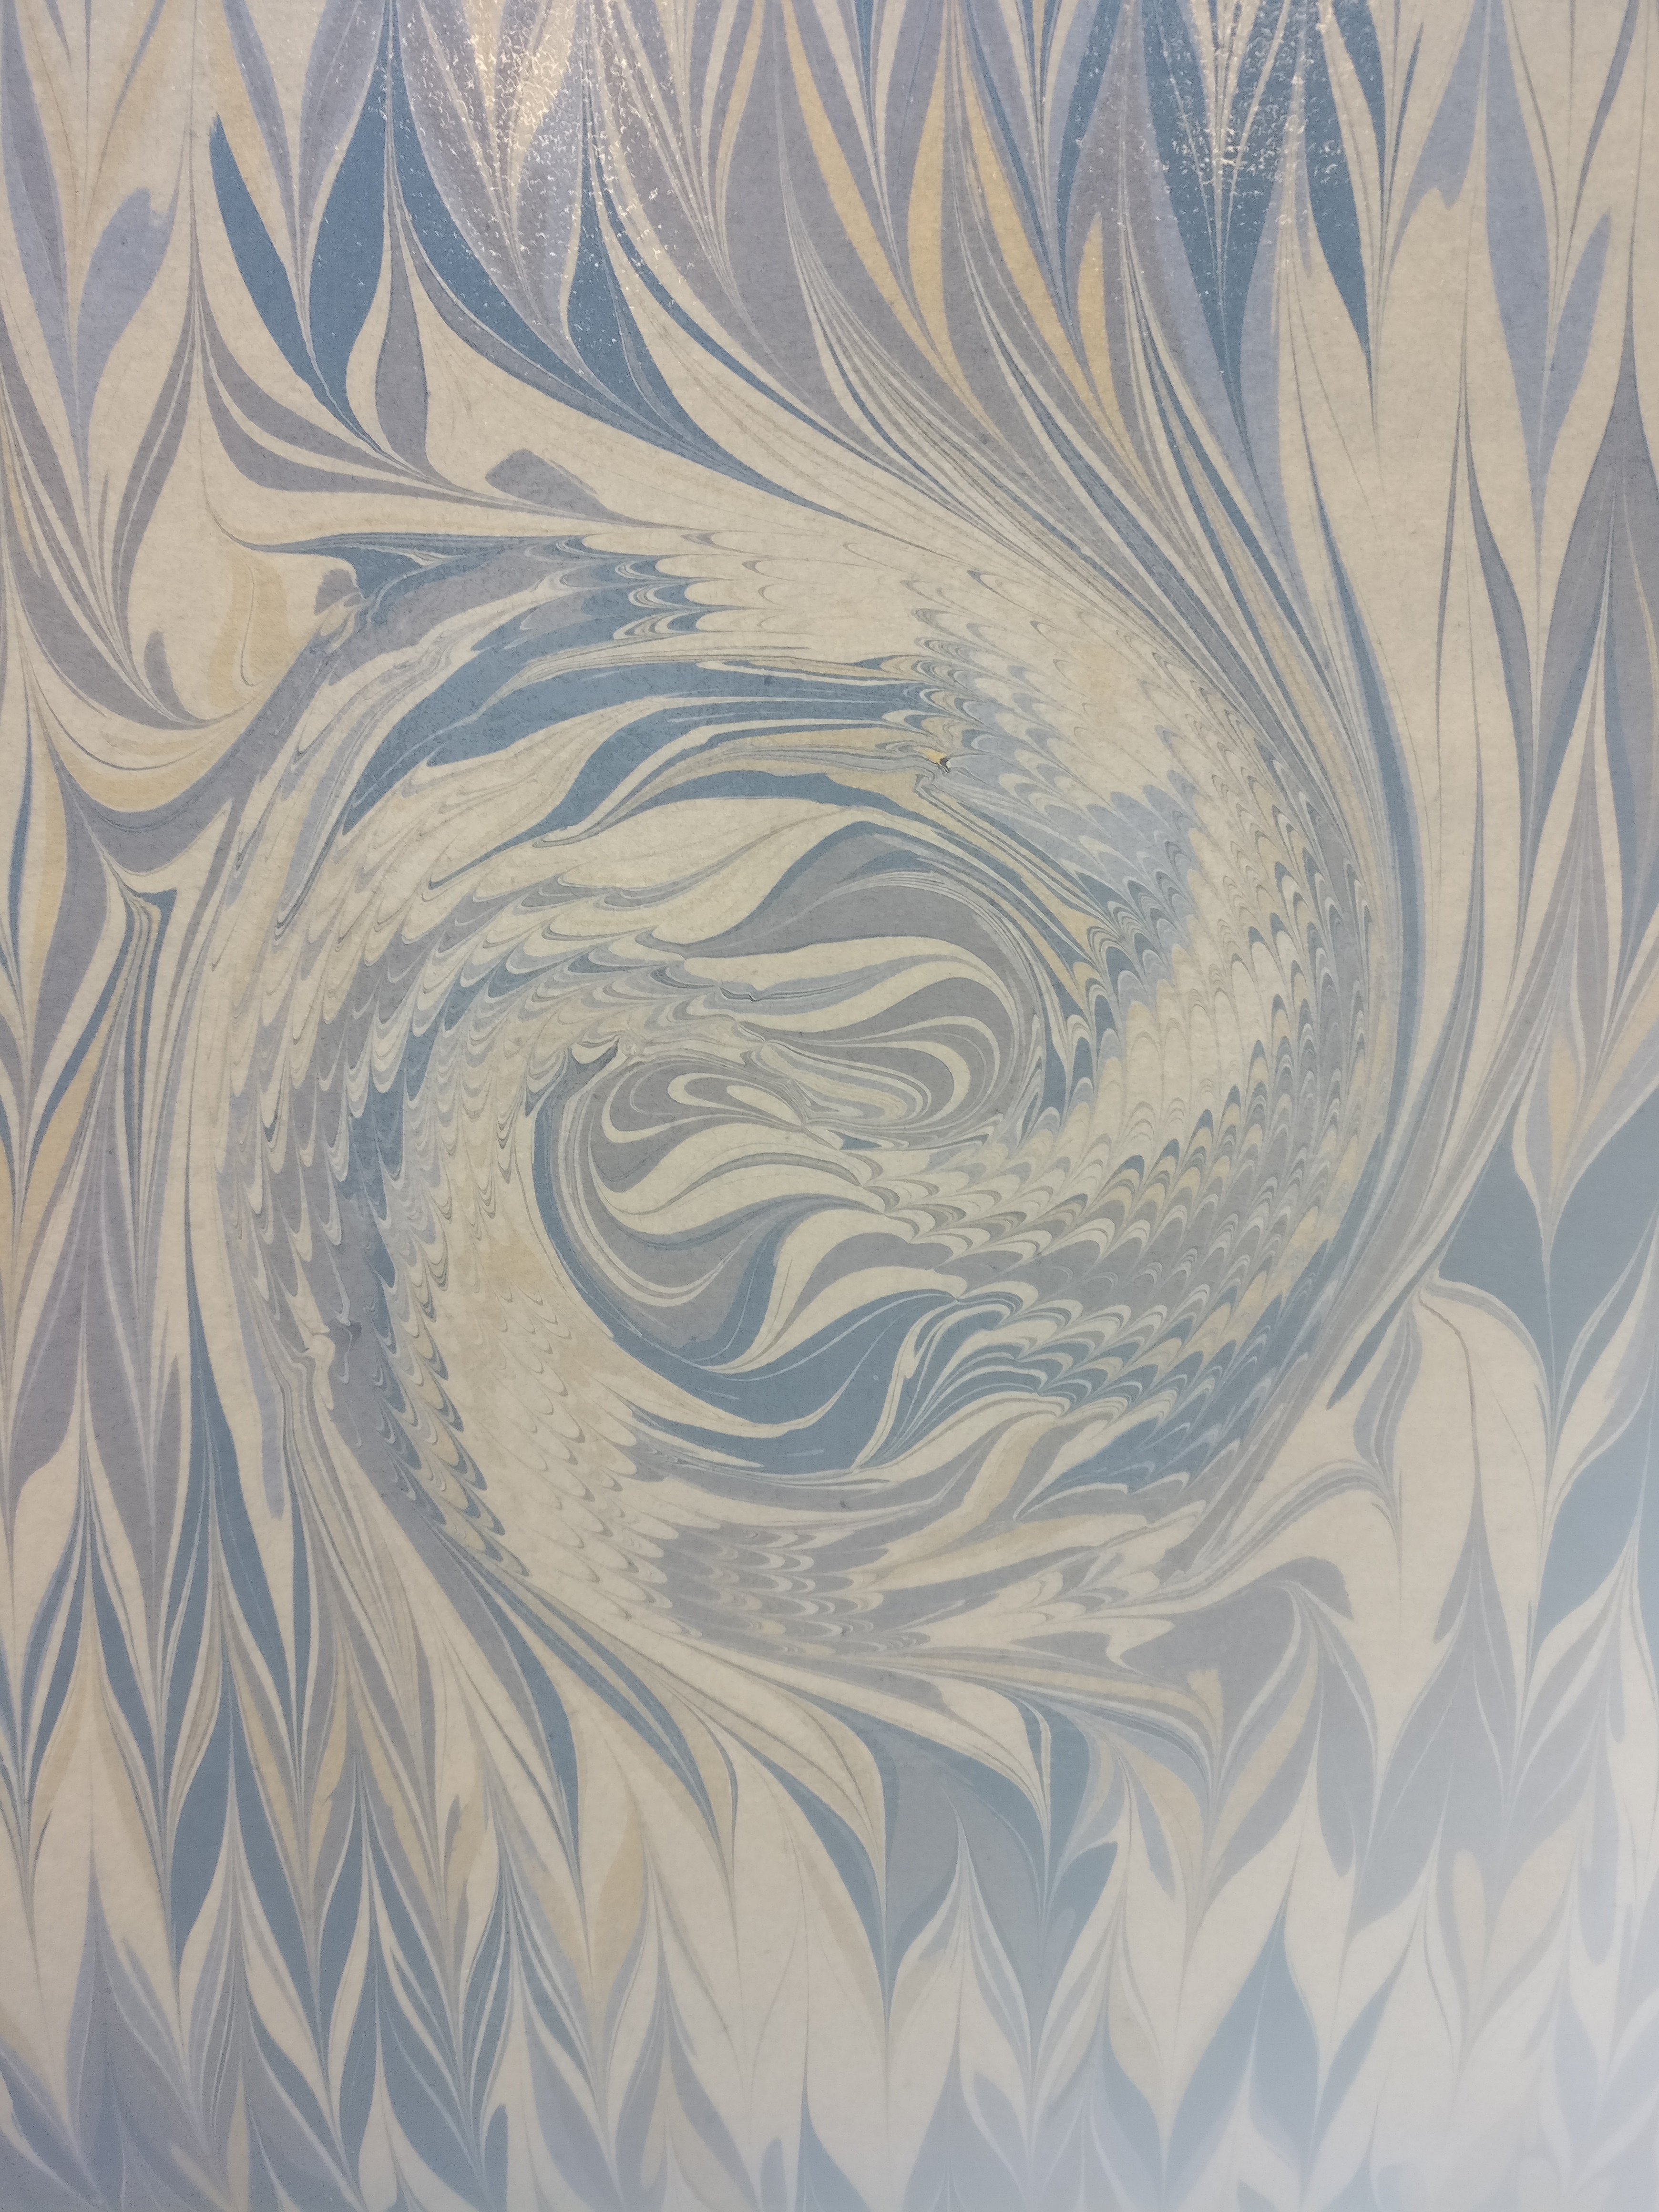
as you can see in the images of prints below, the ¼" is less complete (the lines of rake do not extend all the way around). for me, it takes about 1.5 rotations to get something that looks like a complete circle, but depending on the color distribution, it can look quite muddy.
1" rake

½" rake

¼" rake

making a free-floating rake
- determine the diameter of the circle and add about a half inch of wiggle room to the length.
- cut wood to size.
- find the center point, both horizontal and vertical – this will be your pivot point.
- drill a hole all the way through the pivot point.
- mark out holes along the vertical center line, ensuring there are the same number on each side of the pivot point. this is to ensure the lines will meet up nicely.
- drill holes to preferred depth.
- excluding the pivot tine, cut tines to size and put in holes
- for the pivot tine, i recommend ~½" longer than the normal tine length + the width of the rake's wood + ~¼" to extend above the wood as an anchor point above the pivot.
- cut the pivot tine to size and hammer through the wood so a nub of metal appears above the rake so you can grip it effectively.
anchored
anchored rakes are anchored external to the vat and are used to make large arcs across the vat. the "anchor" here can be just about anything – most often it's simply holding one tine to the outside edge of the vat and using that as the pivot point. since you can use existing rakes, regardless of length, there is a lot of flexibility here, assuming that your working space allows for a larger amount of the rake to extend out of the vat space.
to make a pivot with an achored rake, first find the tine in the rake that allows you to make half arc entirely across the length of the vat. then, place that tine outside of the vat and up against the exterior vat wall – this is now your pivot point. position the rake such that it is a parallel to the vat's wall as possible, while still keeping your pivot tine external to the vat. place rake into vat and slowly rotate in an arc.
anchored rake examples

last updated: 2022-11-21 21:13:18